Still on Drupal 7? Security support for Drupal 7 ended on 5 January 2025. Please visit our Drupal 7 End of Life resources page to review all of your options.
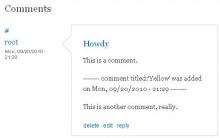
The merge comments module provides the option of automatically merging two consecutive comments made by the same user in the same node. If enabled this can eliminate accidental double posts as well as serve as a last ditch measure against flooding.
You can decide under which conditions the comments will be merged, what format the newly merged comment will have and which users can disable the merge comments module from merging a specific comment.
The Image Link Replacer module replaces broken images with a "sorry - this image is missing" image, and marks broken links by putting a strike-through on them.
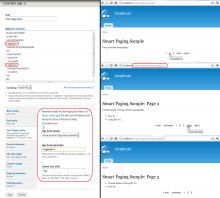
Provides splitting up long Drupal content into sub pages by number of characters/words or by a placeholder HTML tag for node, user and taxonomy term entities.
Growl notifications is a module which provides a method for sending certain system notifications to a Growl server. This means that you can receive Drupal messages on your computer through Growl.
More usefully, a module to provide a Messaging sending method is provided which allows Drupal sites to push notifications to listening Growl computers. This is particularly useful for Open Atrium based sites on an Intranet where Bonjour machine names or static IP address are known. Instead of receiving email notifications you can now receive Growl notifications.
This module is heavily based on the Prowl Push Notifications module by acrollet. It uses code provided by Tyler Hall under the MIT licence (compatible with Drupal's GPL) which is included in the module.
How to install and use
There are two modules included in the download. The main one enables the growl notifications functionality and allows actions to send growl messages. The growl_notify_user.module adds a user option to receive notifications as growl messages as a default send method for the notifications module.