Initial configuration
After installing and enabling the module in the normal way you will need to configure the connection to the Moodle server.
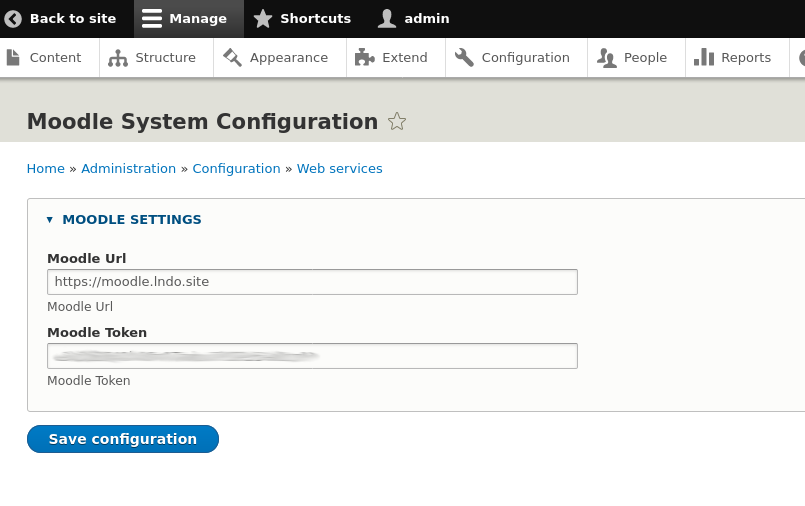
Drupal site: Administration > Configuration > Webservices > Moodle System Configuration page
The Url required is the Url of the root of the Moodle site. You will have to generate the token on the Moodle itself. You may need to enable the 'Webservices' Plugin before you can navigate to configure it.

Moodle site: Dashboard > Site administration > Plugins > Webservices
The Drupal Moodle REST connection uses out-of-the-box the 'external system' token. This requires you to configure a service and assign it to a single user. The connector is written such that it is possible to use other user based tokens, but to do so would require additional code.
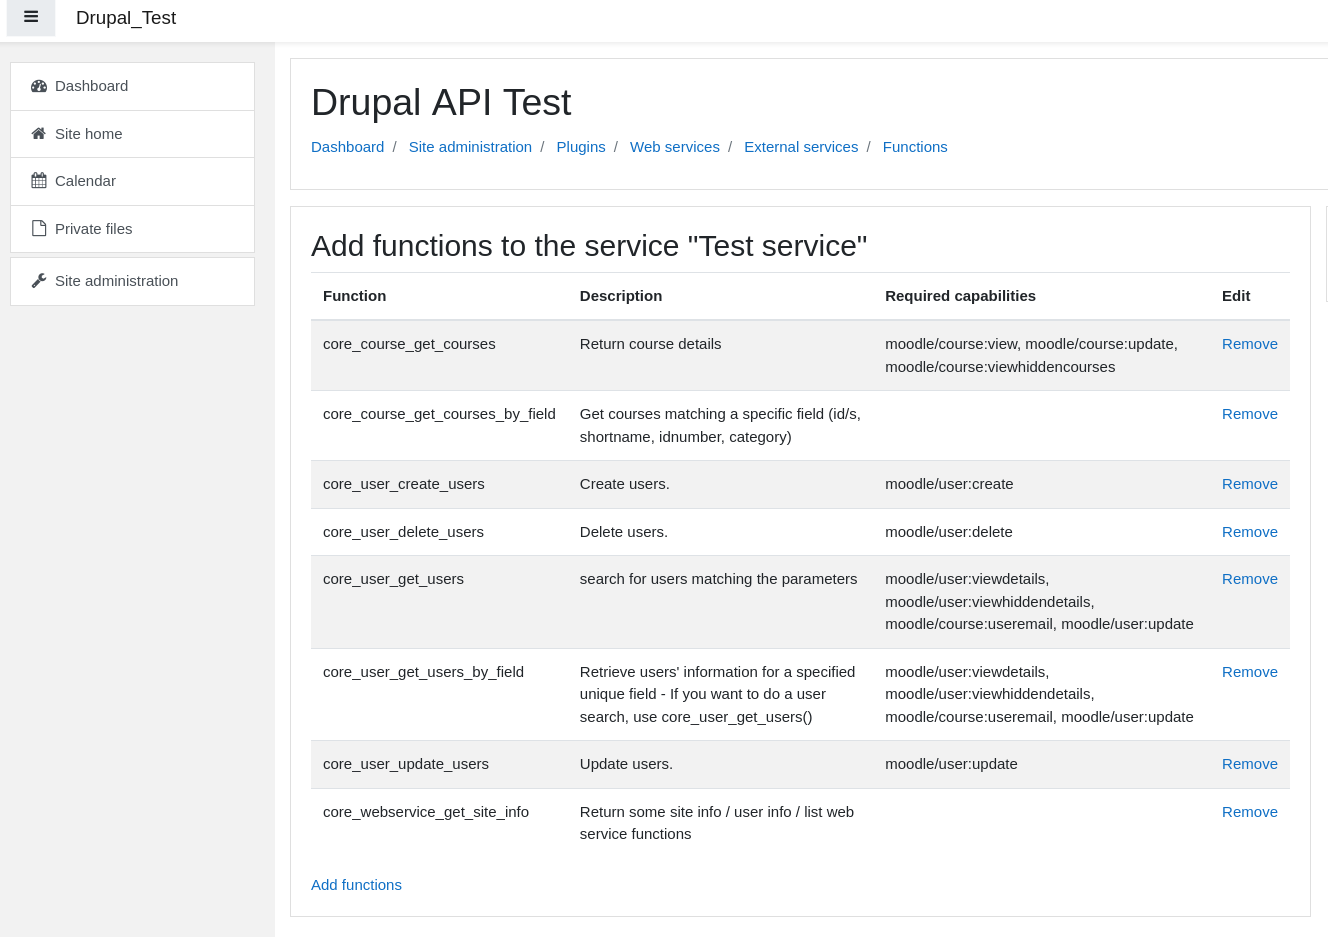
Moodle site: Dashboard > Site administration > Plugins > Web services > External services > Functions
You will need to assign not only the functions that can be used for the service, but ensure that the user also has the permissions to do the operations of that function - these are listed in the 'Required capabilities' column.
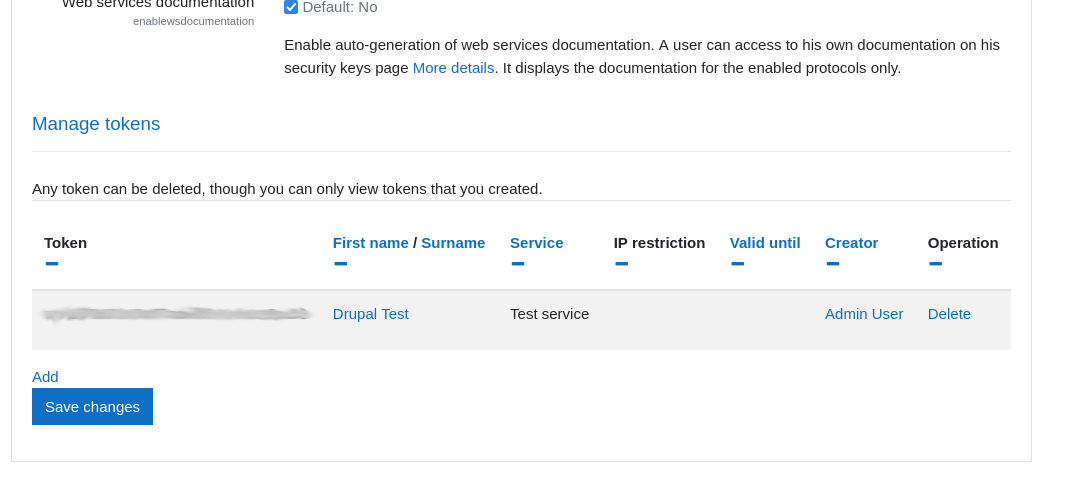
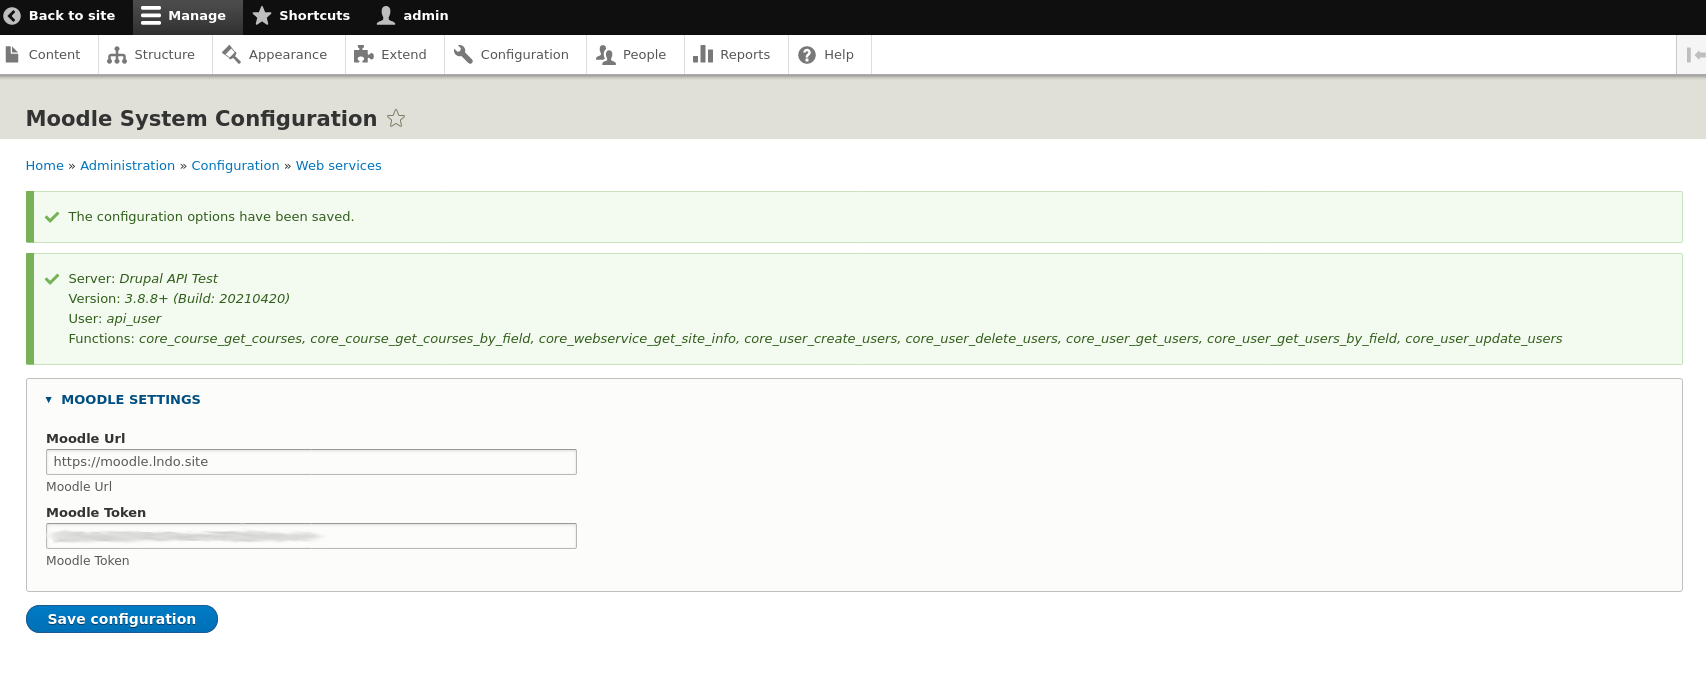
Users can be assigned to a service at the end of the Webservices page. Where the token will also be displayed. Once this is entered into the Drupal form and saved the site will contact the Moodle server to check the connection, and if it has the permission 'core_webservice_get_site_info' will list the functions that are available.
If you would rather not store the token in the database you can add it to your settings.php
$config['moodle_rest.settings']['wstoken'] = 'TOKEN_AS_SHOWN_IN_MOODLE';Help improve this page
You can:
- Log in, click Edit, and edit this page
- Log in, click Discuss, update the Page status value, and suggest an improvement
- Log in and create a Documentation issue with your suggestion


