
 Come together with the global Drupal community in Rotterdam, 28 Sept – 1 Oct 2026. Sessions, contribution, connection, and Early Bird savings until 8 June.
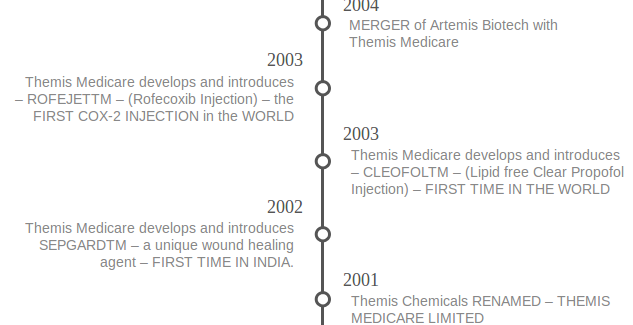
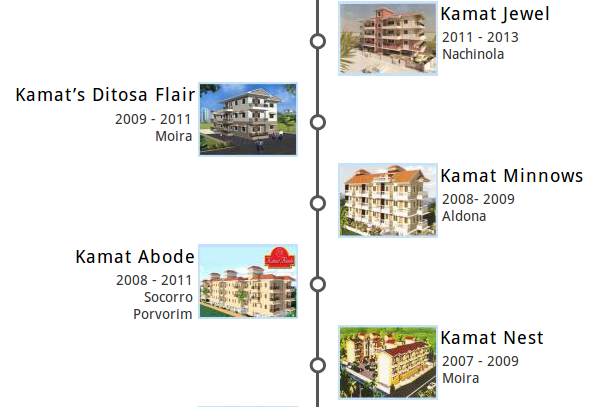

The Simple Timeline module allows the rendering of entities selected by a view on a simple vertical timeline.
This plugin has been ported to drupal from the wordpress posts timeline plugin.
Usage:
- Download and enable this module.
- Create / Edit a view.
- In the 'Format' section, set the 'Format' as 'Simple Timeline'.
- Also in the 'Format' section, set the 'Show' as 'Simple Timeline Item'.
- Configure the fields that should be shown in the title and body.
- Configure any other parameters you may need and save the view.
- You can also use Node-view or the Panel-fields as row plugins with the simple timeline Plugin.
Tutorial
Hans has been kind enough to create a tutorial for this module.
Configuration
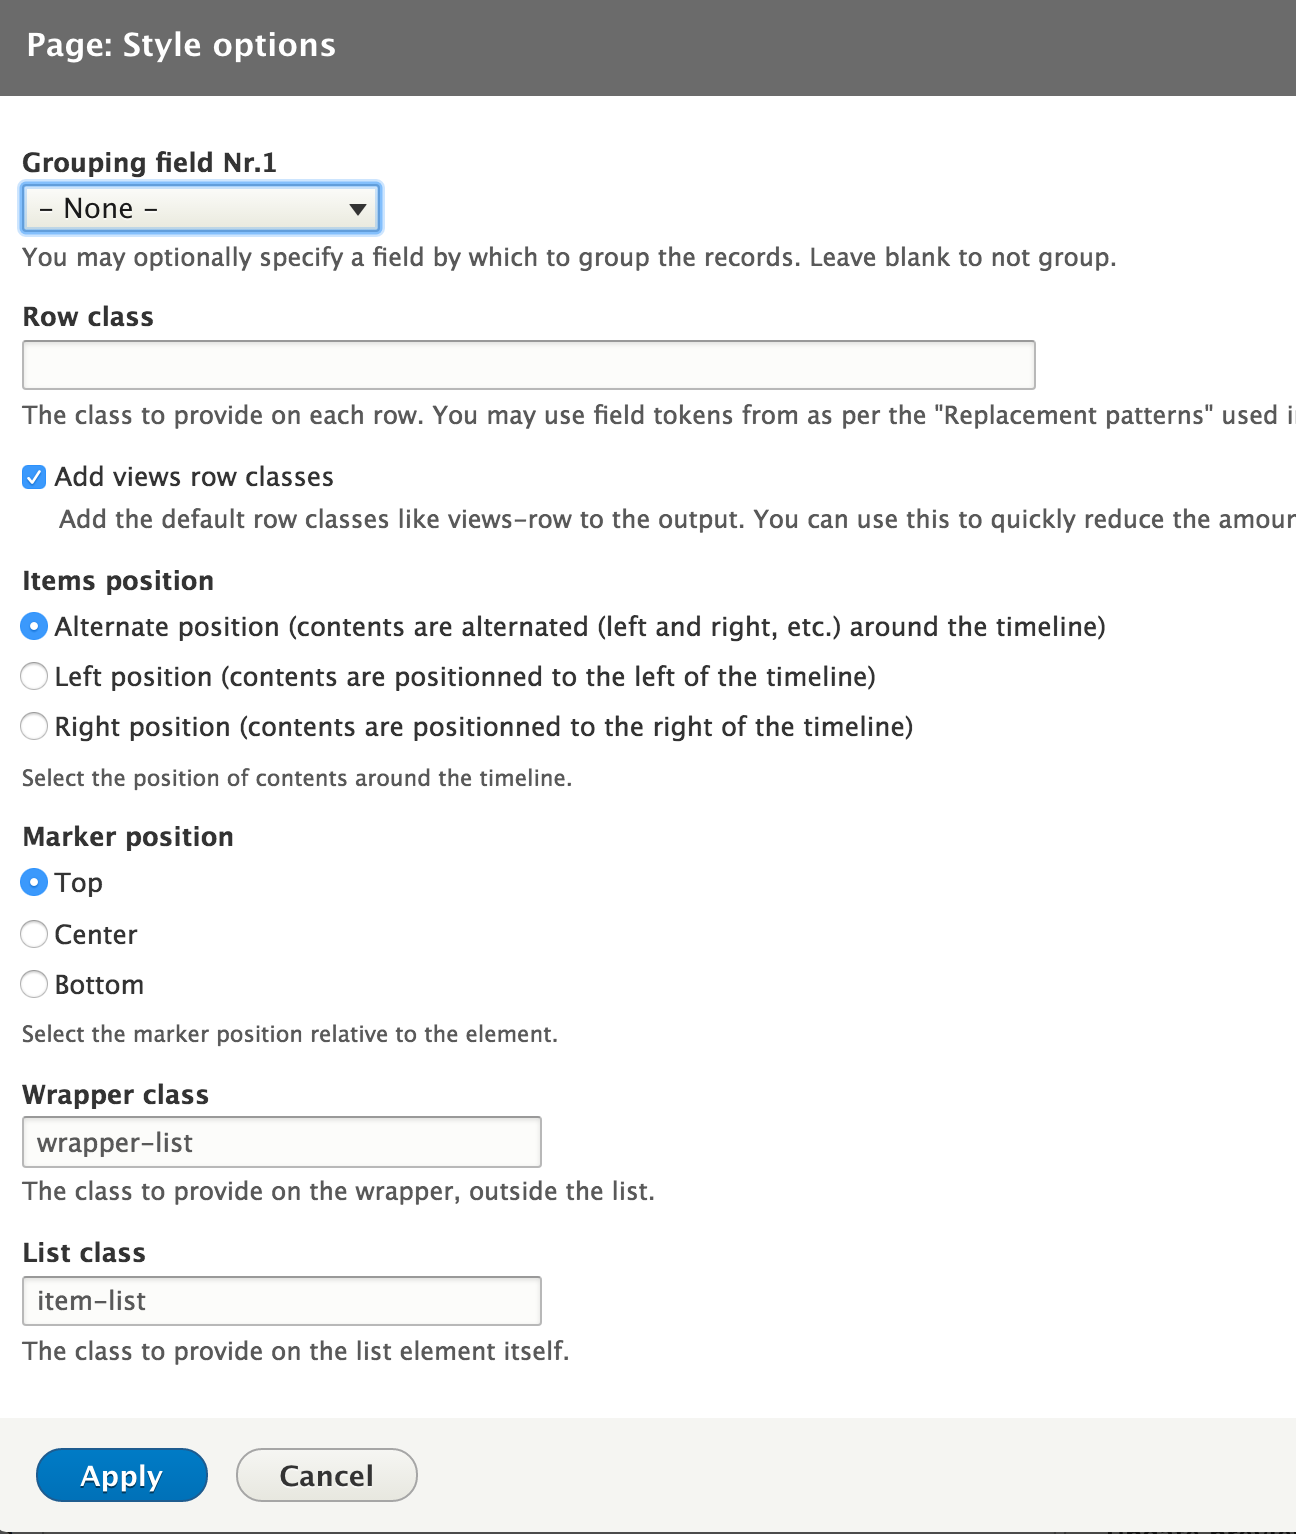
Create a new view and choose the style plugin Simple Timeline. Settings provided by the views style plugin timeline are :
Position of rows
you can set the position of rows related to the timeline : on the left, on the right or alternated.
Position of the marker
You can set the marker's vertical position : top, center or bottom of each row
Customization
To customize the timeline and marker look, you can override some simple css rules in your theme.
For example.
The timeline color
ul.timeline-list:after {
  background-color: #555555;
}
And the marker color
ul.timeline-list li.timeline-item .timeline-item-wrapper span.timeline-marker {
  background: #fff;
  border: 3px solid #555555;
  border-radius: 0;
}
You can choose to display rows with fields and customize each field as you want with standard options provided by Views, more powerful and flexibles. Or you can choose to display row as entities rendered (by selecting Content for the Show option).
Alternatives
Supporting organizations:
Development and maintenance of 8.x branch
Sponsoring co-maintainer + maintenance - smustgrave
Project information
 2,981 sites report using this module
- Created by alansaviolobo on , updated
 Stable releases for this project are covered by the security advisory policy.
Look for the shield icon below.


