Drupal OAuth Client with Wordpress
This document will help you configure WordPress as an OAuth provider, making Drupal an OAuth Client. Following these steps will allow you to configure OAuth/OpenID SSO between WordPress and your Drupal site such that your users will be able to log in to your Drupal site using their WordPress credentials.
Active 24/7 Support
If you face any issues or if you have any questions, please feel free to reach out to us at drupalsupport@xecurify.com. In case you want some additional features to be included in the module, please get in touch with us, and we can get that custom-made for you.
Also, if you are looking for some other OAuth providers, click here to check out the step-by-step guides for the other OAuth providers.
Installation of miniOrange Drupal OAuth Client module:
Using Composer:
- For Windows:
composer require drupal/miniorange_oauth_client - For Linux:
composer require 'drupal/miniorange_oauth_client' - Go to the Extend menu on your Drupal admin console and enable the module by checking the checkbox and clicking the install button.
- You can configure the module at
{BaseURL}/admin/config/people/miniorange_oauth_client/config_clc
Using Drush:
- Download the module:
drush dl miniorange_oauth_client - Install the module:
drush en miniorange_oauth_client - Clear the cache:
drush cr - You can configure the module at
{BaseURL}/admin/config/people/miniorange_oauth_client/config_clc
Manual installation:
- Go to Extend menu on your Drupal admin console and click on Install new module.
- Install the Drupal Drupal OAuth & OpenID Connect Login - OAuth2 Client SSO Login module either by downloading the zip or from the URL of the package(tar/zip).
- Click on Enable newly added modules.
- Enable this module by checking the checkbox and click on install button.
- You can configure the module at
{BaseURL}/admin/config/people/miniorange_oauth_client/config_clc
Setup WordPress as an OAuth Provider
- Login to the WordPress Site.
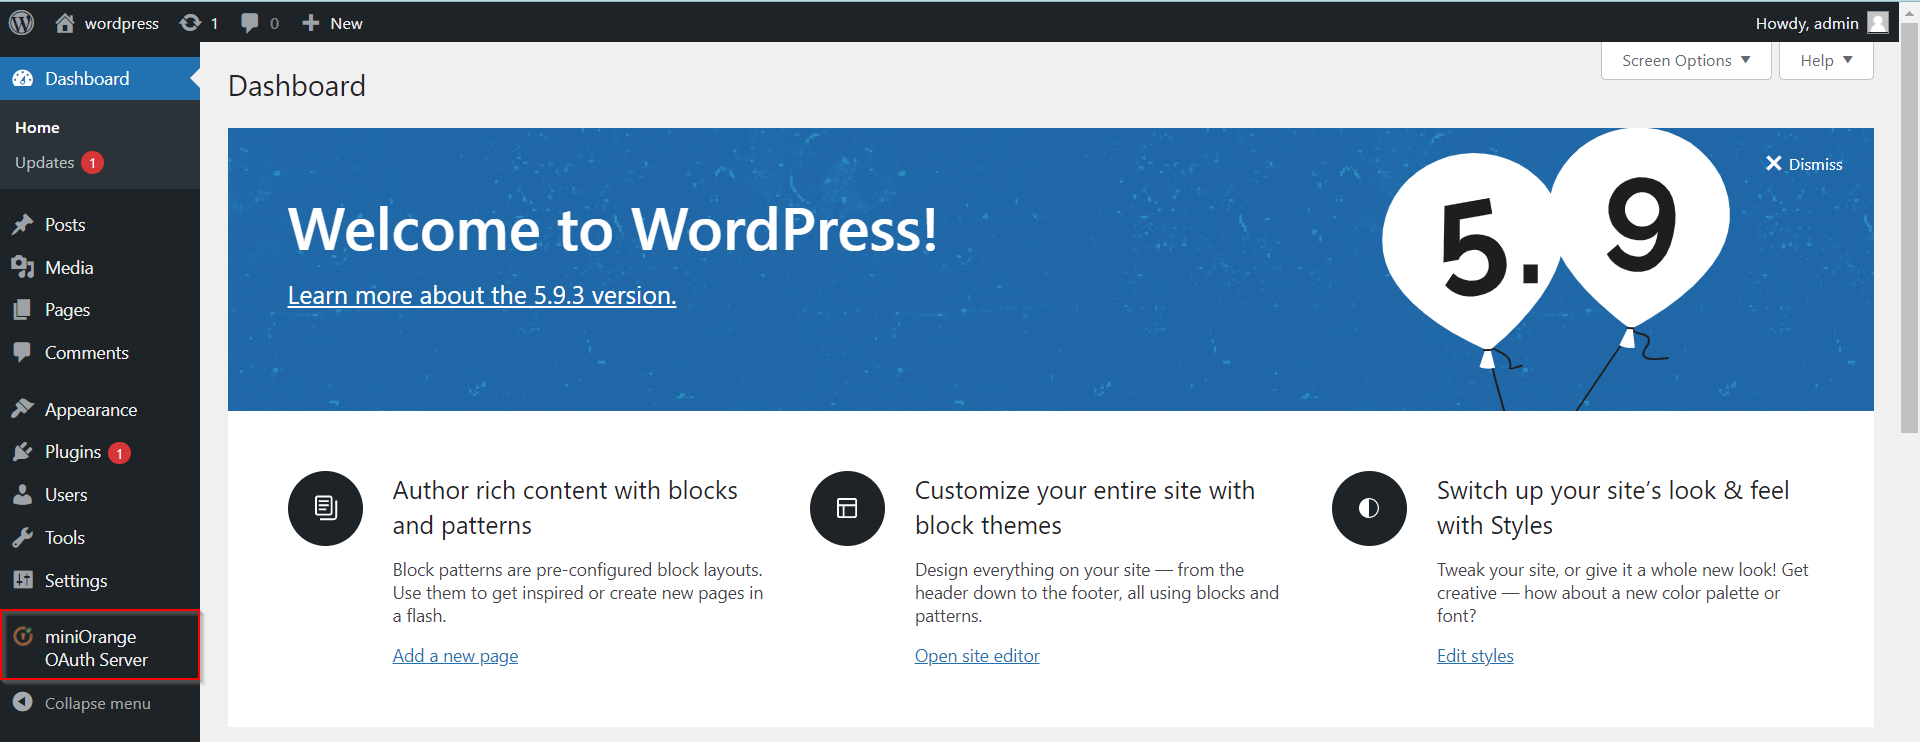
- Navigate to the miniorange OAuth Server plugin.
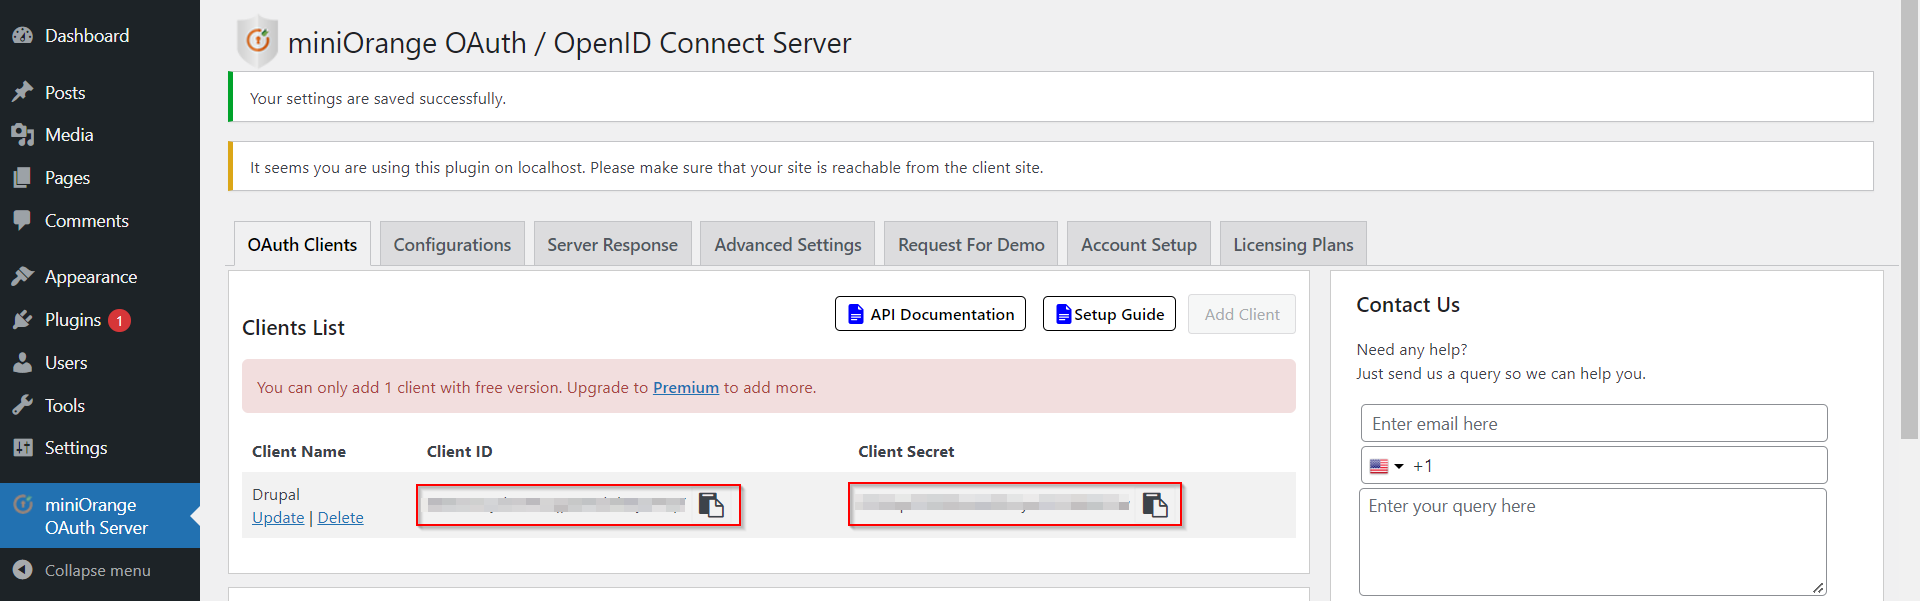
- Search for the Custom OAuth under the OAuth Clients tab for configuring WordPress OAuth Server.

- Enter the Client Name for eg. Drupal.
- You will get the Redirect URL from Drupal under the Configure OAuth tab.

- Enter the Redirect URL and click on the Save Client button.

Integrating Drupal with WordPress
- You will get the Client ID and Client Secret.
- Paste the Client ID and Client Secret in the Drupal with the respective fields.

- Now, go to the OAuth Clients tab of the Wordpress Plugin. You will get the Endpoints at the bottom of the page.

- Enter the Scope, Authorize Endpoint, Access Token Endpoint, Get User Info Endpoint in the Drupal with respective fields, and click on the Save Configuration button.

Test Configuration of Drupal with WordPress
- After successfully saving the configurations, please click on the Test Configuration button to test the connection between Drupal and WordPress.

- This Test Configuration window will provide you with a list of the attributes that are coming from the Wordpress.
- Select the Email Attribute from the dropdown menu in which the user's email ID is obtained and click on the Done button.

- Now, in the Attribute & Role Mapping tab, you can also choose the Username Attribute from the dropdown and click on the Save Configuration button.
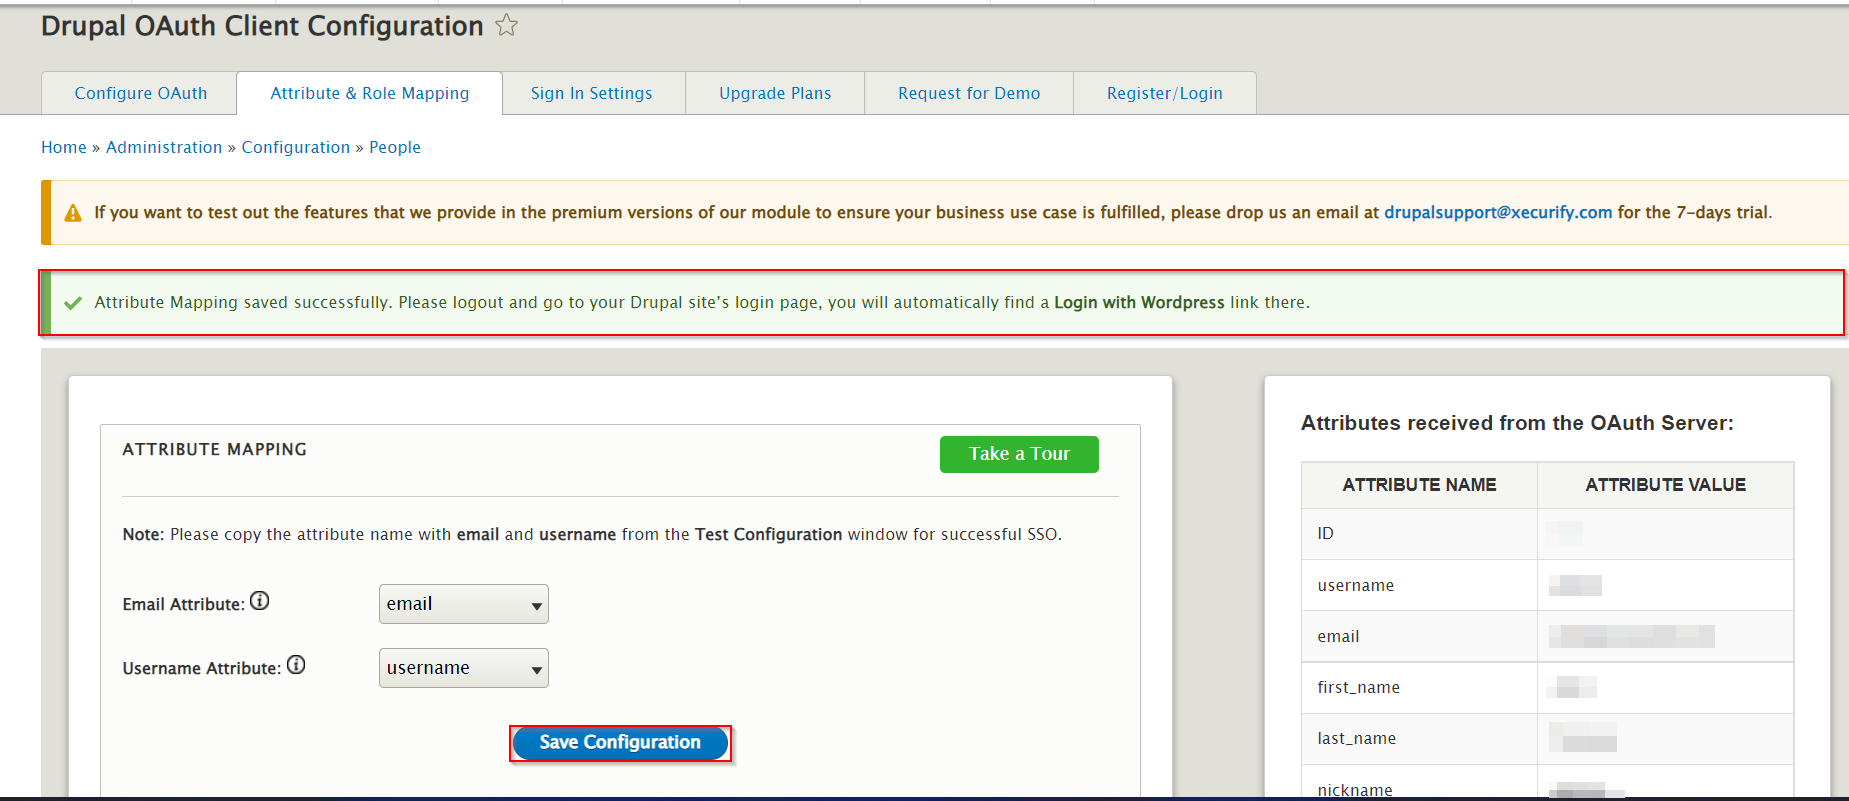
Please note: Mapping the Email Attribute is mandatory for your login to work.
- Now log out and go to your Drupal site’s login page. You will automatically find a Login with Wordpress link there. If you want to add the SSO link to other pages as well, please follow the steps given in the image below :

- If you are facing any difficulty or if you have any questions in mind, you can reach out to us by submitting a query in the Support tab of a module or by sending us a mail at drupalsupport@xecurify.com.
Help improve this page
You can:
- Log in, click Edit, and edit this page
- Log in, click Discuss, update the Page status value, and suggest an improvement
- Log in and create a Documentation issue with your suggestion
