On this page
- Prerequisites
- Install the simpleSAMLphp modules
- Add a symlink to the simpleSAMLphp library
- Configure the web server
- Apache
- Nginx
- Create and configure the config.php file
- Create and configure the authsources.php file
- Test the URL
- Exchange XML data with your identity provider (IdP) administrator
- Enable and configure your SimpleSAMLphp modules
Integrate simpleSAMLphp authentication
This documentation needs work. See "Help improve this page" in the sidebar.
The following section describes how to integrate Single Sign-On (SSO) via SAML for your Kickstart installation of the Apigee Drupal developer portal.
Prerequisites
Before you begin, make sure to:
- Install Composer in your local environment to download Drupal modules, dependencies, and patches. See Download Composer for instructions.
- Install the Apigee Developer Portal Kickstart distribution. See the Apigee Developer Portal Kickstart project page for installation details.
Install the simpleSAMLphp modules
Use the following command to install the simpleSAMLphp and simplesamlphp_custom_attributes modules using Composer:
composer require drupal/simplesamlphp_auth:4.x-dev drupal/simplesamlphp_custom_attributes --prefer-dist
You should now see the simpleSAMLphp library in [root]/vendor/simplesamlphp.
Note: If you experience a memory limit issue, set export COMPOSER_MEMORY_LIMIT=-1 and then run the Composer command again.
Add a symlink to the simpleSAMLphp library
Run the following command from Drupal’s root directory to add a symlink to the simpleSAMLphp library:
ln -s [path to]/vendor/simplesamlphp/simplesamlphp/www simplesaml
Configure the web server
Note: If you are using Pantheon to host your Developer Portal, skip this step.
Apache
To configure the web server using Apache, you can edit the .htaccess file found in the Drupal root directory. Right after the line:
RewriteCond %{REQUEST_URI} !/core/modules/statistics/statistics.php$
Add the following lines:
# Allow access to simplesaml paths
RewriteCond %{REQUEST_URI} !^/simplesaml
Nginx
To configure the web server using Nginx, you can edit the nginx.conf
location ^~ /simplesaml {
  index index.php index.html index.htm;
  alias /opt/apigee/apigee-drupal/wwwroot/private/simplesamlphp/www;
    location ~ ^(?<prefix>/simplesaml)(?<phpfile>.+?\.php)(?<pathinfo>/.*)?$ {
    include /opt/nginx/conf/fastcgi_params;
    fastcgi_pass 127.0.0.1:8888;
    fastcgi_param SCRIPT_FILENAME $document_root$phpfile;
    fastcgi_param PATH_INFO $pathinfo if_not_empty;
  }
}
The alias path /opt/apigee/apigee-drupal/wwwroot/private/simplesamlphp/www can be different based on your installation, above is assuming paths used by Apigee OPDK.
Create and configure the config.php file
- Create your
config.phpfile using the available file in theconfig-templatesdirectory:
cp vendor/simplesamlphp/simplesamlphp/config-templates/config.php vendor/simplesamlphp/simplesamlphp/config/config.php - Open the
config.phpfile you just created and add the following lines at the top, just after the opening<?phptag:
For Pantheon applications:
$ps = json_decode($_SERVER['PRESSFLOW_SETTINGS'], TRUE);
$host = $_SERVER['HTTP_HOST'];
$db = $ps['databases']['default']['default'];
For non-Pantheon applications:
require $_SERVER['DOCUMENT_ROOT'] . '/sites/default/settings.php'; $host = $_SERVER['HTTP_HOST']; $db = $databases['default']['default'];Note: The include path may be different on your server. Locate
sites/default/settings.phpin your directory structure to confirm the correct path. - At the bottom of the
config.phpfile, add the following:
// Set some security and other configs that are set above, however we // overwrite them here to keep all changes in one area. $config['technicalcontact_name'] = "Your Name"; $config['technicalcontact_email'] = "your_email@yourdomain.com"; // Change these for your installation. $config['secretsalt'] = '[YOUR-SECRET-SALT-ANY-STRING]'; $config['auth.adminpassword'] = '[ADMIN-PASSWORD]'; $config['admin.protectindexpage'] = TRUE; // Base URL $config['baseurlpath'] = 'https://'. $host .'/simplesaml/'; // SQL Connection $config['store.type'] = 'sql'; $config['store.sql.dsn'] = sprintf('%s:host=%s;port=%s;dbname=%s', $db['driver'], $db['host'], $db['port'], $db['database']); $config['store.sql.username'] = $db['username']; $config['store.sql.password'] = $db['password']; $config['store.sql.prefix'] = 'simplesaml'; // Temp directory must be writable $config['tempdir'] = '/path/to/tmp/dir';Note: If you are using Pantheon to host your application, replace the last two lines above with the following:
// Temp directory must be writable
if (isset($_ENV['PANTHEON_ENVIRONMENT'])) {
   $config['tempdir'] = $_SERVER['HOME'] .'/tmp';
}

if (!ini_get('session.save_handler')) {
  ini_set('session.save_handler', 'file');
}
Create and configure the authsources.php file
- Create your
authsources.phpfile using the available file in theconfig-templatesdirectory:
cp vendor/simplesamlphp/simplesamlphp/config-templates/authsources.php vendor/simplesamlphp/simplesamlphp/config/authsources.php - Open the
authsources.phpyou just created and add the following line at the very bottom of the file:
$config['default-sp']['entityID'] = '[UNIQUE-ID-OFTEN-A-DOMAIN-NAME]';Note: If you are using a git repository for a Pantheon application, run the following command:
git add . && git commit -am "adding simplesamlphp and dependencies" && git push
Test the URL
To confirm that the URL for your application is working, navigate to:
http://[portal.com]/simplesaml
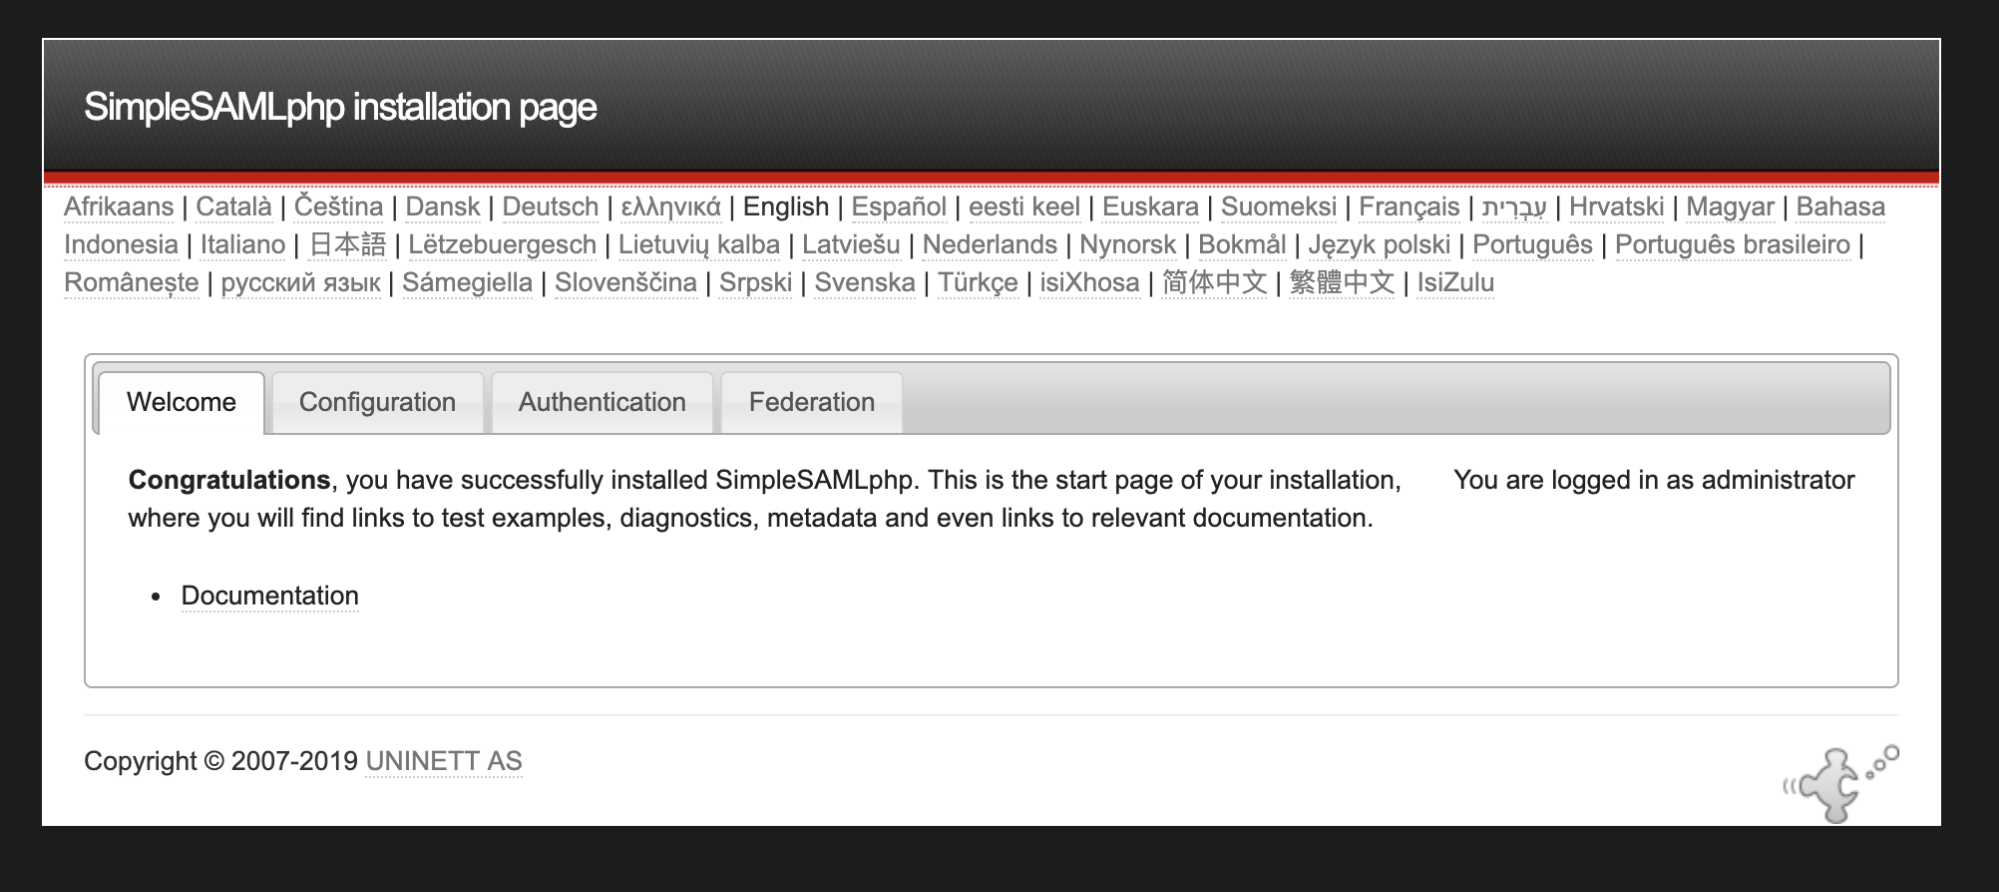
You should see the web interface for the SAML library:
Exchange XML data with your identity provider (IdP) administrator
To complete the connection between your Drupal developer portal service provider and your IdP, you must exchange XML data with your IdP.
- Find the metadata for your Drupal developer portal at https://[portal.com]/simplesaml/module.php/saml/sp/metadata.php/default-sp, where [portal.com] is the URL of your Drupal developer portal.
- Copy the XML document found there and send it to the administrator of your IdP.
- Ask your IdP for their metadata XML. You should specifically request the name of the attributes used by the IdP for the following:
- first name
- last name
- user name
- unique identifier.
Each of these attributes must be included in the SAML response from the IdP to your Drupal developer portal.
- Convert the XML response from your IdP, using the converter tool available at
simplesaml/admin/metadata-converter.php- Paste the XML response from your idP into the tool.
- Click Parse.
- Check the parsed file. If the file says
saml20-idp-remoteat the top, use the following command to create ametadata/saml20-idp-remote.phpfile in your SimpleSAMLphp directory:
cp vendor/simplesamlphp/simplesamlphp/metadata-templates/saml20-idp-remote.php vendor/simplesamlphp/simplesamlphp/metadata/saml20-idp-remote.php - If the parsed file does not say
saml20-idp-remote, run the command above using the appropriate template filename that matches.
- Open the
saml20-idp-remote.php(or appropriate file) and paste in the parsed XML response from the IdP.
Note: You can see that the key of the
$metadataarray is the entityID of the idP. For example, if the line is:$metadata['https://openidp.feide.no']the key is
'https://openidp.feide.no'. - Open
authsources.phponce again, and add this line at the bottom, where[METADATA-KEY]is the entityID or the IdP:
$config['default-sp']['idp'] = '[METADATA-KEY]';
Enable and configure your SimpleSAMLphp modules
You can enable the SimpleSAMLphp Authentication and SimpleSAMLphp Custom Attribute Mapping modules by either:
- Navigating to /admin/modules in your Drupal portal admin and enabling the modules, or
- Using the following Drush command:
drush en -y simplesamlphp_auth simplesamlphp_custom_attributes
To configure the SimpleSAMLphp Authentication module, navigate to Config > People > simplesamlphp_auth in your Drupal portal admin:
- Check "Activate authentication via SimpleSAMLphp." This will require all users to authenticate via SimpleSAMLphp, except those users listed under the "Local authentication" tab.
- Enable both settings under "Security." This includes the “Cookie only transmitted over HTTPS” setting and the “Cookie only accessible over HTTP protocol” setting.
- Click the "Local authentication" tab:
- Uncheck "Allow SAML users to set Drupal passwords."
- Add any user IDs or roles that you wish to allow to log in with local accounts. For example, you may wish to allow some users to log in locally for testing purposes, or in the even that your idP is unavailable.
- Click the "User info and syncing" tab.
- Set the attributes you wish to use for “username,” “email,” and “unique identifier.”
- Optional: Set any roles you wish to auto-assign to Drupal user accounts upon successful login. These can be configured based on SAML attributes.
To configure the SimpleSAMLphp Custom Attribute mapping module, navigate to Config > People > simplesamlphp_custom_attributes in your Drupal portal admin:
- Click Add mapping.
- Select “First Name” from the available dropdown and enter the attribute name provided by your IdP.
- Click Save.
- Click Add mapping.
- Select “Last Name” from the available dropdown and enter the attribute name provided by your IdP.
- Click Save.
Help improve this page
You can:
- Log in, click Edit, and edit this page
- Log in, click Discuss, update the Page status value, and suggest an improvement
- Log in and create a Documentation issue with your suggestion

