
 Come together with the global Drupal community in Rotterdam, 28 Sept – 1 Oct 2026. Sessions, contribution, connection, and Early Bird savings until 8 June.
Add nodes in bulk for translation into another language
The "Add translation" module creates translation nodes in bulk for a language, instead of manually adding each individual node. The added nodes will be still in the original/default language and each will need to be actually translated by editing it with the new language.
Installation Steps
1. Download the folder add_translation and place it under modules/custom directory.
2. Enable the module add_translation from Extends.
3. It will automatically enable the dependent modules: Language, Locale, and Content Translation.
4. Go to the language page and add the required languages (/admin/config/regional/language)
5. Go to the Content language and translation page (/admin/config/regional/content-language) and select the content types that you want to enable translation for.
6. Once you have enabled translation for the content types and added the translation languages, you can start configure this module and click the Add Translation button to add the translation.
How to configure the Module
1. Go to the configuration -> Configure Bulk Translation (/admin/config/add-translation/settings)
2. Choose the `language`, `content type` and `status` from the dropdown and save the configuration.
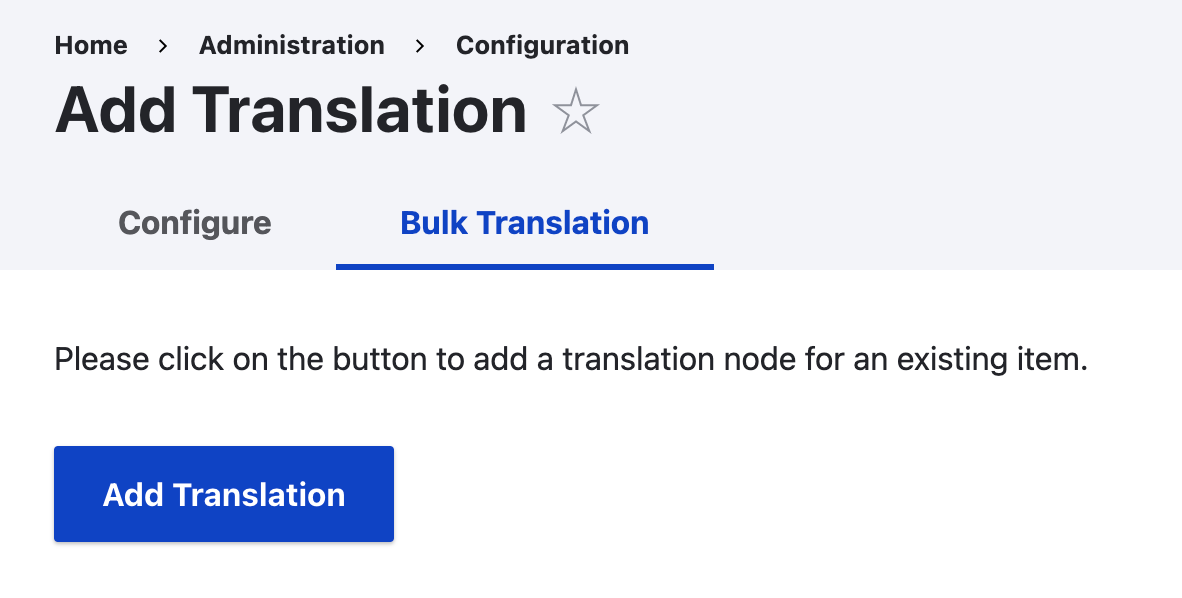
3. Finally click the button Add Translation from Bulk Translation Tab. It will generate the translated nodes in bulk for the selected language and content type.
4. It runs in batches to translate the nodes.
Project information
 Maintenance fixes only
Considered feature-complete by its maintainers.- Project categories: Administration tools, Content editing experience
- Ecosystem: Content translation
 85 sites report using this module
- Created by jayprakash01 on , updated
 Stable releases for this project are covered by the security advisory policy.
Look for the shield icon below.

