 Come together with the global Drupal community in Rotterdam, 28 Sept – 1 Oct 2026. Sessions, contribution, connection, and Early Bird savings until 8 June.
Using Material Icons as a field
Adding a field to an entity type
To add the Material Icons field to an entity type, go to Structure > [Your entity type] > Manage fields. Click “Add field” and select the Material Icons field from the “Add a new field” dropdown. Give the field a label, then click “Save and continue.”
In this example, the Amenities field of the Material Icons type is being added to the Property content type — to enable the creation of property listings where amenities for each property will be displayed as icons.

You’ll be redirected to the field settings page where you’ll be able to set the allowed number of values for the field. Click “Save field settings.”

On the final page of the field settings, you can choose to:
- change the field label
- make the field required
- set the default value(s): the icon(s), the style(s), and, optionally, the CSS class(es)
Click “Save settings.”

Arranging the fields in the right order
As usual with adding a new field, you’ll need to check if the fields are placed in the right order on the entity editing form. You can go to Structure > [Your entity type] > Manage form display and rearrange the fields based on your needs in one of the following ways:
- by drag-and-dropping them
- by changing row weights (the lower the weight, the higher the field will be displayed)
Click “Hide row weights” or “Show row weights” to switch between these two modes.

As regards the positioning of the Material Icons field on the front end, you can do similar steps in Structure > [Your entity type] > Manage display.
When done, click “Save” at the bottom of the page.
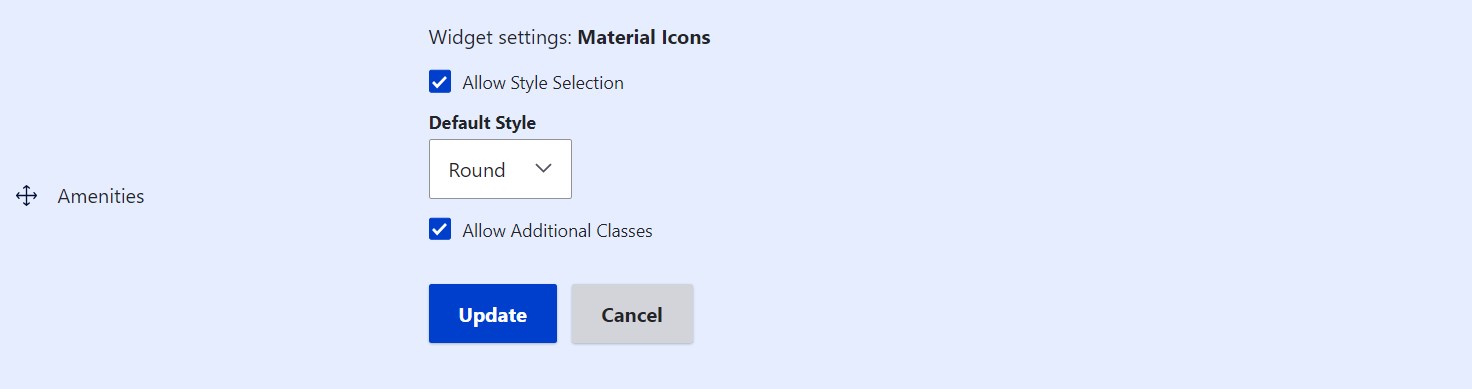
Configuring the field widget
The field widget for the Material Icons field type enables you to:
- allow or disable style selection
- set the default icon style
- allow or disable additional classes
To configure it, go to Structure > [Your entity type] > Manage form display. Click on the gear icon to the right of the field.

The widget settings will open. When you’ve done configuring them, click “Update” for the widget settings and then “Save” at the bottom of the Manage form display page.
Adding icons to entities
Open the entity editing form of any entity of the type and you’ll see that there have appeared some input fields to add an icon (or multiple icons, depending on the maximum number of values you’ve allowed in the field settings).
Start typing the name of an object or a concept in the “Icon Name” input field, and relevant icon options will appear in the autocomplete dropdown. Once you’ve seen the right icon, click on it.

You’ll also be able (or not) to select the icon styles from the dropdown and add CSS classes. This depends on:
- the styles you’ve previously enabled (see the Configuring the available icon styles page)
- whether you’ve allowed or disallowed selecting styles and adding classes in the “Configuring the field widget” part

Save the entity and the icon (or multiple icons) should appear in it. In this example, the following amenities have been added via the Material Icons field to a Property node “House by the ocean”:
- “Beach access”
- “Child-friendly”
- “Smoke-free”
- “Stairs”
- “Spa”

Help improve this page
You can:
- Log in, click Edit, and edit this page
- Log in, click Discuss, update the Page status value, and suggest an improvement
- Log in and create a Documentation issue with your suggestion
