
Usage
This is documentation for Drupal 7, which is no longer supported. Learn more and find resources for Drupal 7 sites
Head on over to admin/config/user-interface/brands, and if you haven't already created any brands, you'll see an administrative display which looks like the following:

Creating a Brand
| Field | Description |
|---|---|
| Branding Name | The human-readable name of the Brand |
| Machine Name | The machine name of the Brand, which is a unique identifier for the Brand |
| Description | The most recent message associated to a Brand, which serves as a human readable description of the change - similar to a git commit message for historical recollection purposes. |
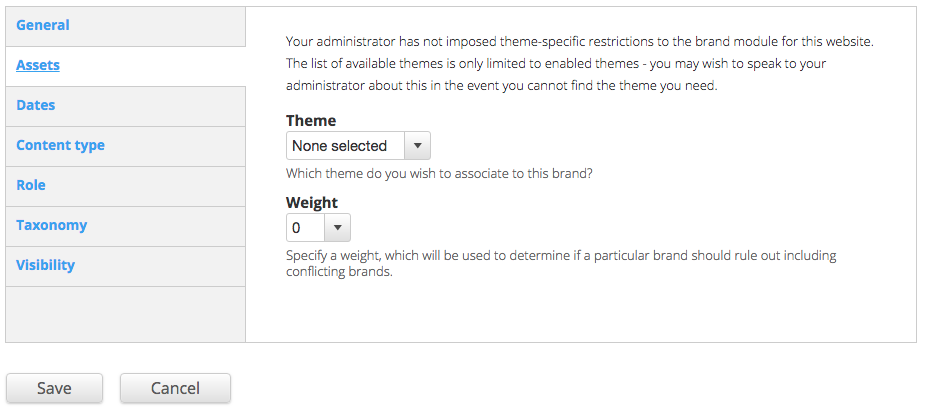
| Theme | The theme which the Brand will be making use of. |
| Weight | The weight of the entry, which will only be used to determine which Brand to use if there are conflicts |
| Date created | A hidden field, which is a UNIX timestamp representation of when the form was generated. |
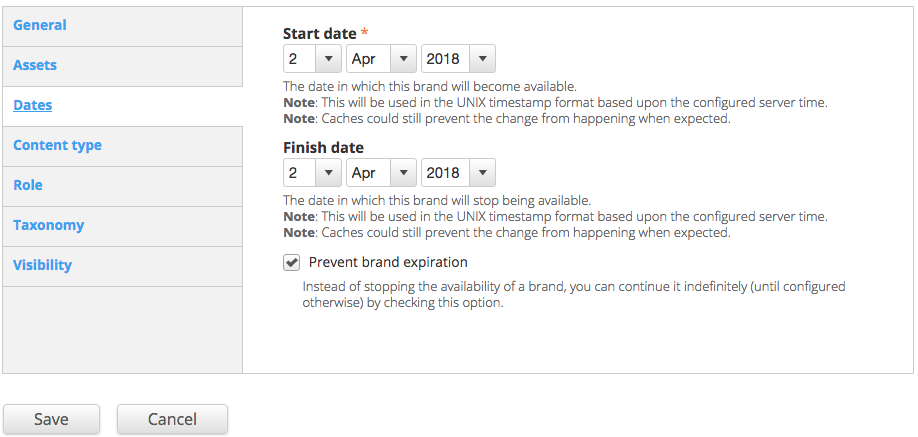
| Start Date | The date the Brand should be active from, based upon server time to the specified day. |
| Finish Date | The date the Brand should expire, if expiration isn't prevented, based upon server time to the specified day. |
| Prevent Brand Expiration | On by default, this field will prevent the finish date from discontinuing to use the Brand after the date ticks over. |
| Book | Which book should implement this Brand? |
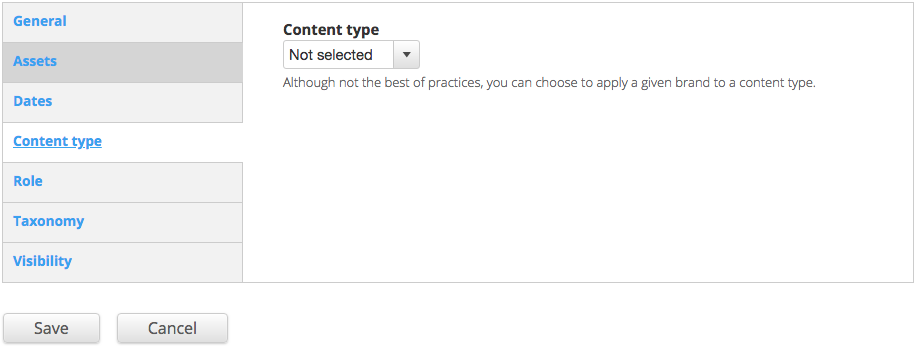
| Content Type | Which content type should implement this Brand? |
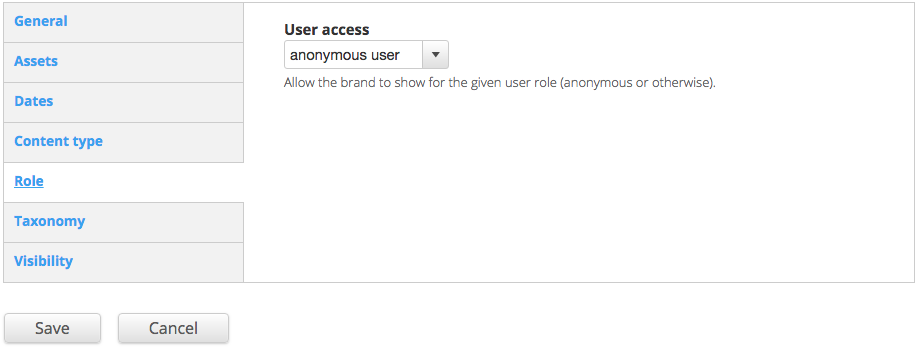
| User access | Which user role should implement this Brand? |
| Term | Content tagged with which term should implement this Brand? |
| Paths | An open text field which you can specify with paths, aliases or globs such as "node/1", "my-first-page" or "section1/*" |
If you click on the New Brand button, you'll be taken to the following screen.

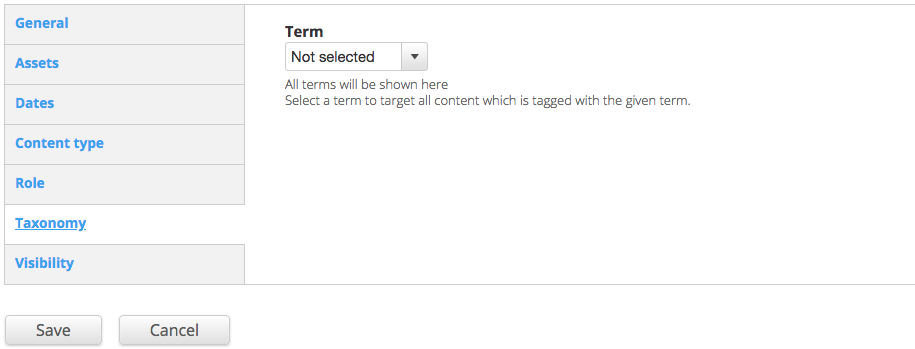
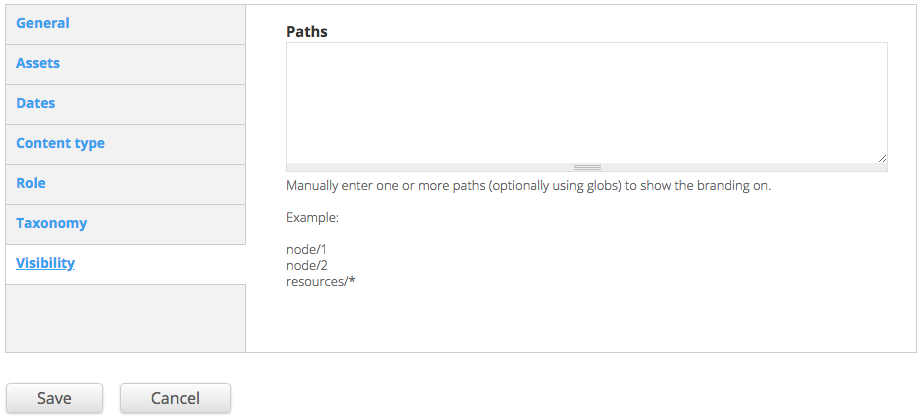
Accessing historical information
After a Brand has been created, you can go back to admin/config/user-interface/brands and see a list of Brands. This is a view which shows the latest entry for each Brand. You have the option of going to a secondary screen which lists all changes to the brand based upon a contextual filter on the machine name of the Brand.
This initial view will physically test that the theme used by the Brand is allowed to be used, and it will test if the Brand will activate based upon the logic provided by the administrator/developer. Themes which are not allowed for use, by any means will simply default to the site configured theme. This can be influenced by administrators who disallow a theme from being used, or if an administrator suddenly wants to restrict access and doesn't include exclusion rules for a given theme.

On the following page, you can add a new entry to the Brand, or you can delete the Brand entirely should you have the correct permission to do so. This view is configurable, however by default it will simply show the date, the description field and the user who made the change.

Looking at the mybrand Brand we created, we are able to look at the entire contents of the record at the time of submission. After clicking the link to the name of the Brand, you'll be brought to the entire form with everything disabled. The only difference here is that the machine name field is protected and hidden from view. You've also got the ability to cancel/go back, or to delete the record if you have sufficient permission. It may be possible to revert to a version or to compare with current in the future, however that feature doesn't exist at this time. Please open an issue if you're interested in such functionality.

Practical example
Finally let's try a real-world change which would be realised on a production environment. In the case above, our website is a stock standard Drupal 7 installation using the govCMS distribution. So our default theme (7.x-2.17) is govcms_barton, but we want node 20 to be rendered with the garland theme.
Let's make use of the existing Brand to make the change, and preview the results as an anonymous user.
Step 1
Here we have the modified Brand where we've added 'node/20' to our targets list. The next few steps will show that through the administrative UI. Initially, we can see the mybrand Brand was changed on 02/04/2018 by the admin user with the changes previously detailed in the description field.

Step 2
Step 2 shows the description field in the entry information we can access.
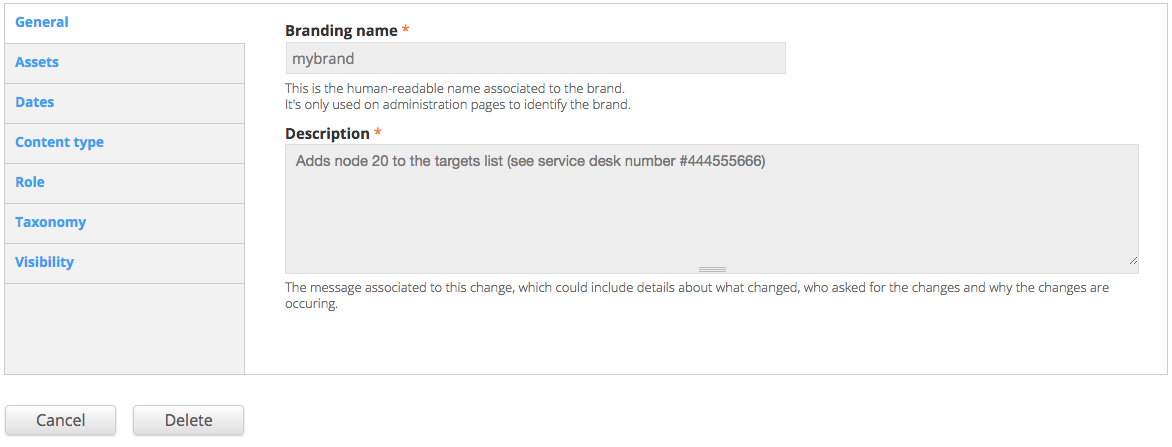
Step 3
Step 3 shows our theme has been configured to use garland.
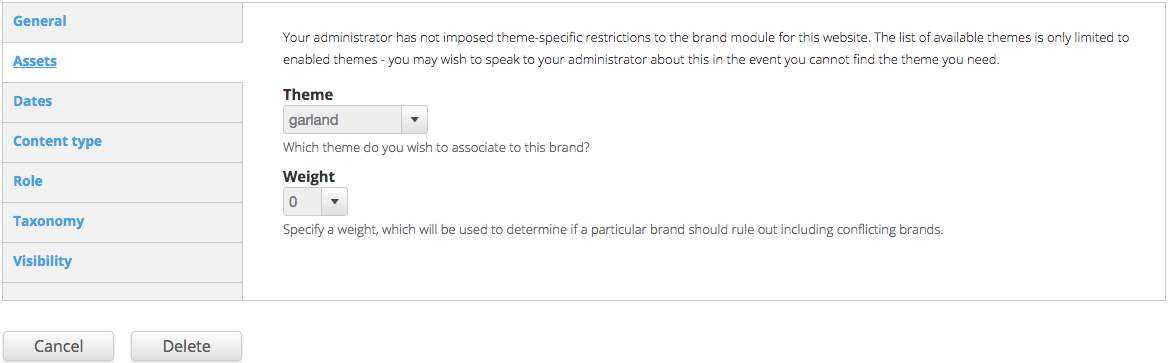
Step 4
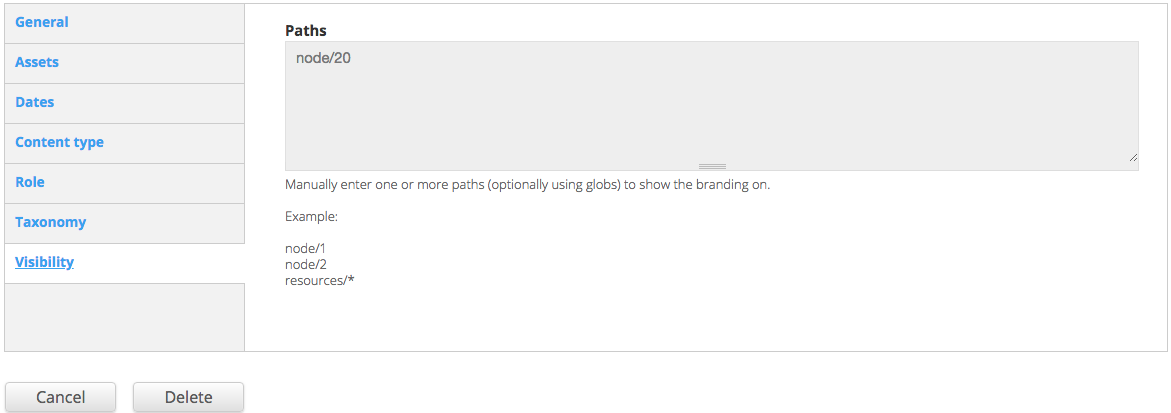
Step 4 shows we've asked the system to use node 20 as specified by 'node/20' in our path visibility field.
Step 5
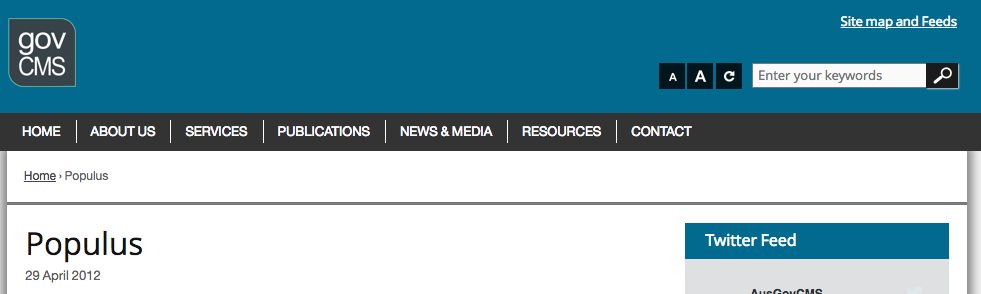
As a comparative example, let's visit node/19 to show that we are not using garland as the website default theme, and this page was rendered using an anonymous user.
Step 6
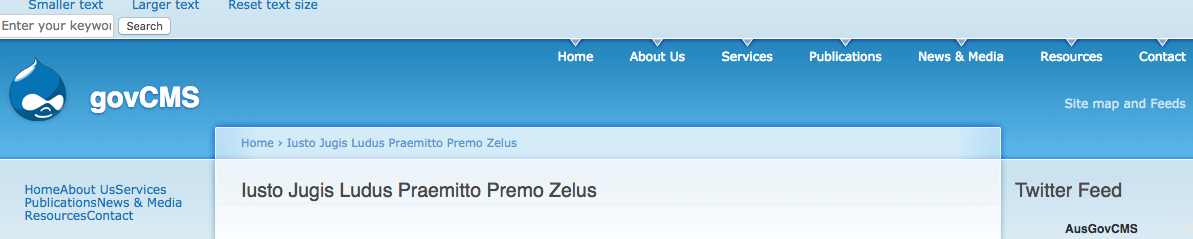
Step 6 presents us with node/20 as using garland for anonymous users.
Step 7
To prove the concepts further, let's checkout the configuration to see how garland is configured. We notice that themes can be used without being allowed or disallowed, and garland is in the allowed theme list. Let's remove the access control for using any themes as the administrator/developer actions, and let's remove the garland theme from being allowed. We'll test how that impacts node/20 and we'll see if that alters the information presented on the administrative page.

Step 8
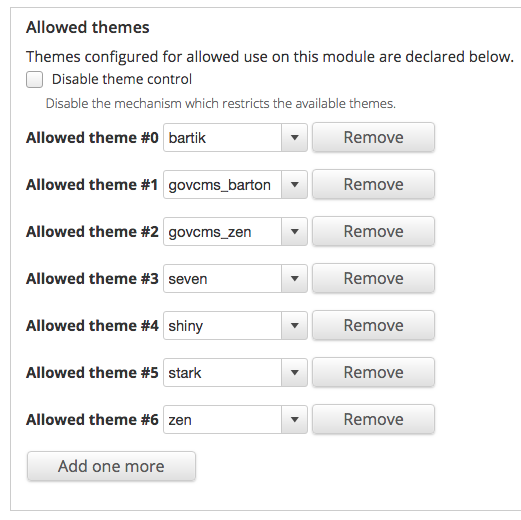
Here's our new configuration. Note that we've removed garland from use, and we are now enforcing theme controls so that users can only choose themes which are allowed to be used.
Step 9
Step 9 will show us that the mybrand Brand is using a theme which isn't allowed to be used, so we can predict that now the theme will resort to the default theme configured for use by the site.

Step 10
Step 10 shows us that our predictions in step 9 are accurate, and the garland theme does not render despite the current historical record of the Brand is configured to use it. It now doesn't render because our site administrator has removed our access from that theme (a practical real-world example). This allows for policy-driven development and administration to naturally/organically take place.

Help improve this page
You can:
- Log in, click Edit, and edit this page
- Log in, click Discuss, update the Page status value, and suggest an improvement
- Log in and create a Documentation issue with your suggestion
