
On this page
- On this page
- 1 Administrative configuration options
- Enabled OpenID Connect clients
- Settings:
- Override registration settings
- Save user claims on every login
- Automatically connect existing users
- User claims mapping
- 2 Permissions
- Administer OpenID Connect clients
- Manage own connected accounts
- Set a password for local authentication
- 3 OpenID Connect login block
- Example: Place the OpenID Connect login block at the user login page
Configuration
On this page
1 Administrative configuration options
The configuration options of the OpenID Connect module are available at Administration » Configuration » People » OpenID Connect.
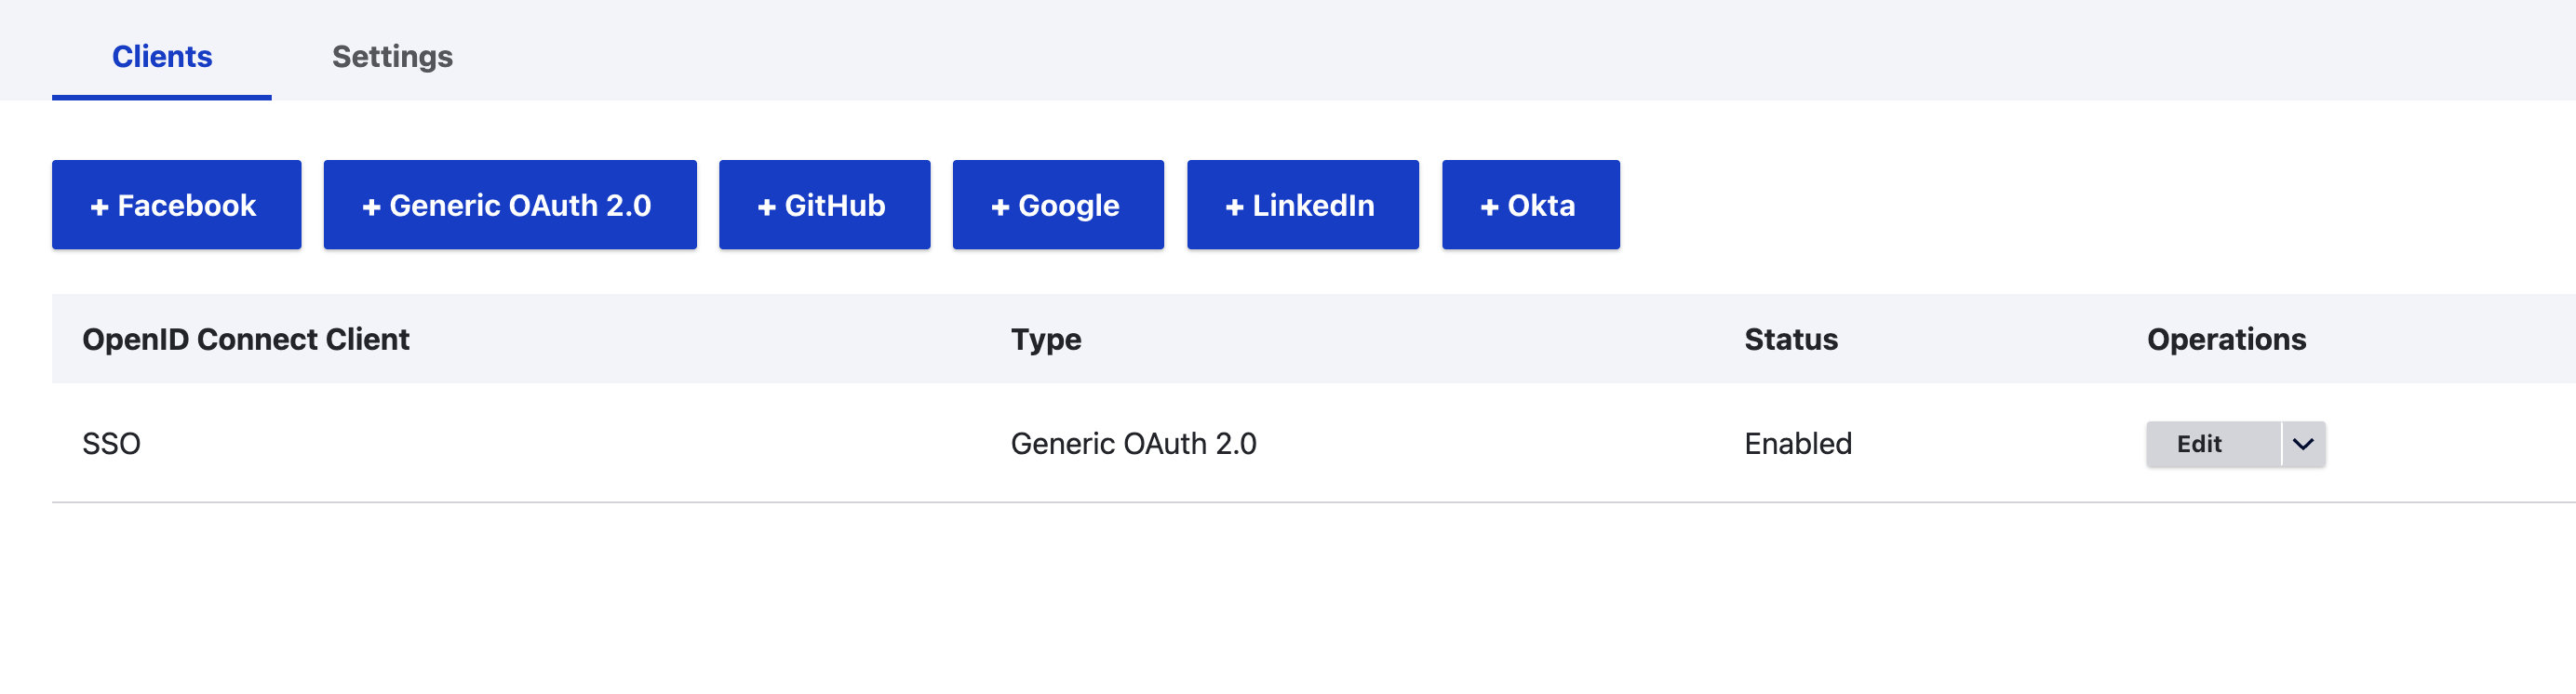
Enabled OpenID Connect clients
You can choose to enable the bundled authentication clients for Google, Facebook, LinkedIn and GitHub, and/or use the additional generic client to specify a custom authentication server. As the OpenID Connect module allows to add further customized clients, you may have additional clients to choose from.

Please refer to the client specific configuration page for details on how to setup the clients available.
Settings:

Override registration settings
If this option is enabled, users will always be created when they login the first time to your Drupal site using an OpenID Connect client. This option overrides the Drupal user account setting that allows administrators only to create new user accounts.
Save user claims on every login
The OpenID Connect module allows to map user information ("user claims") provided by the external authentication provider to your Drupal user account properties. (Compare the following setting "User claims mapping".)
If this option is disabled, user claims will only be saved when the account is first created. If this option is enabled, the user account properties will be updated every time an OpenID Connect client is used to login the user to your site.
Automatically connect existing users
Existing user accounts will be identified using their email address. If this option is enabled and an OpenID Connect client is used the first time to login an user that already has an account in your Drupal site, the external account will automatically be connected with the existing user account. If this option is disabled, and the user already has an account in your Drupal site, authentication will fail on a login attempt using the OpenID Connect client.
User claims mapping
User claims are user information provided by the external authentication provider. The options shown here allow to automatically synchronize the external information with your site user's properties.
Read more about OpenID Connect standard claims at http://openid.net/specs/openid-connect-core-1_0.html#StandardClaims
2 Permissions
The module adds three new user permissions to Drupal, that can be granted on the Administration » People » Permissions page within the OpenID Connect section:
Administer OpenID Connect clients
This permission is required to open the administrative configuration of the OpenID Connect module at Administration » Configuration » People » OpenID Connect and to alter the administrative settings of the module.
Manage own connected accounts
Users with this permission will have an additional Connected Accounts menu item (task) within their user menu. On this page they can connect and disconnect their own profiles with external authentication servers.
Set a password for local authentication
The OpenID Connect module by default removes the password from the user account edit form, when the user account is connected to an external authentication provider.
Give this permission to users that shall be able to login using the connected OpenID Connect authorization provider's profile and/or password authentication.
3 OpenID Connect login block
A standard Drupal block is available to sign in with the login providers for which clients are enabled. A single button is shown for each login provider.
You can add this block to your pages in Administration » Structure » Block layout.
Example: Place the OpenID Connect login block at the user login page
- Go to Administration » Structure » Block layout and scroll don to your Content region. Find and click the Place block button beside the region title:

- Scroll down or filter the list of available blocks for OpenID Connect login and click the Place block button:

- Configure the title, open the Pages tab at the Visibility settings and add the URI /user/login to the Pages on which the block shall be shown:

- Save the block and save the blocks layout.
Help improve this page
You can:
- Log in, click Edit, and edit this page
- Log in, click Discuss, update the Page status value, and suggest an improvement
- Log in and create a Documentation issue with your suggestion
