User Attribute Based Restriction - OAuth & OIDC Login
What is Attribute based Restriction?
The Attribute based Restriction feature allows you to restrict users' access to the Drupal site based on the attributes received from OAuth or OIDC Provider. Using this feature, you can also redirect the user to a specific Drupal site URL if the user is restricted from logging in using SSO.
Prerequisite:
- Install and activate the OAuth & OpenID Connect Login - OAuth2 Client SSO Login module on your Drupal site. Follow these steps to install the module.
How to Configure Attribute based Restriction
Follow this video or the steps below to configure the Attribute based Restriction feature.
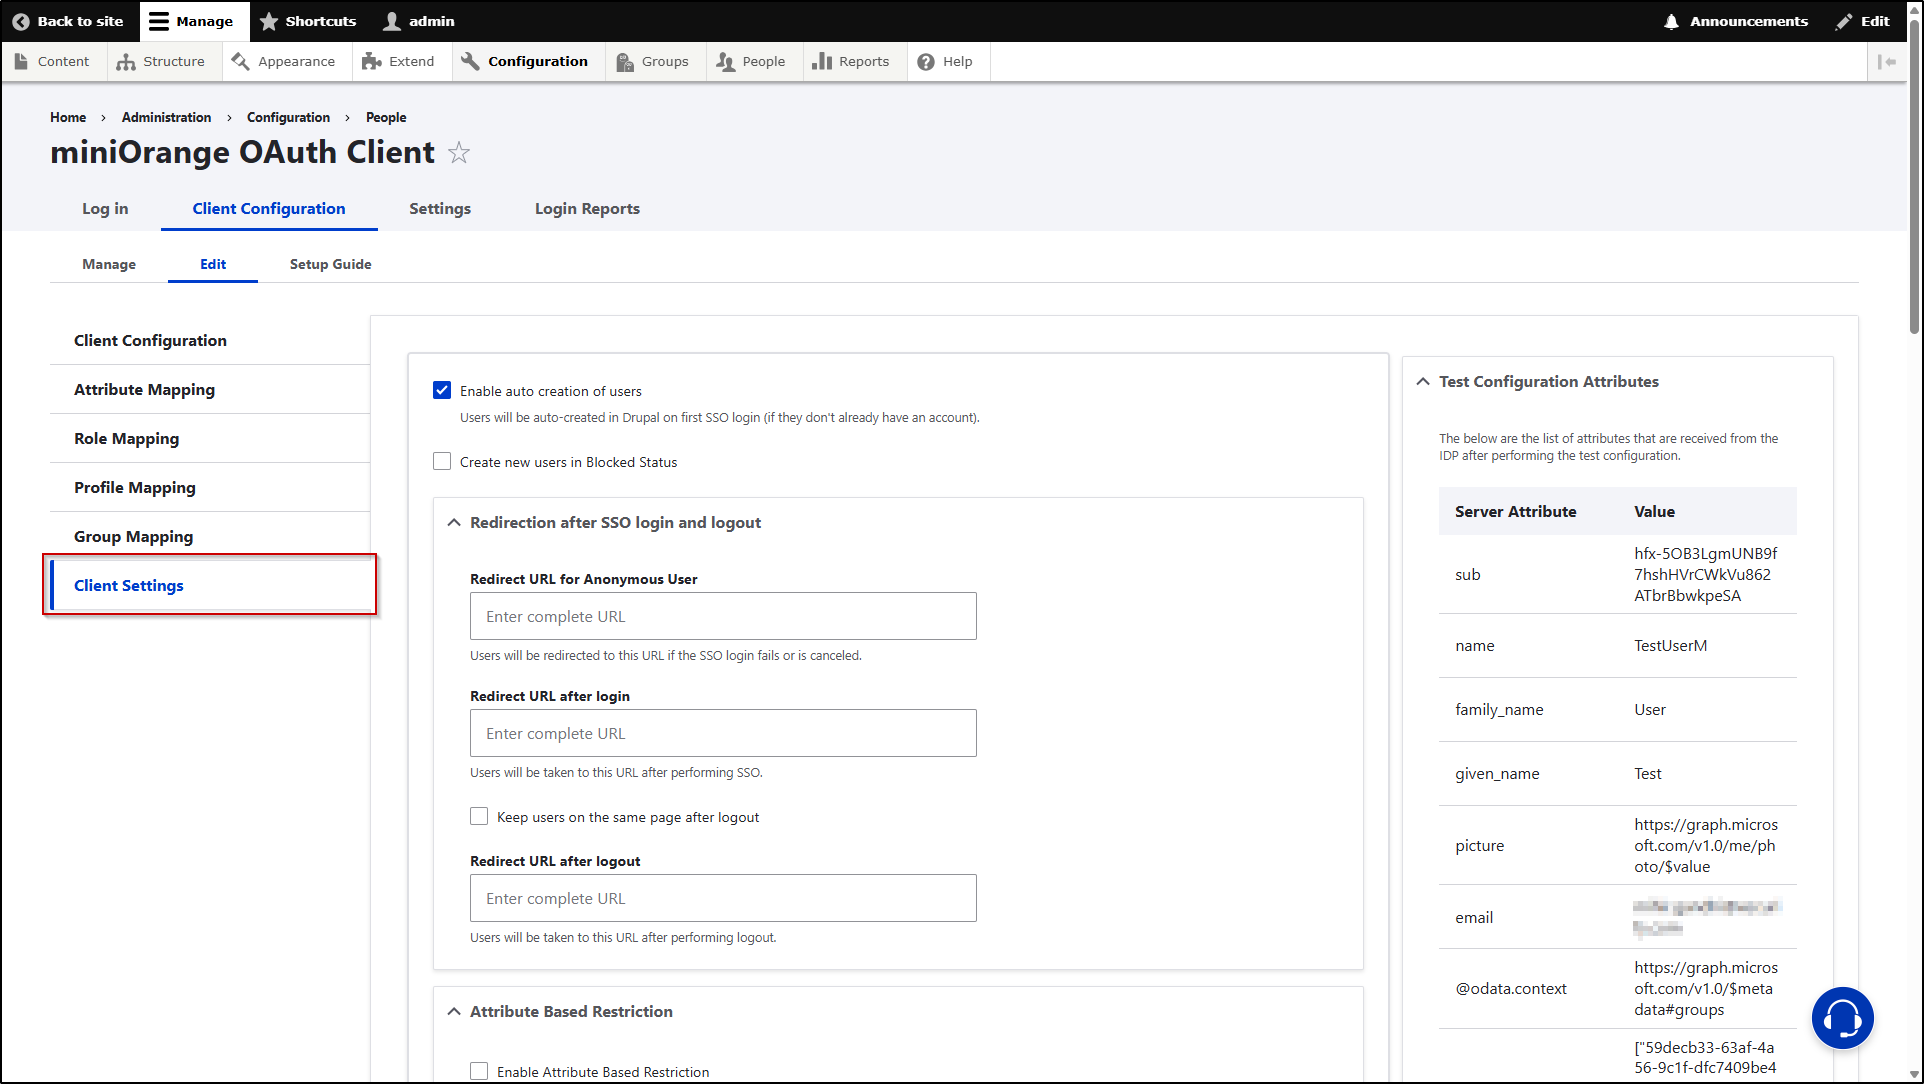
- Once you have configured the OAuth or OIDC Provider successfully, you can click on the Test Configuration button to verify whether the configurations are correct.
- If all the configurations are correct, you will receive a list of attributes from OAuth or OIDC Provider.
-
After you have received the attribute list, navigate to the Client Settings tab.
-
Scroll down to the Attribute Based Restriction section and check the Enable Attribute Based Restriction check box.

- Once you enable the checkbox, you will be provided with further configurable options.
-
In the Attribute Name text field, you need to enter the attribute name received from the OAuth / OIDC server. The restriction will be applied according to the value received in this Attribute. Just for example, we are receiving an attribute name as email from the provider and we want to restrict the user login using the values received in this attribute.

- Once you have added the attribute name, you have 2 options regarding the restriction.
- Allow below Attributes: Enabling this option will allow the users with the aforementioned attribute name, to perform SSO.
- Restrict below Attributes: Enabling this option will restrict the users with the aforementioned attribute name, to perform SSO.
-
Now, in the text area, you have to enter the values that are received in the aforementioned attribute name. You can enter multiple values using a semicolon as a separator as well. In our case, we want to restrict those users to perform SSO who have an email ID value in the email attribute. So, the final configurations will be as follows:

- In addition to restriction, you also get an option to redirect the restricted user to any particular Drupal site URL. In order to use this feature, you will need to enter the Drupal site URL (on which you want to redirect the restricted users) in the Redirect URL for Restricted Users text field.
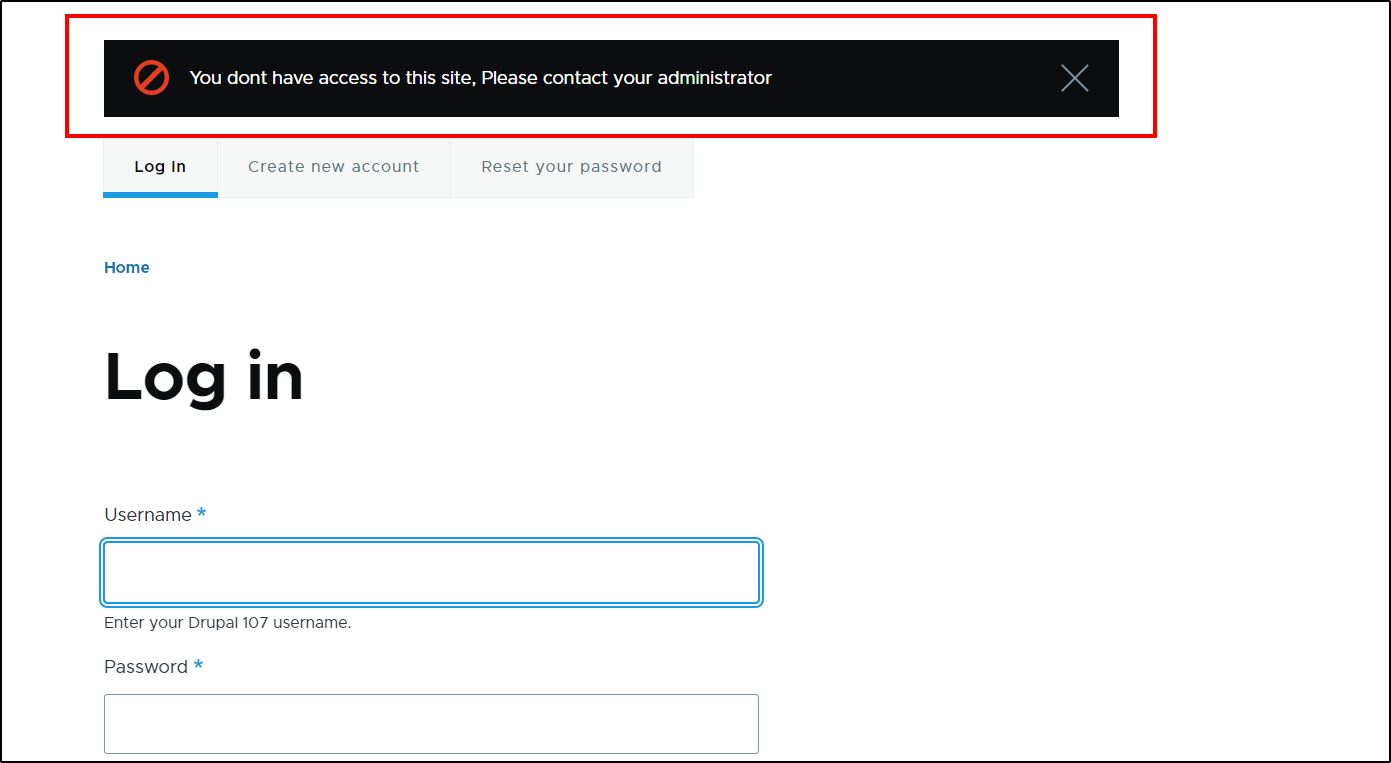
- If you keep the text field empty, then the users will be just shown an error - You do not have access to this site, Please contact your administrator.
-
Once done with all the configurations, scroll down and then click on the Save Configuration button.

Let’s see how this works
- Open a new incognito/private window and go to your Drupal site's login page.
- Click on the Login using the Provider link to initiate the SSO.
- Let's first try with the user who has a Membership attribute value set as Active. This user will be logged in to the Drupal site successfully.
- Now, let's try with the user who has a Membership attribute value set as Expired.
-
After performing SSO, the user will be redirected to the Login page of the Drupal site and provided with the following error message:
Help improve this page
You can:
- Log in, click Edit, and edit this page
- Log in, click Discuss, update the Page status value, and suggest an improvement
- Log in and create a Documentation issue with your suggestion

