 Support for Drupal 7 is ending on 5 January 2025—it’s time to migrate to Drupal 10! Learn about the many benefits of Drupal 10 and find migration tools in our resource center.
Experimental project
This is a sandbox project, which contains experimental code for developer use only.
Complete Drupal Varnish Cache 3.x/4.x integration.
Ported from my Wordpress plugin https://wordpress.org/plugins/vcaching/
This plugin handles all integration with Varnish Cache. It was designed for high traffic websites.
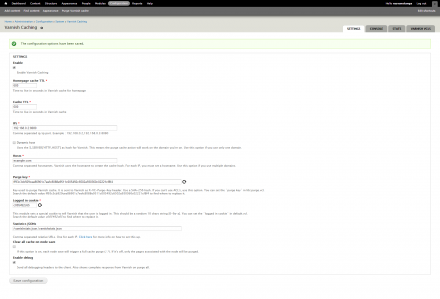
You can control the following from the Varnish Caching admin panel :
* Enable/Disable caching
* Homepage cache TTL
* Cache TTL (for every other page)
* IPs/Hosts to clear cache to support every type of Varnish Cache implementation
* Purge key based PURGE
* Logged in cookie
* Debugging option
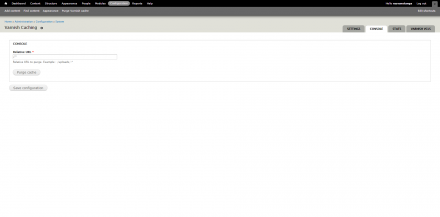
* console for precise manual purges
This plugin also auto purges Varnish Cache when your site is modified.
Varnish Caching sends a PURGE request to Varnish Cache when a node is modified. This occurs when editing, publishing, commenting or deleting a node.
Not all pages are purged every time, depending on your Varnish configuration. When a post, page, or custom post type is edited, or a new comment is added, only the following pages will purge:
* The front page
* The node edited
Varnish Cache is a web application accelerator also known as a caching HTTP reverse proxy. You install it in front of any server that speaks HTTP and configure it to cache the contents. This plugin does not install Varnish for you, nor does it configure Varnish for Drupal. It's expected you already did that on your own using the provided config files.
Drupal 8 version
Drupal 8 version work will start very soon.
Drupal 7 version
Should be considered rather stable.
INSTALLATION AND CONFIGURATION
* You must install Varnish Cache on your server(s)
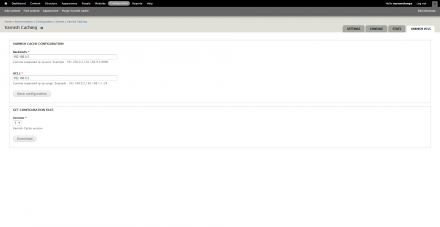
* Go to the configuration generator. Fill in the backends/ACLs then download the configuration files
* Use these configuration files to configure Varnish Cache server(s). Usually the configuration files are in /etc/varnish. In most cases you must put the downloaded configuration files in /etc/varnish and restart Varnish Cache
* Or use the provided Varnish Cache configuration files located in modules/vcaching/varnish-conf folder.
* Configure Varnish Caching settings in Configure » System » Varnish Caching:
- Enable/Disable caching
- Homepage cache TTL
- Cache TTL (for every other page)
- IPs/Hosts
- Purge key
TROUBLESHOOTING
* What version of Varnish is supported?
- This was built and tested on Varnish 3.x/4.x.
* Why doesn't every page flush when I make a new post?
- The only pages that should purge are the node's page and the front page.
* How do I manually purge the whole cache?
- Click the 'Purge cache' menu link on the "Configure/System/Varnish Caching" menu.
* How do I manually purge cache?
- Use the console. For example you can purge the whole uploads folder with the URL /uploads/.*
* Varnish Statistics
- Statistics need a special setup. More info on the Statistics tab on your Drupal environment.
* How do I configure my Varnish Cache VCL?
- Use the Varnish Cache configuration generator. Fill in the backends/ACLs then download your configuration files.
- Or use the provided Varnish Cache configuration files located in modules/vcaching/varnish-conf folder.
* Can I use this with a proxy service like CloudFlare?
- Yes.
* What is logged in cookie?
- Logged in cookie is a special cookie this plugin sets upon user login. Varnish Cache uses this cookie to bypass caching for logged in users.
- This is a small step towards securing your site for denial of service attacks. Denial of service attacks can happen if the attacker bypasses Varnish Cache and hits the backend directly.
- With the current configuration and the way Drupal works, this can still happen with POST/AJAX requests.
Project information
- Module categories: Performance
- Created by razvanstanga on , updated


