Guide for Single Sign On (SSO) in to Zendesk using Drupal as Identity Provider (IdP)
This document will help you configure Zendesk as an Service Provider (SP) making Drupal as your Identity Provider (IDP). Following these steps will allow you to configure SAML SSO between Zendesk and your Drupal site so that your users will be able to login to Zendesk using their Drupal credentials.
The Drupal SAML IDP 2.0 Single Sign-On (SSO) module is compatible with Drupal 7, Drupal 8, Drupal 9, and Drupal 10.
Prerequisite:
- Install and activate the SAML 2.0 IDP Single Sign-On (SSO) - SAML Identity Provider module on your Drupal site. Click here to check out the module installation step.
Drupal SAML IDP Metadata:
-
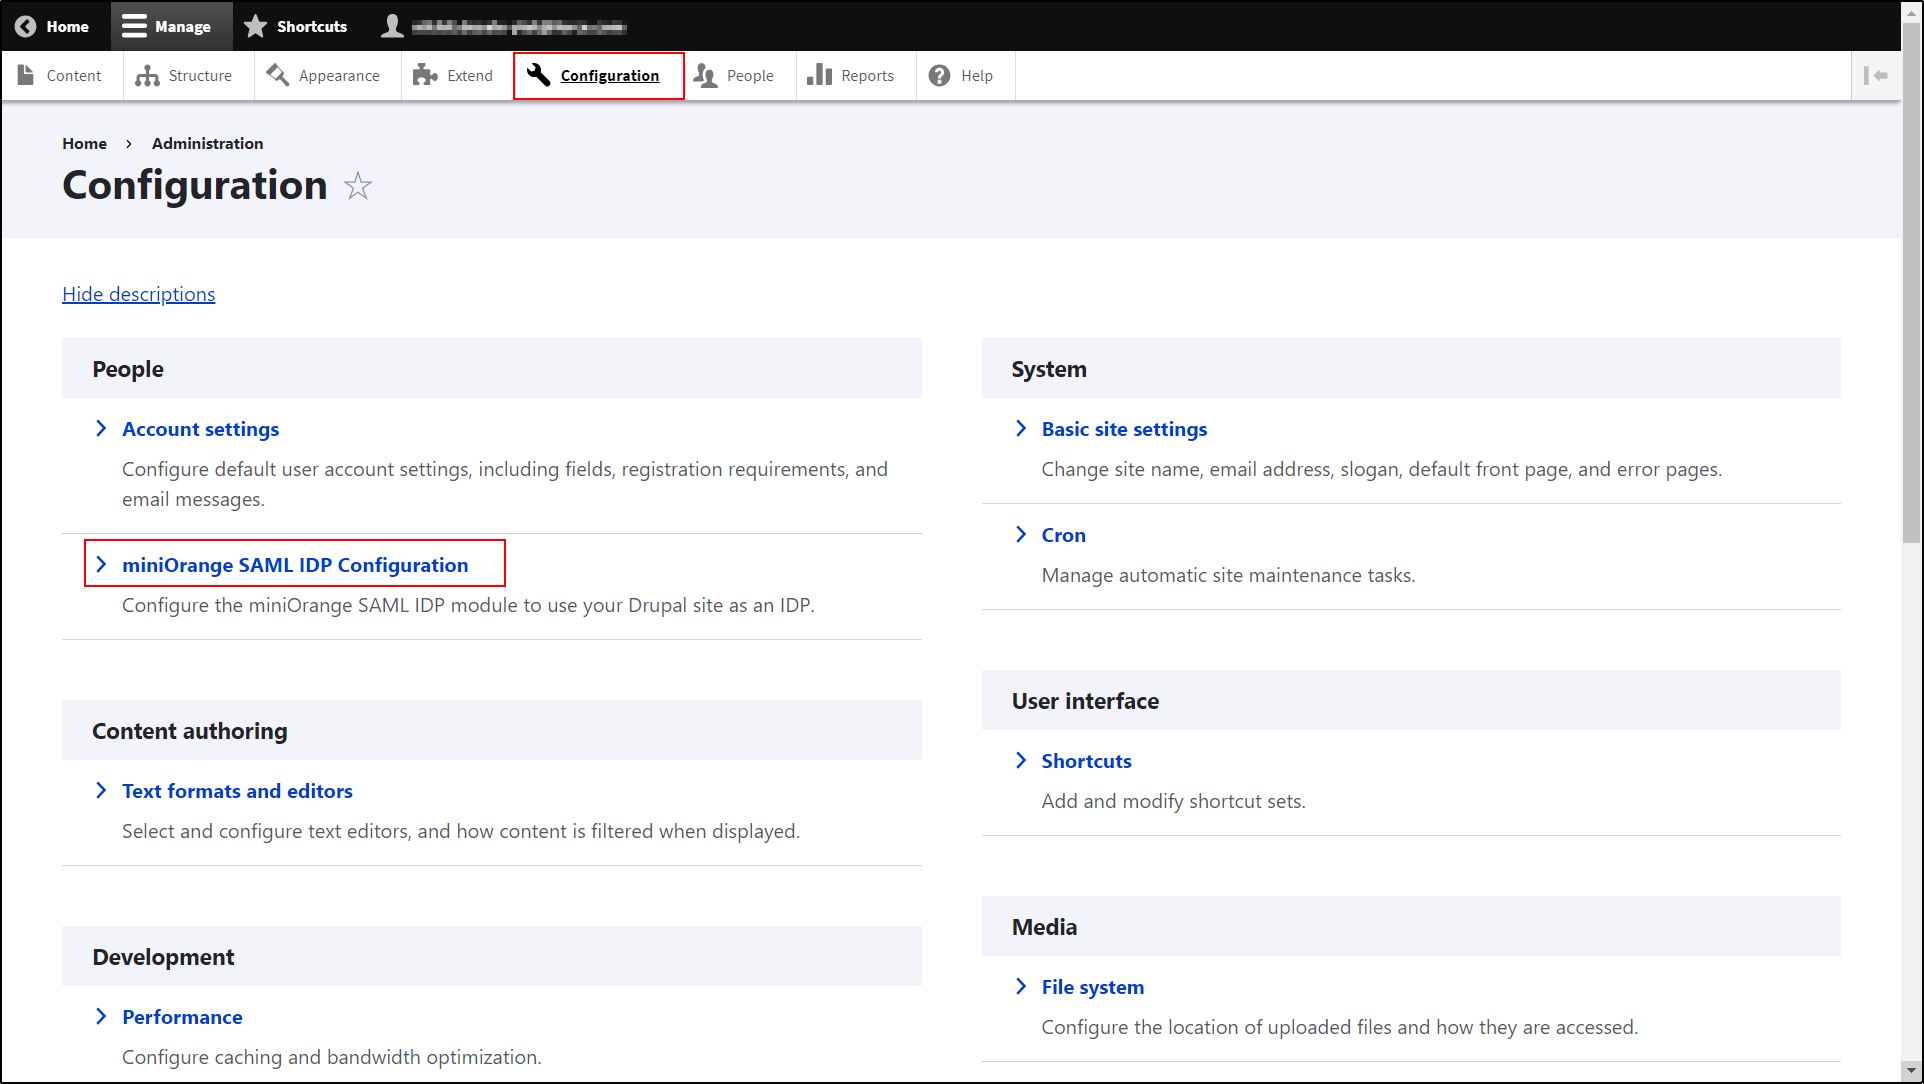
After installing the module on your Drupal site, in the Administration menu, navigate to Configuration -> People -> miniOrange SAML IDP Configuration. (/admin/config/people/miniorange_saml_idp/idp_setup)
-
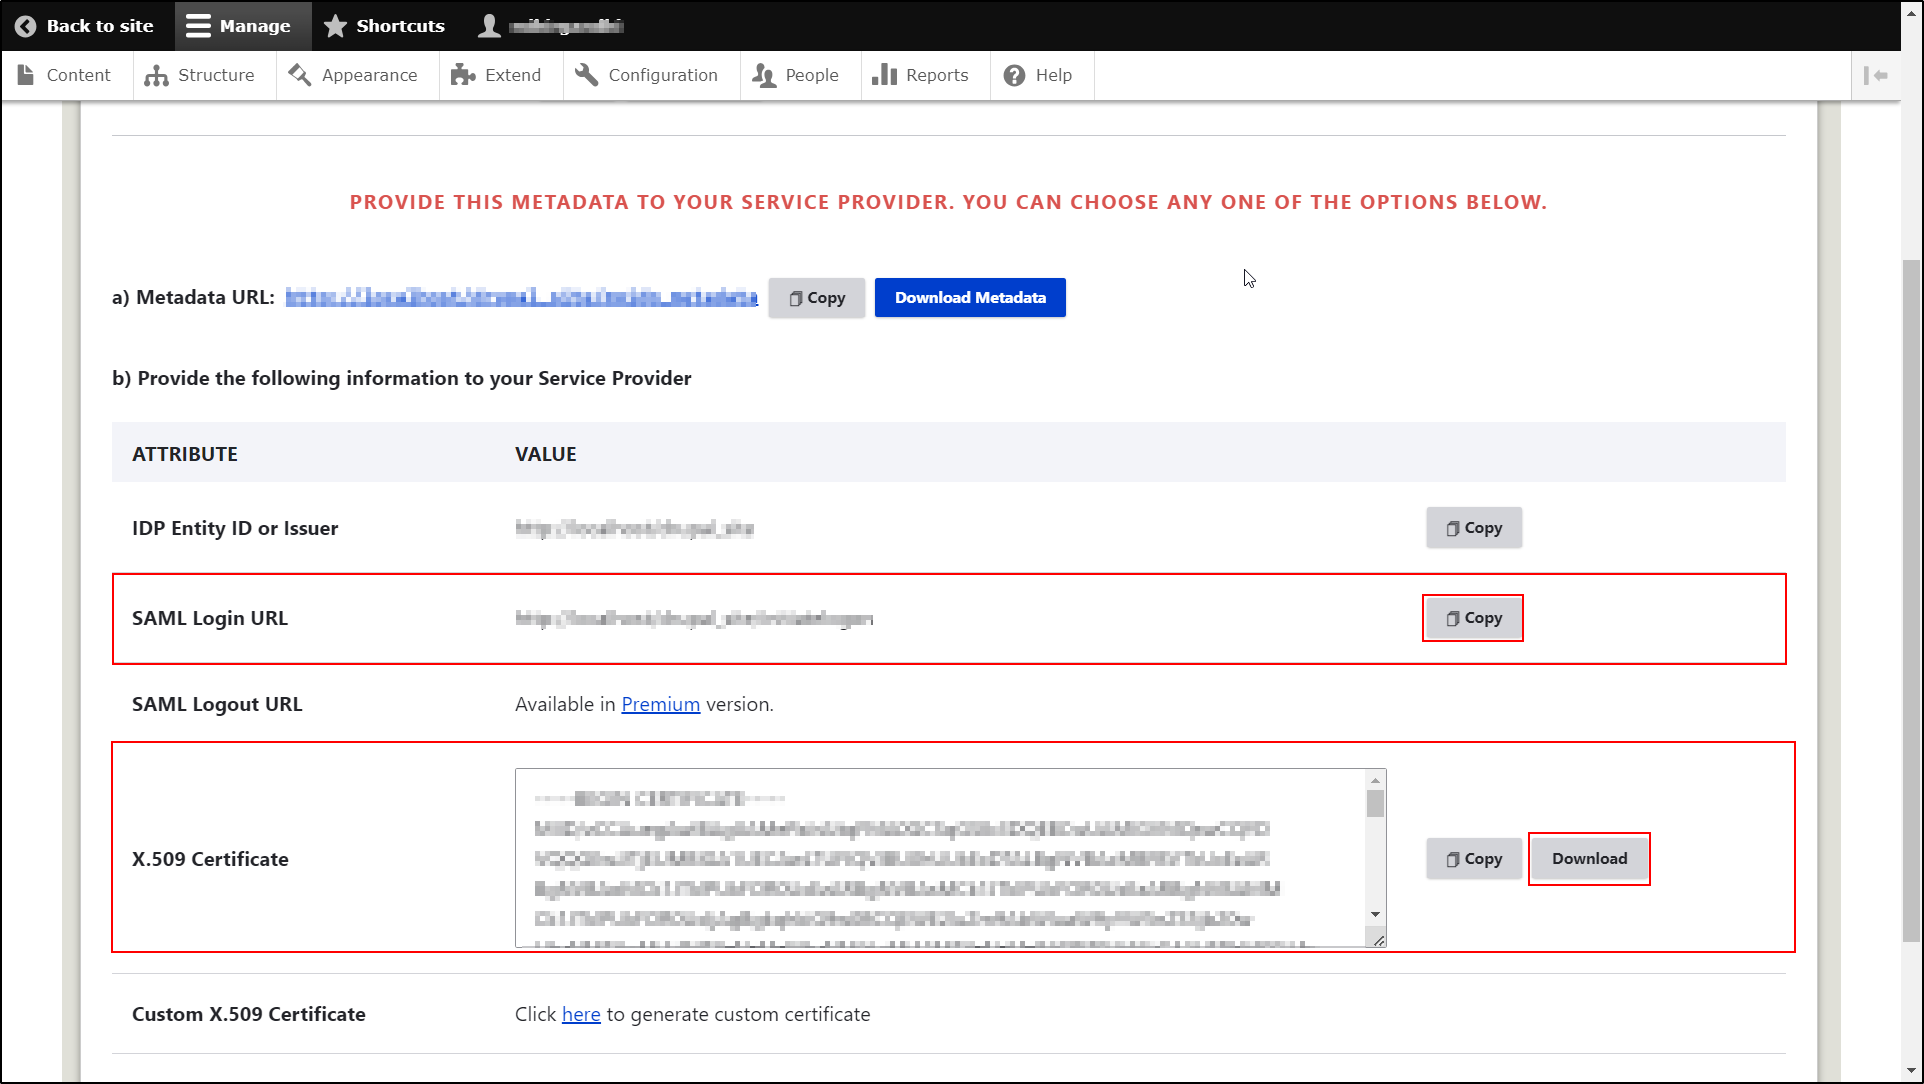
Under the IDP Metadata tab, copy the SAML Login URL and download X.509 Certificate. Keep it handy. (This is needed to configure Zendesk as SAML SP.)
Configure SAML SSO Application in Zendesk
- Login into your Zendesk Remote Authentication Administrator console.
-
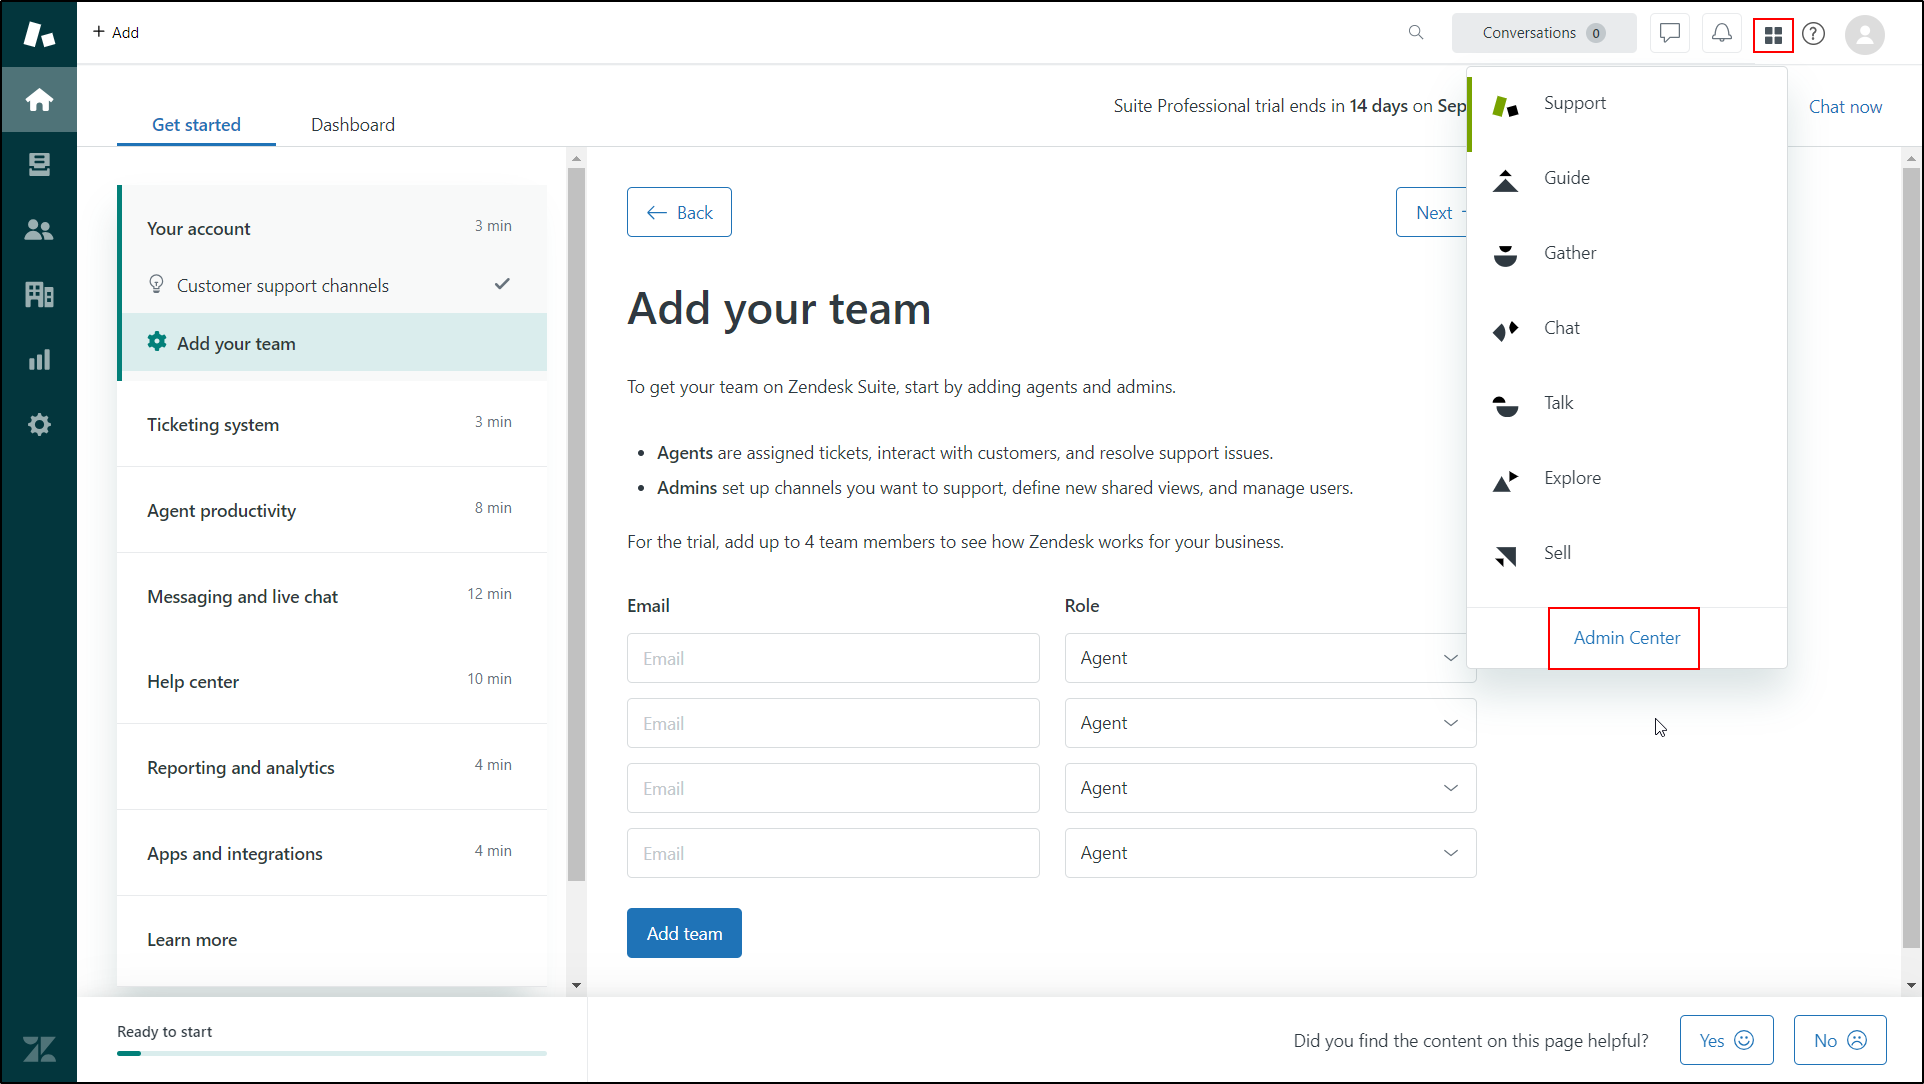
Click on the Product icon at right top corner and select Admin Center.
-
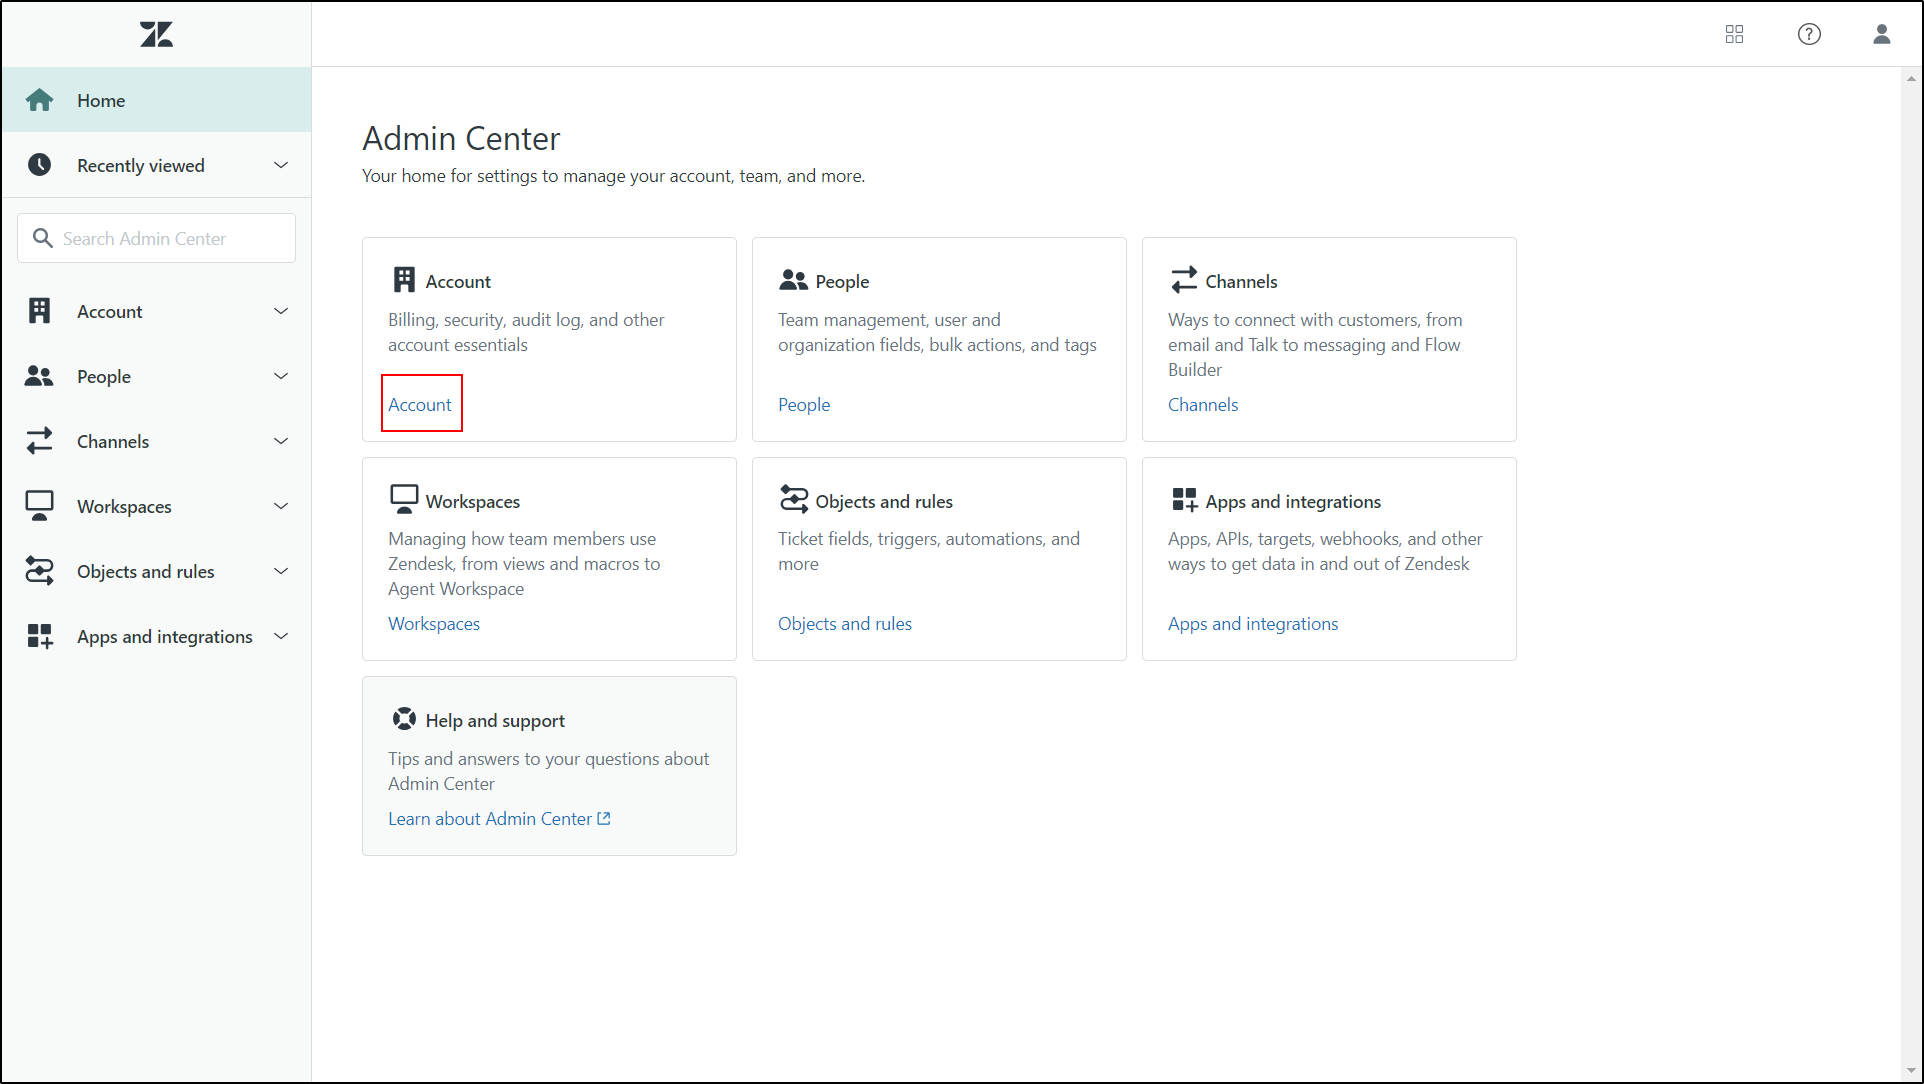
Click on the Account link.
-
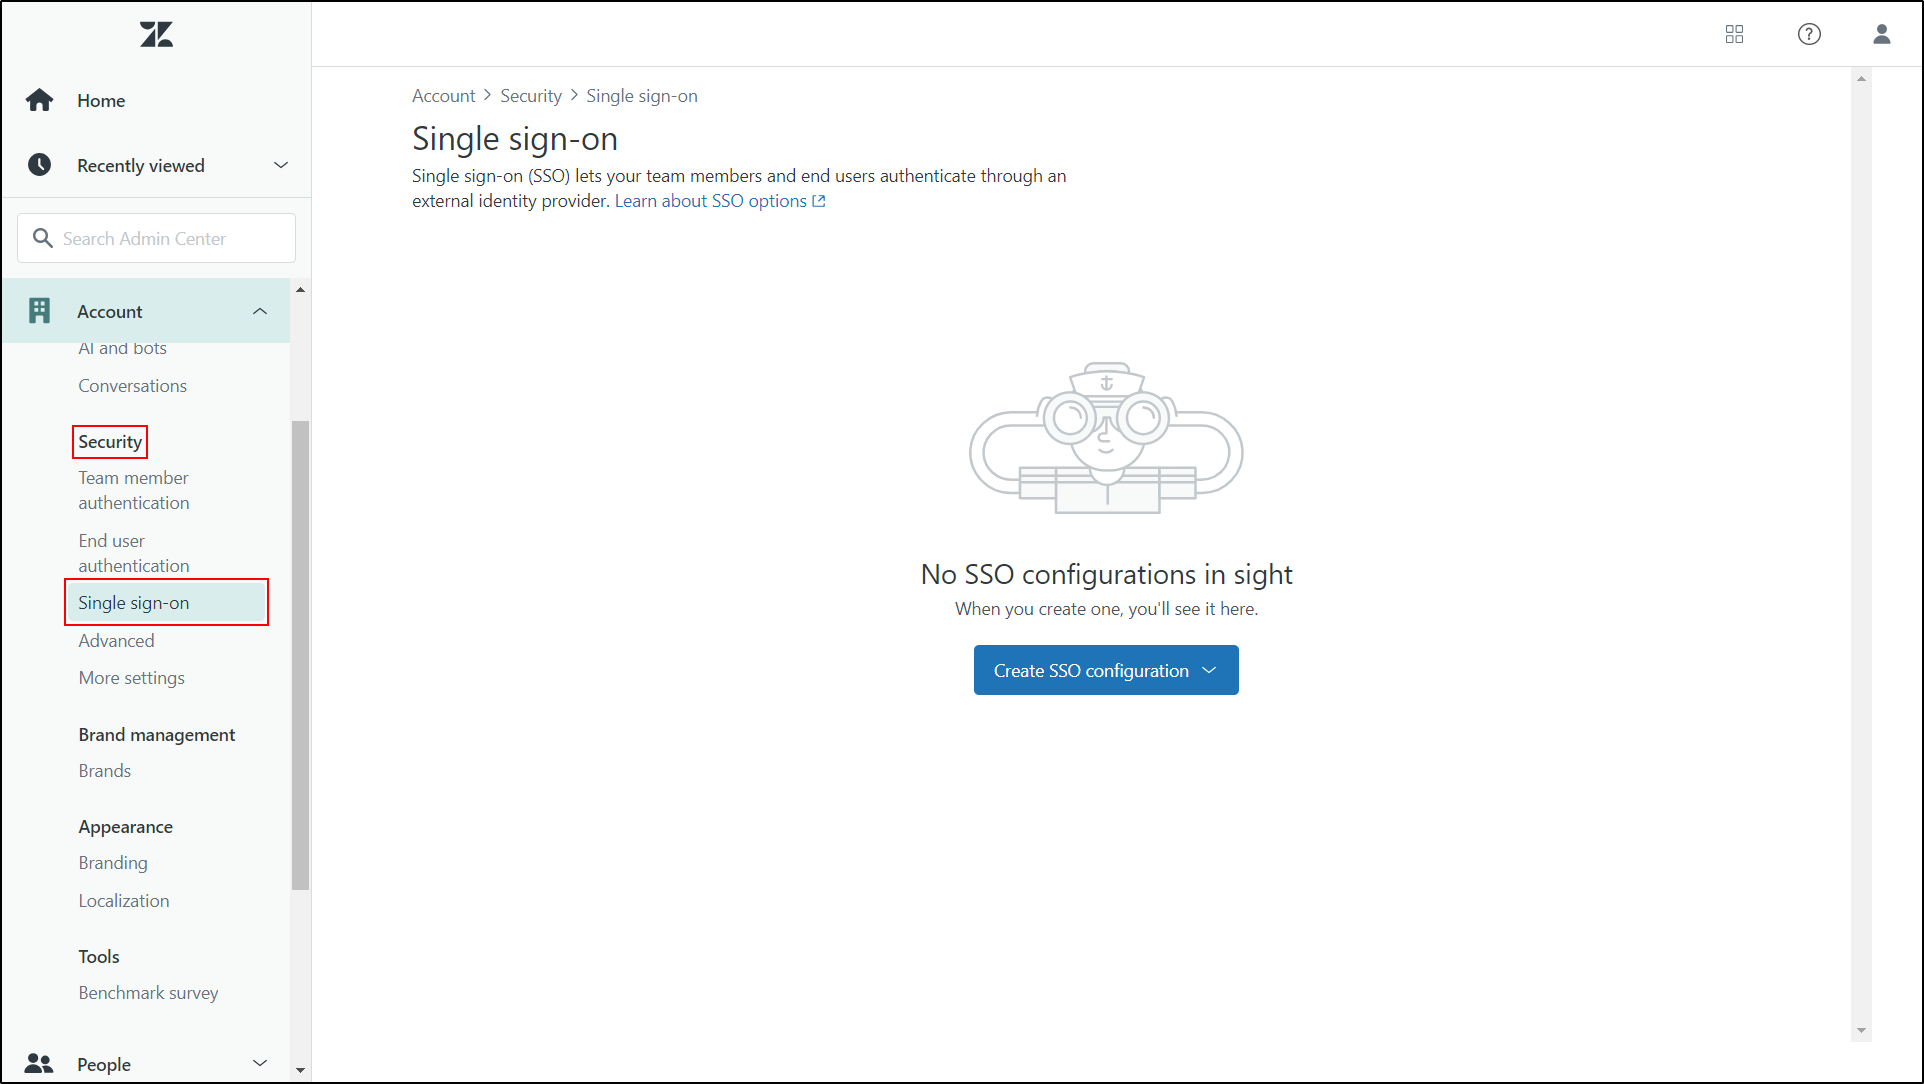
Select Single Sign On under the Security section in left sidebar.
-
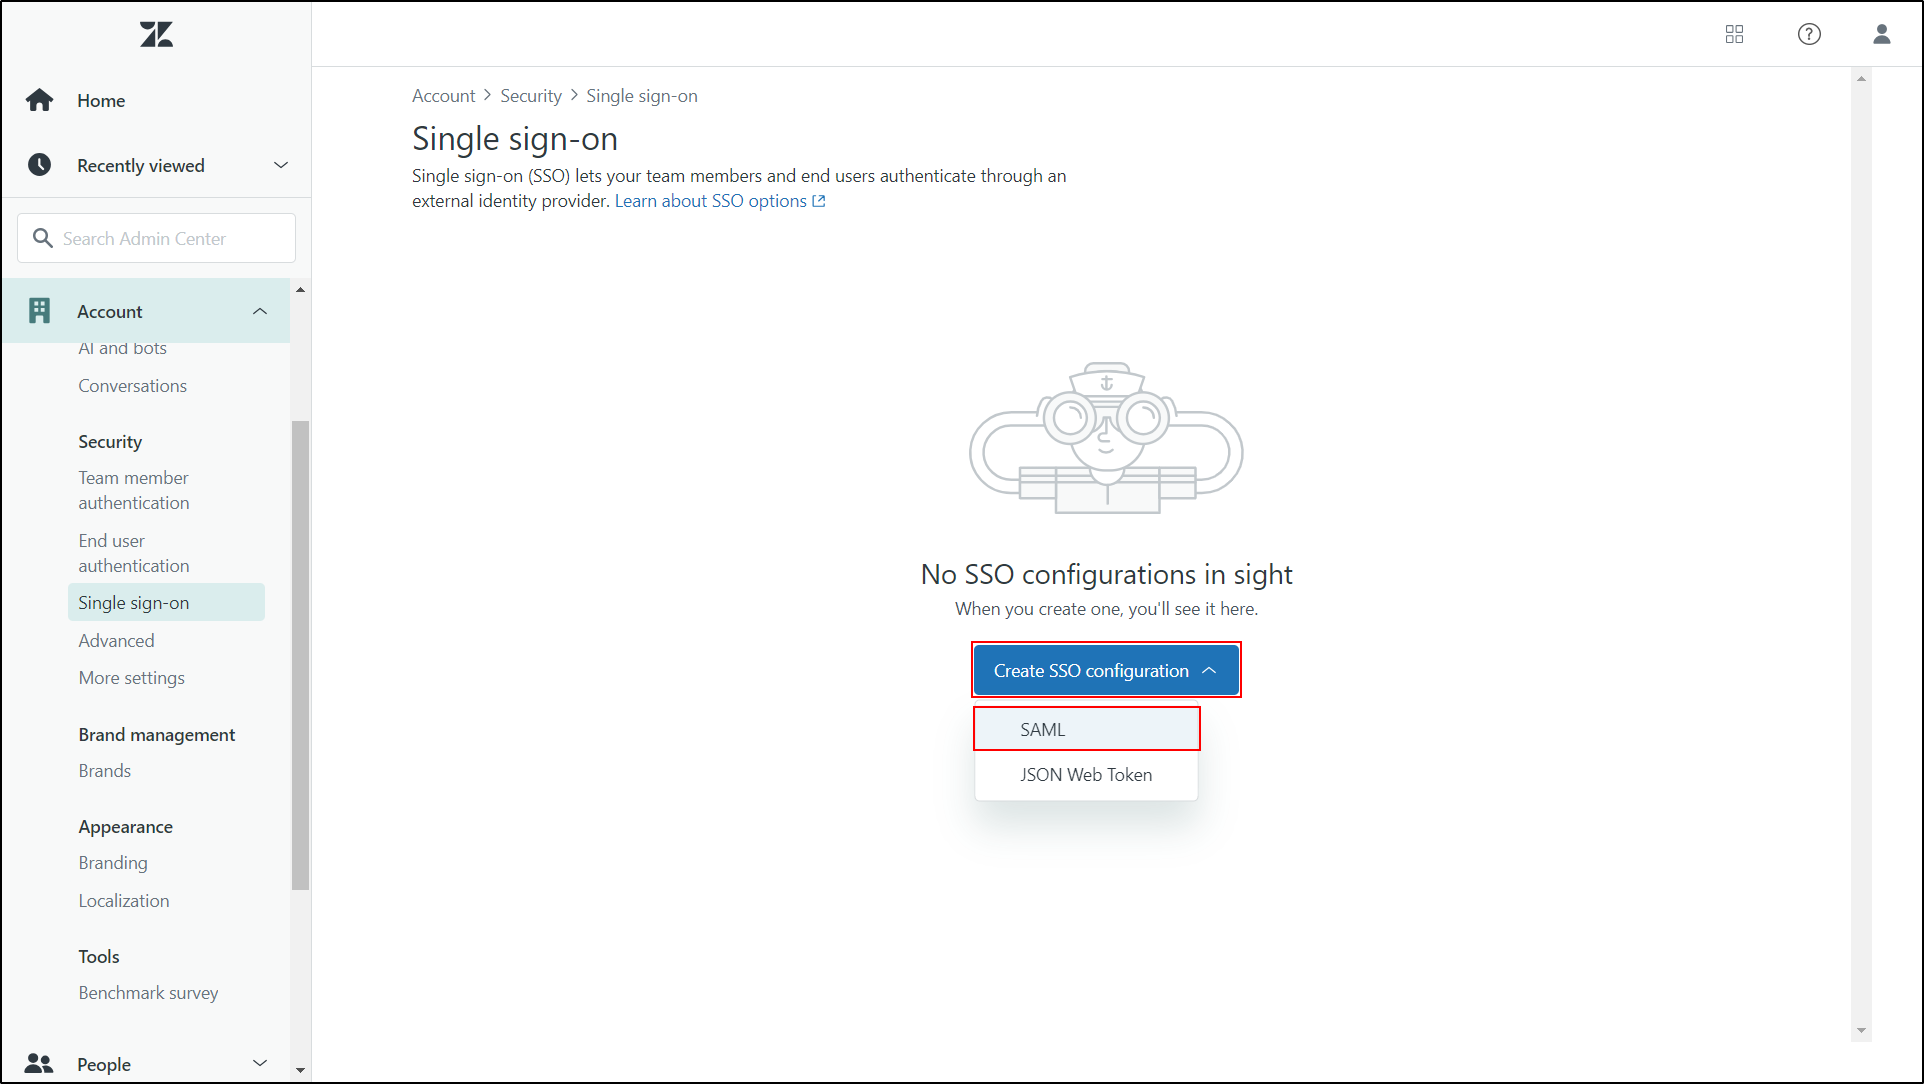
Click on Create SSO Configuration and select SAML.
-
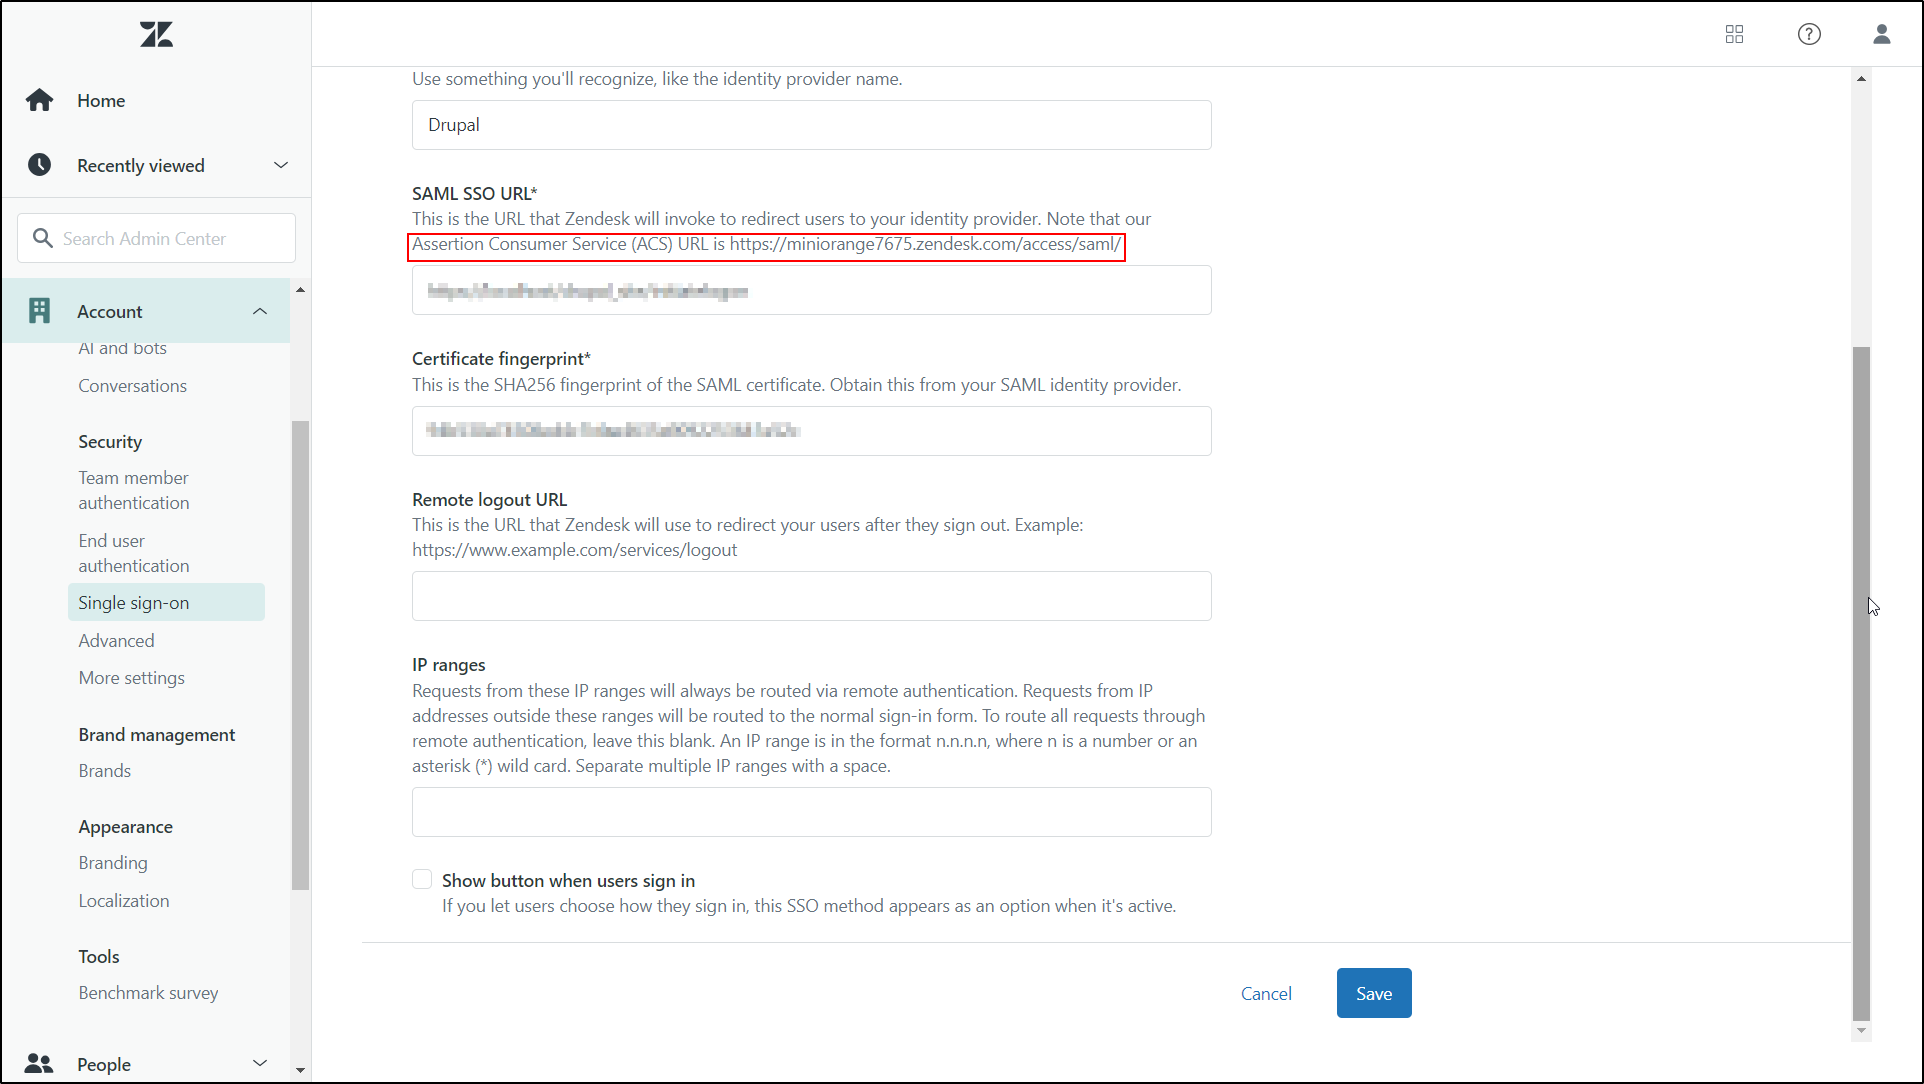
Copy Assertion Consumer Service(ACS) URL and keep it handy, this information are needed to configure the Drupal SAML IdP module.
-
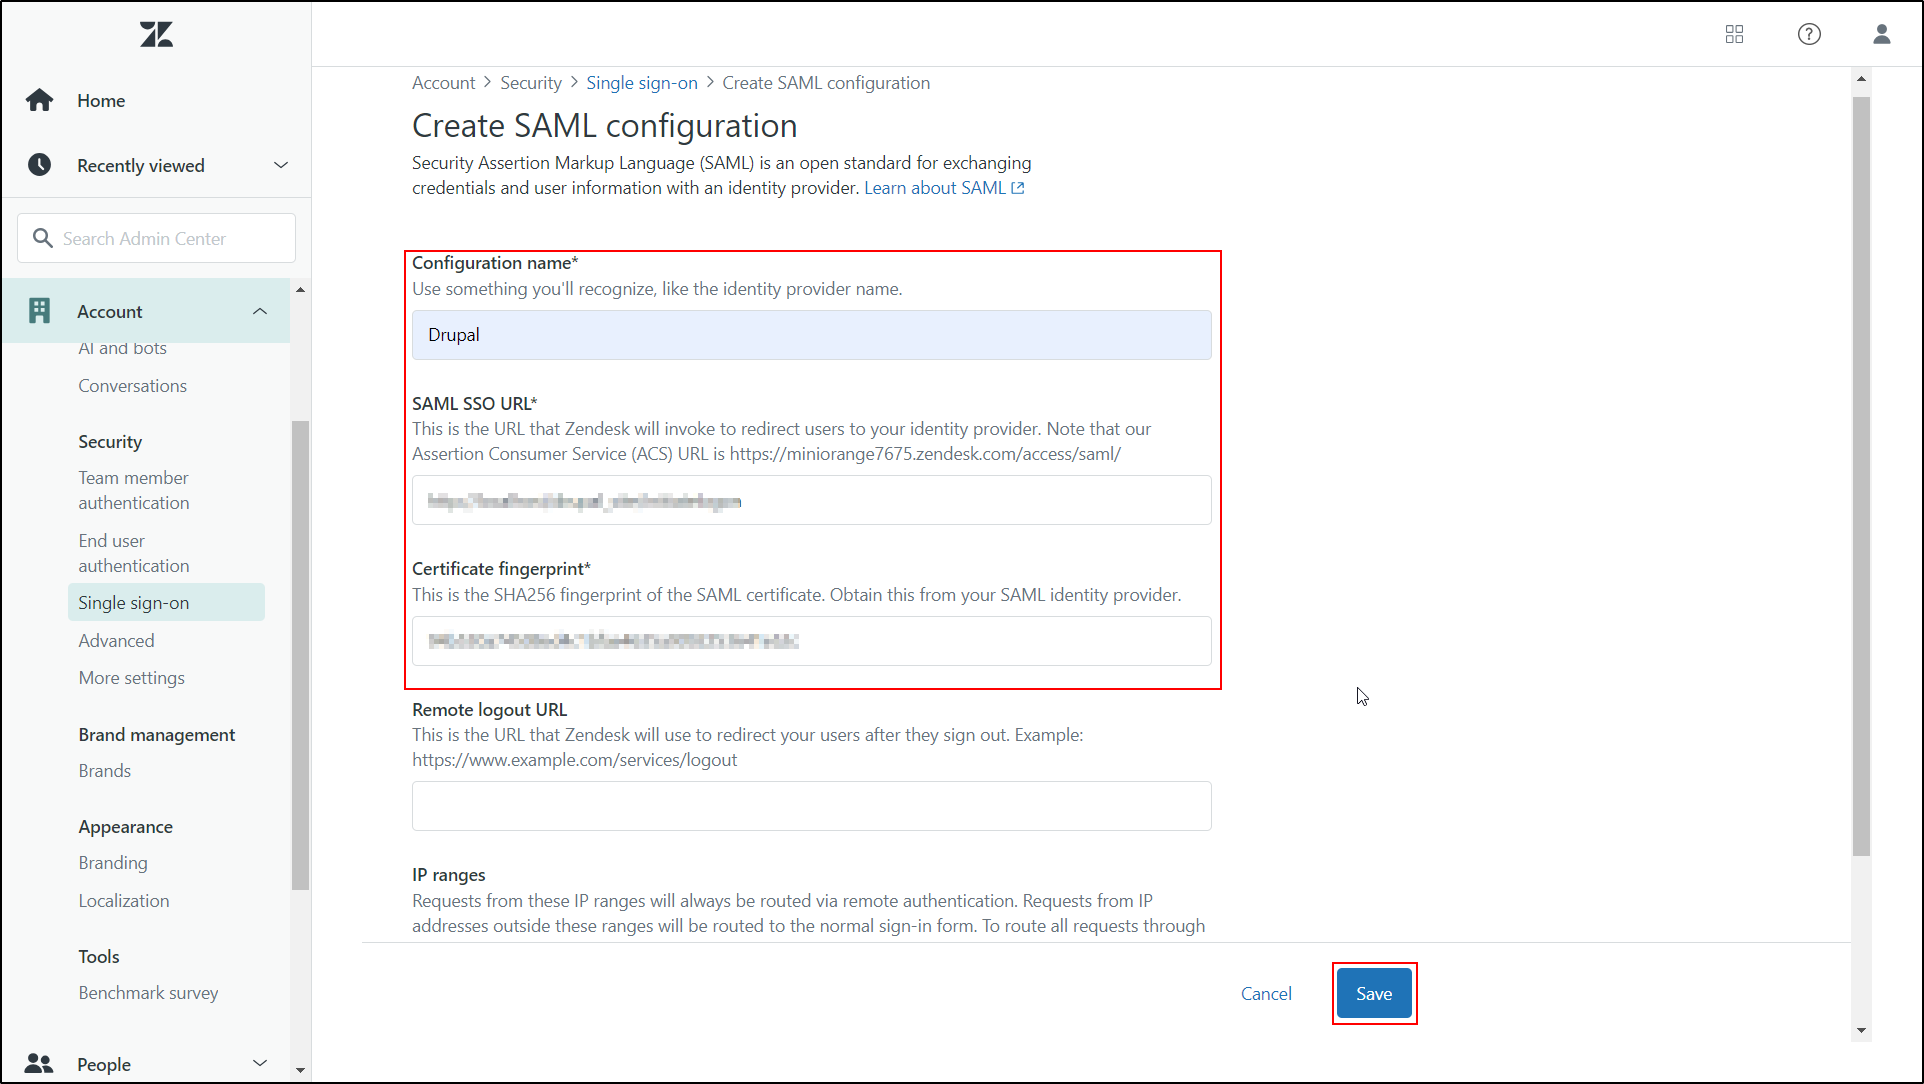
Now, paste your SAML SSO URL (SAML Login URL) and Security certificate (Certificate) which was copied earlier from Drupal site. Then, click on Save button.
Zendesk field (Service Provider) Identity Provider Field(Drupal) SAML SSO URL SAML Login URL. Remote logout URL SAML Logout URL Certificate Fingerprin X.509 Certificate
Configure Drupal as SAML Identity Provider (IdP):
- Navigate to the Drupal site and switch to the Service Provider Setup tab of the miniOrange SAML IDP module.
-
Enter Service Provider Name as Zendesk. Then, paste the SP Entity ID or Issuer and ACS URL which was copied from Zendesk application. Scrolldown and click on Save Configuration button.
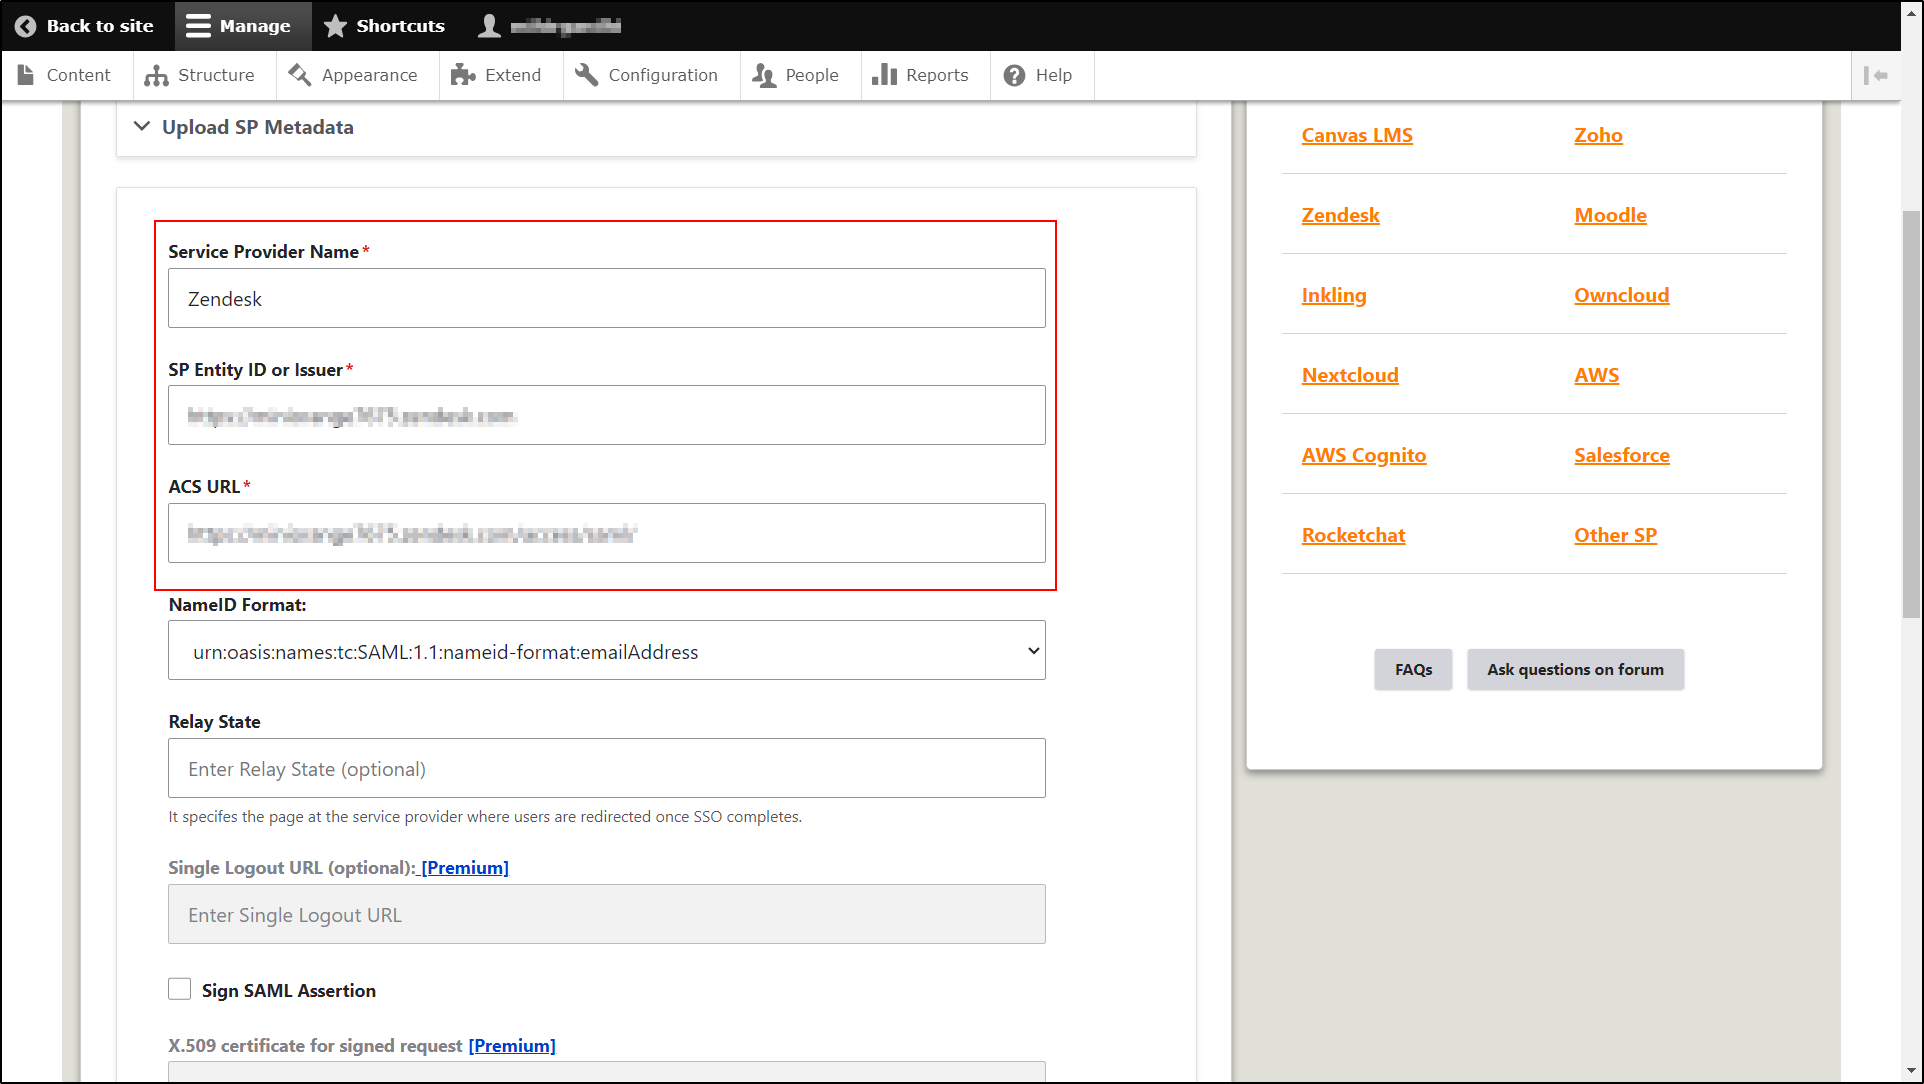
Service Provider Name Enter name as per your choice (e.g. Zendesk API Authentication as SP, Zendesk Remote Authentication) SP Entity ID or Issuer https://<your domain>.zendesk.com/ ACS URL Copy and Paste ACS URL from the Zendesk as Service Provider. e.g. (https://<your domain>.zendesk.com/access/saml) NameID Format urn:oasis:names:tc:SAML:1.1:nameid-format:emailAddress Relay State https://<your domain>.zendesk.com/ Assertion Signed checked
-
Click on Save Configuration button to save your configuration. Then, click on Test link.
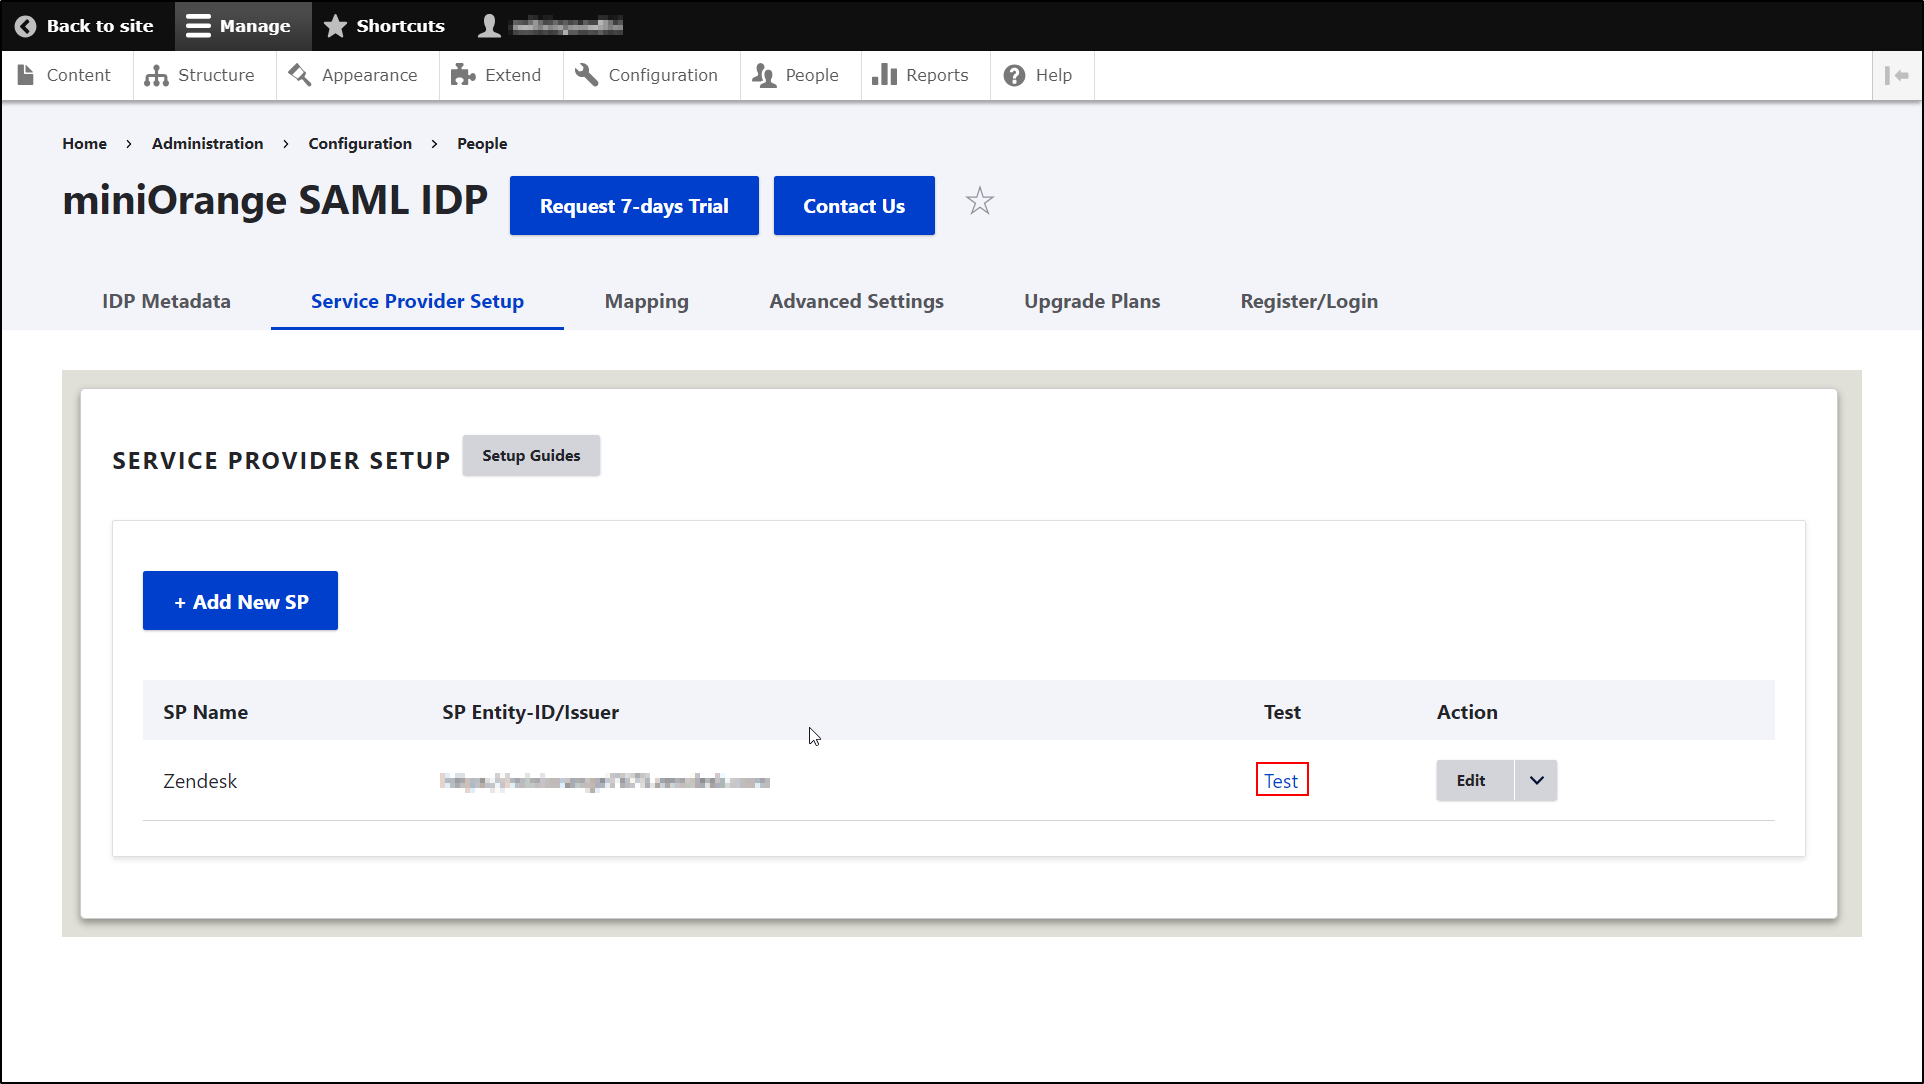
You have successfully set up Freshdesk as Service Provider and Drupal as Identity Provider.
Need assistance? Contact our 24*7 support team
If you face any issues or if you have any questions, please feel free to reach out to us at 24*7 support by clicking on Support Icon from the bottom right corner on the module. In case you want some additional features to be included in the module, please get in touch with us, and we can get that custom-made for you.
Also, if you are looking for some other Service Provider, click here to check out the step-by-step guides for the other Service providers.
You can also join us on Drupal Slack in the #miniorange channel.
Help improve this page
You can:
- Log in, click Edit, and edit this page
- Log in, click Discuss, update the Page status value, and suggest an improvement
- Log in and create a Documentation issue with your suggestion


