Set Up and Configuration
Install the Give Module
Install as you would normally install a contributed Drupal module.
The recommended installation approach is to use Composer:
* composer require drupal/give
Enable Full Problem Logging (optional)
To have full problem logging of issues people run into while trying to donate, configure your web server to allow requests to give_problem_log.php at the location at which your module was installed.
At the default installation location and with an Apache web server, edit your .htaccess file (in the web root of your site) to add a line:
RewriteCond %{REQUEST_URI} !/modules/contrib/give/give_problem_log.php$
The section which you add it to will then look like this:
    # Allow access to Statistics module's custom front controller.
    # Copy and adapt this rule to directly execute PHP files in contributed or
    # custom modules or to run another PHP application in the same directory.
    RewriteCond %{REQUEST_URI} !/core/modules/statistics/statistics.php$
    RewriteCond %{REQUEST_URI} !/modules/contrib/give/give_problem_log.php$
    # Deny access to any other PHP files that do not match the rules above.
    # Specifically, disallow autoload.php from being served directly.
    RewriteRule "^(.+/.*|autoload)\.php($|/)" - [F]
Be sure to verify where the Give module was installed, and adapt the path used accordingly.
Create a Stripe Account
Give uses the popular payment processor Stripe. It does all the heavy lifting of card validation and payment processing so that you can accept donations with confidence.
To get started, create a Stripe account at stripe.com:
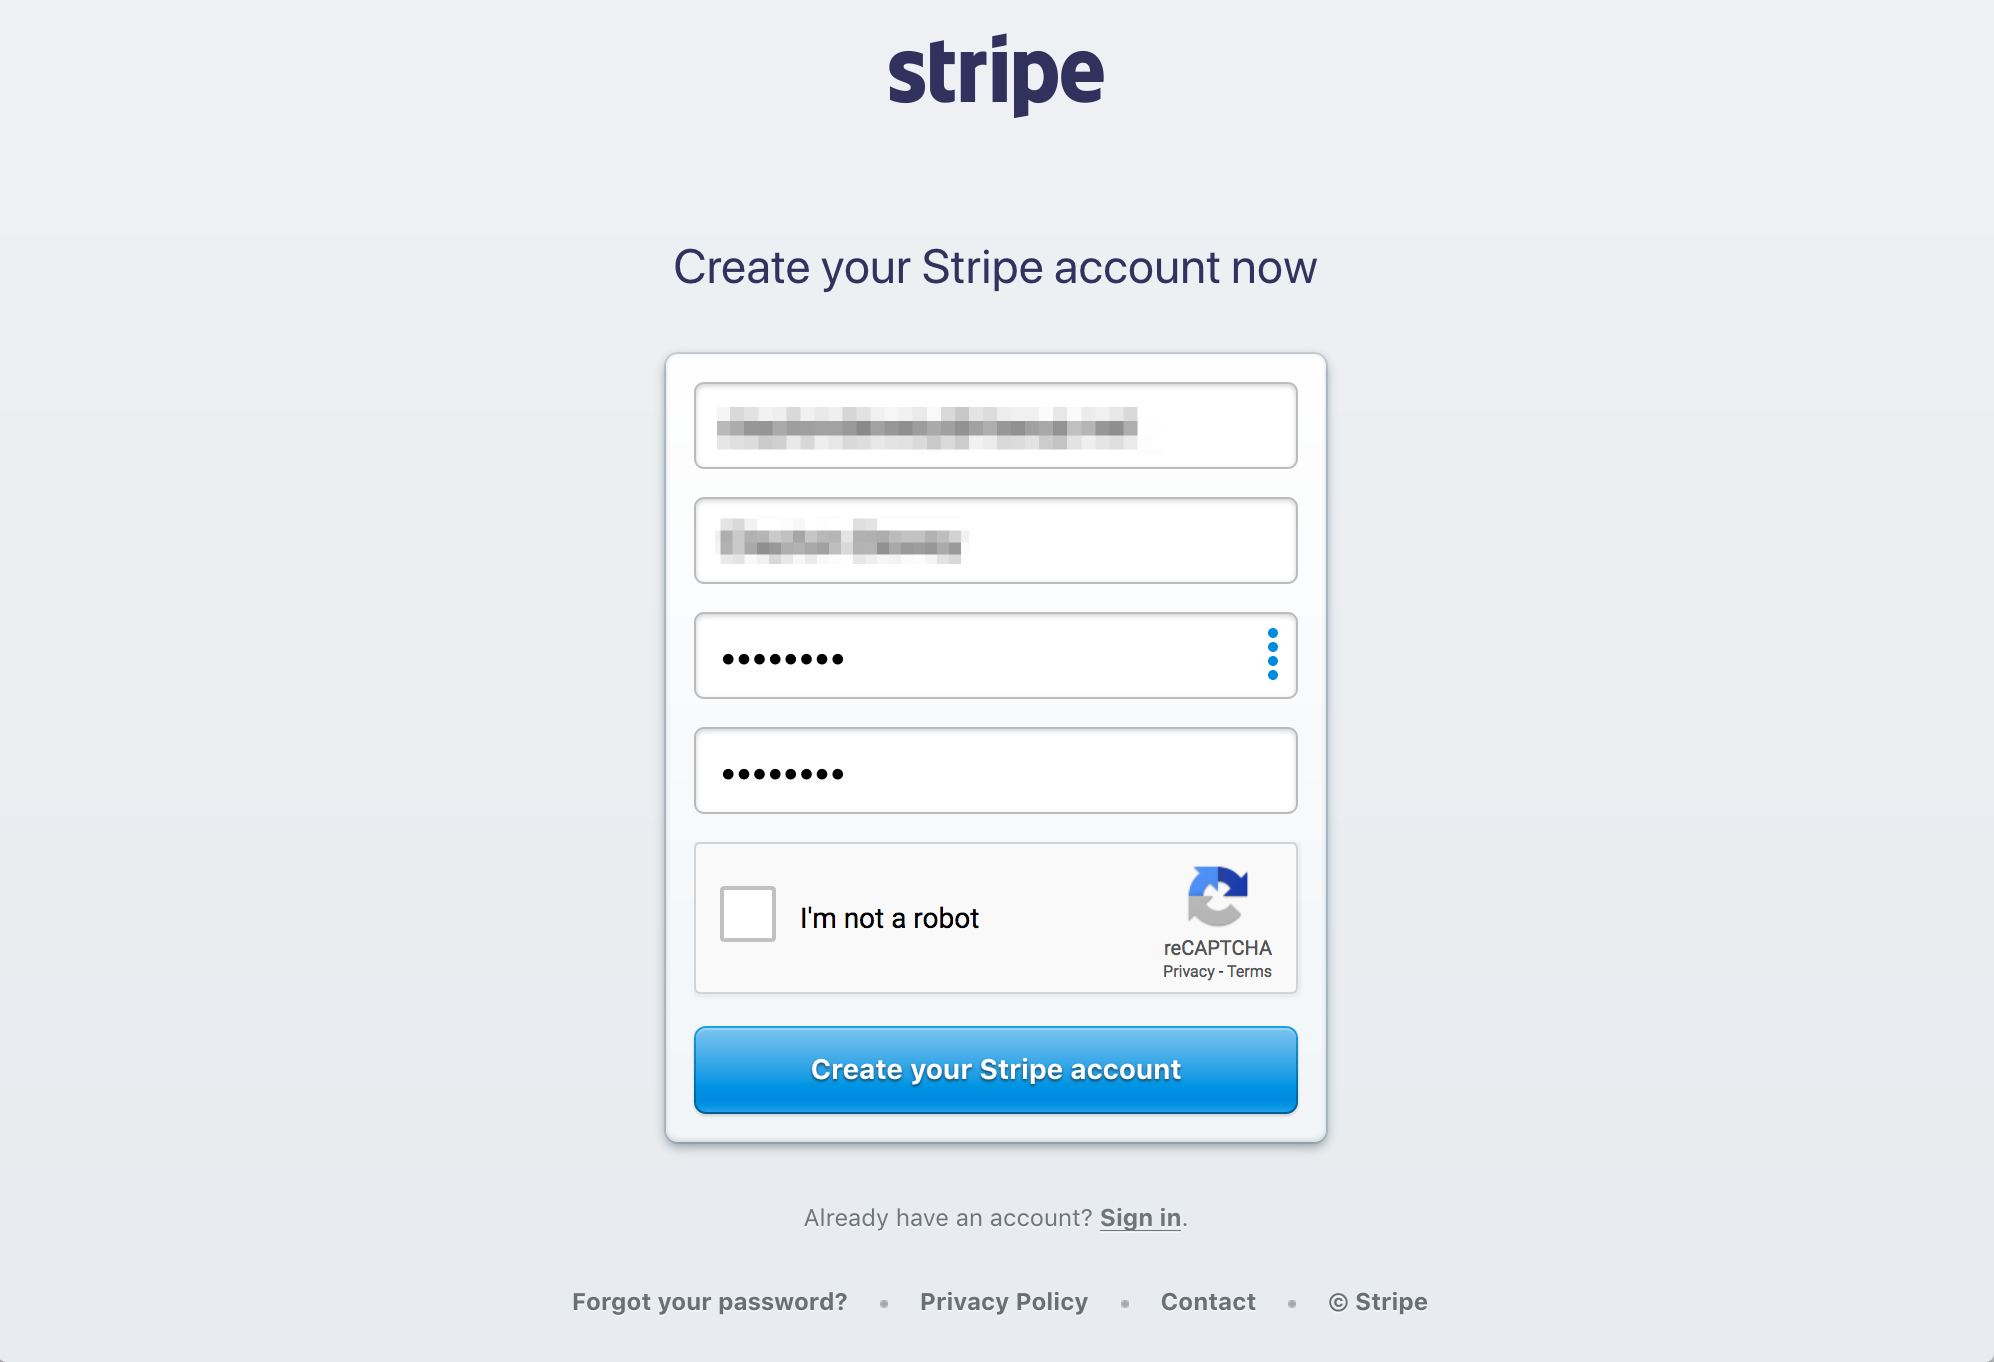
Choose the "Integrate with Stripe's API" option:

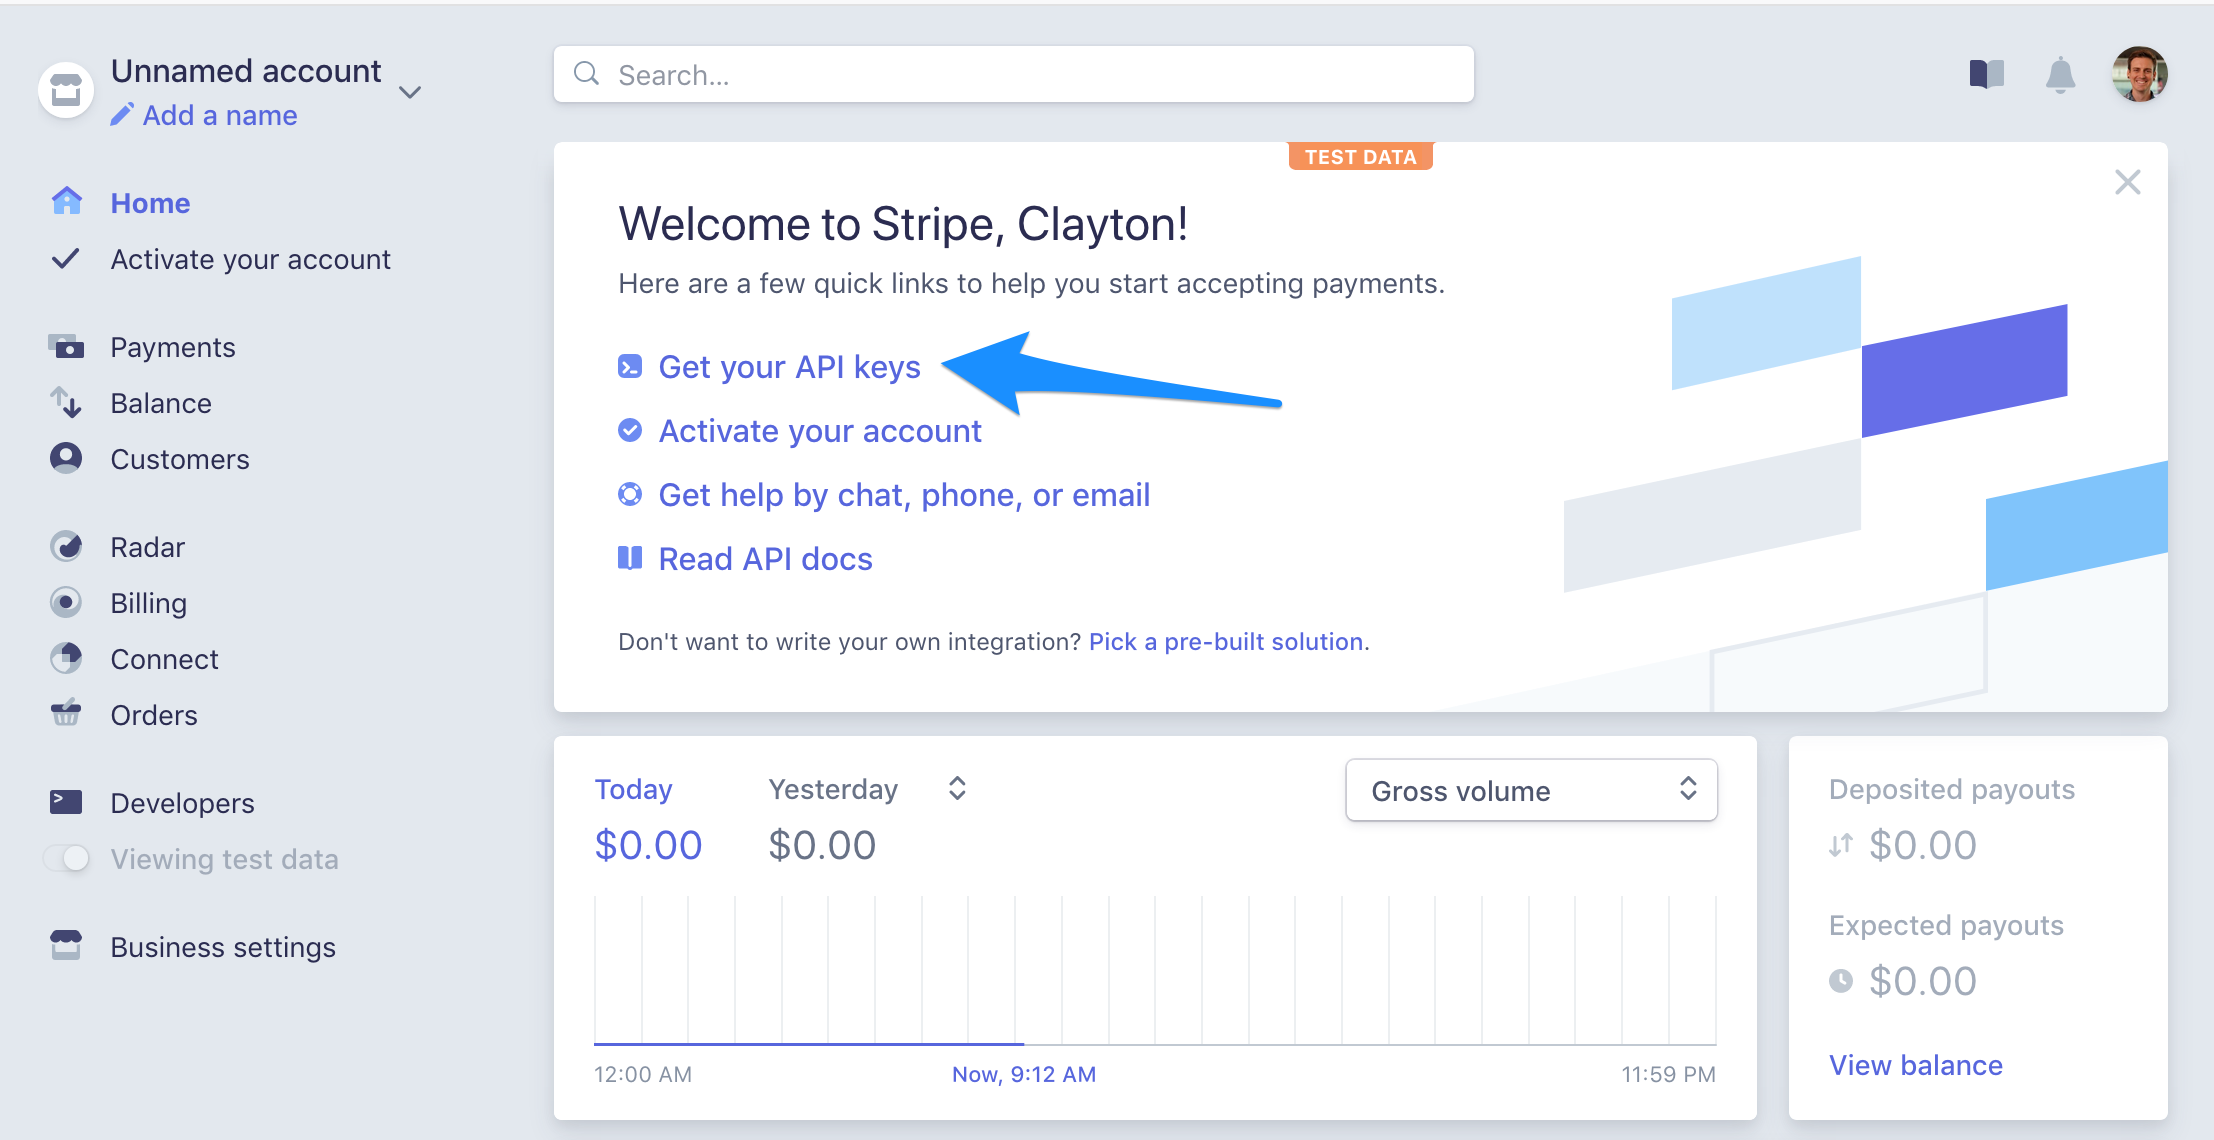
Click the "Get your API keys" link on the dashboard.
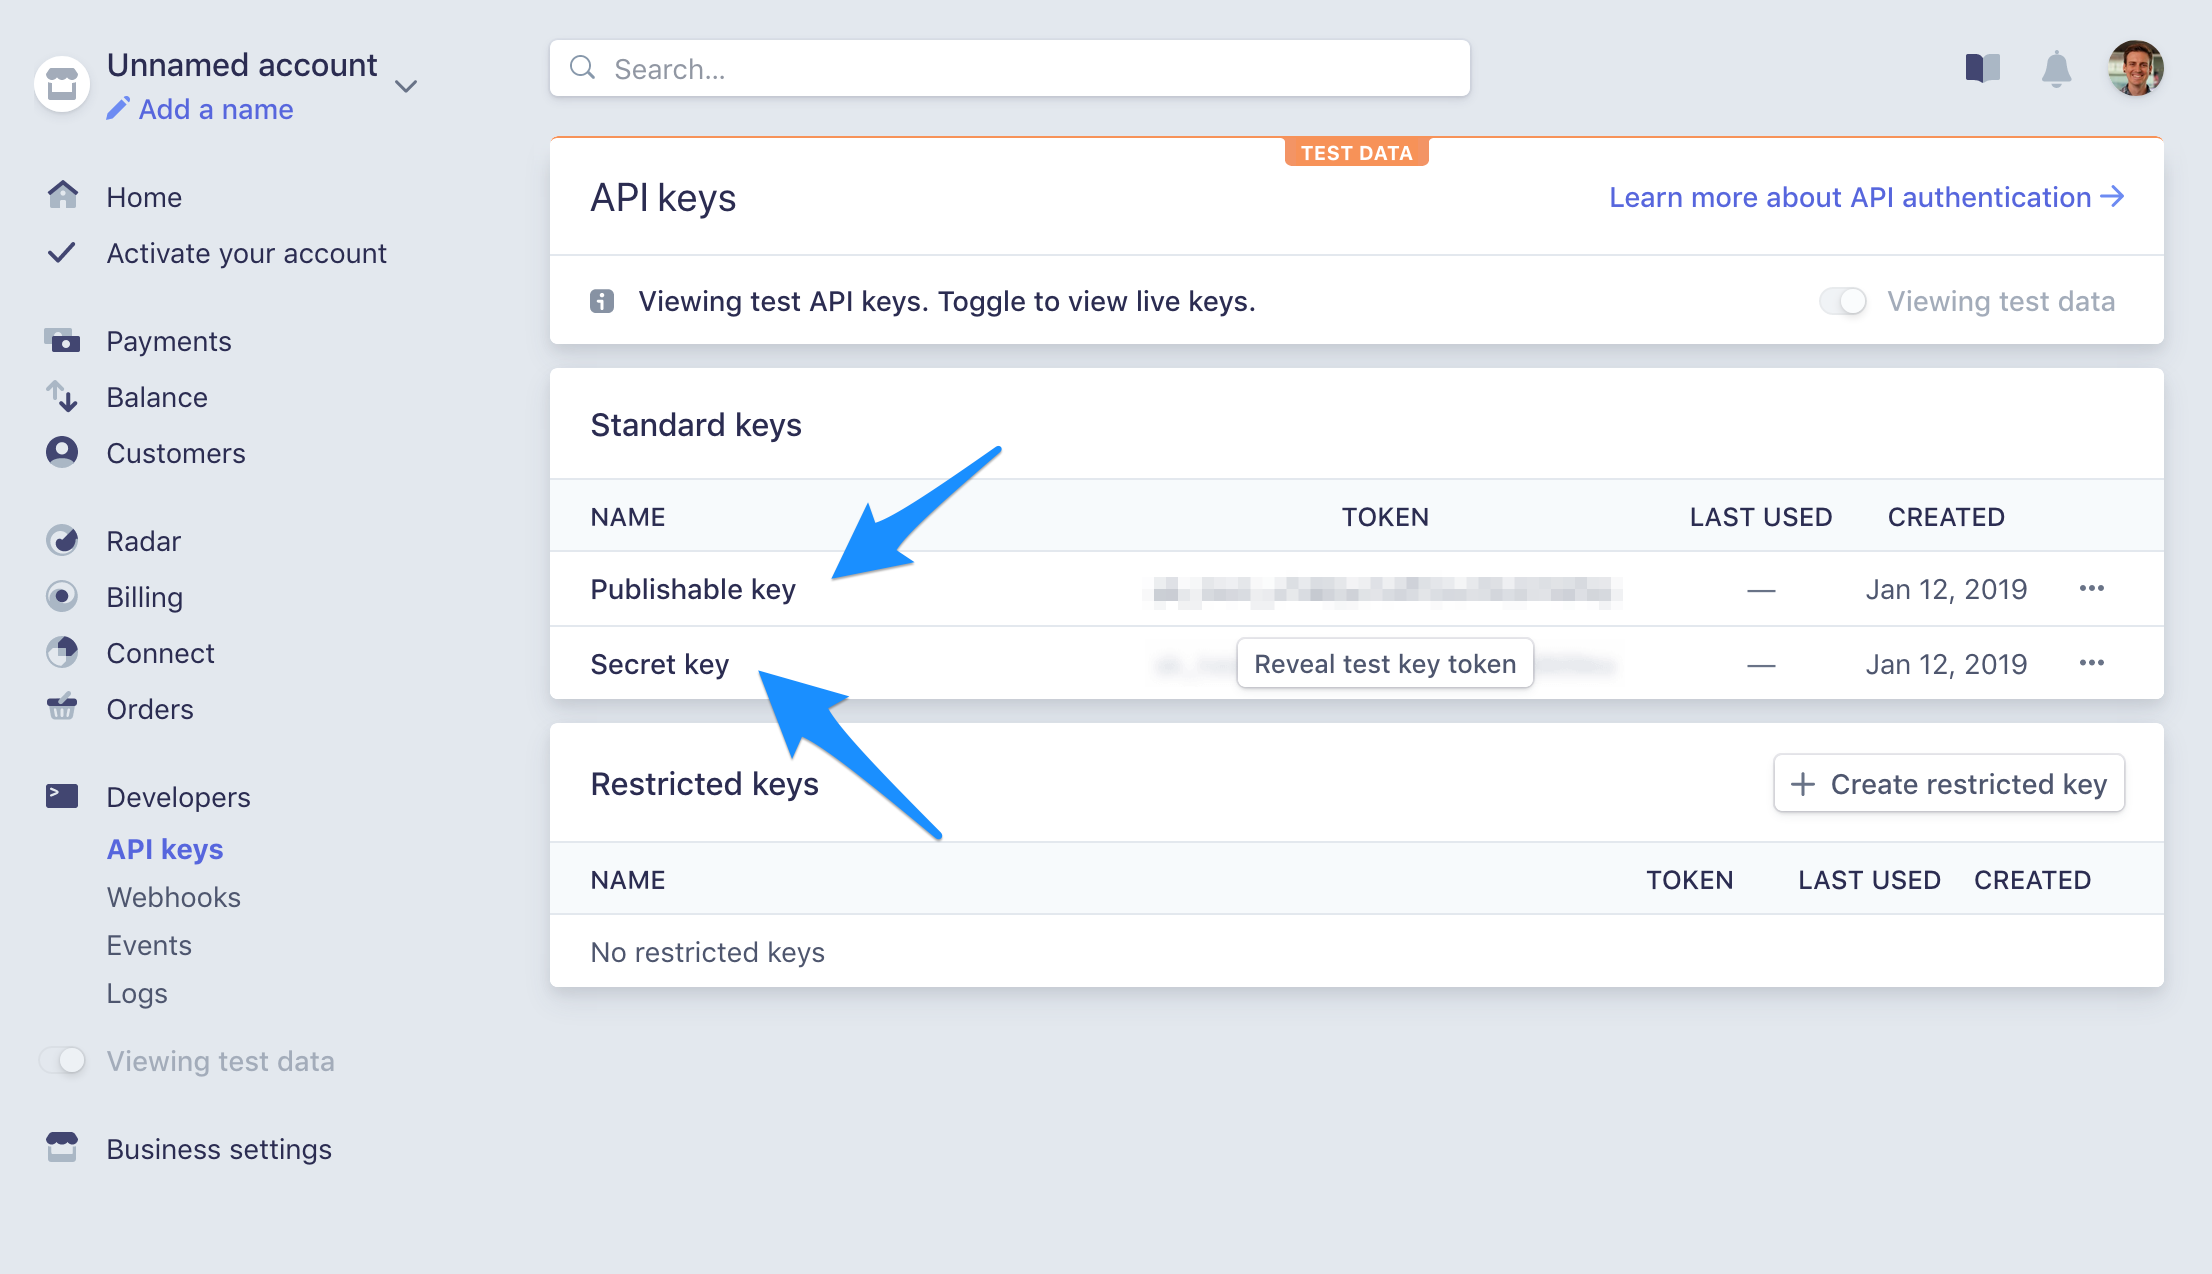
Copy the Publishable key and Secret key. You'll need these for configuring the Give module on your site.
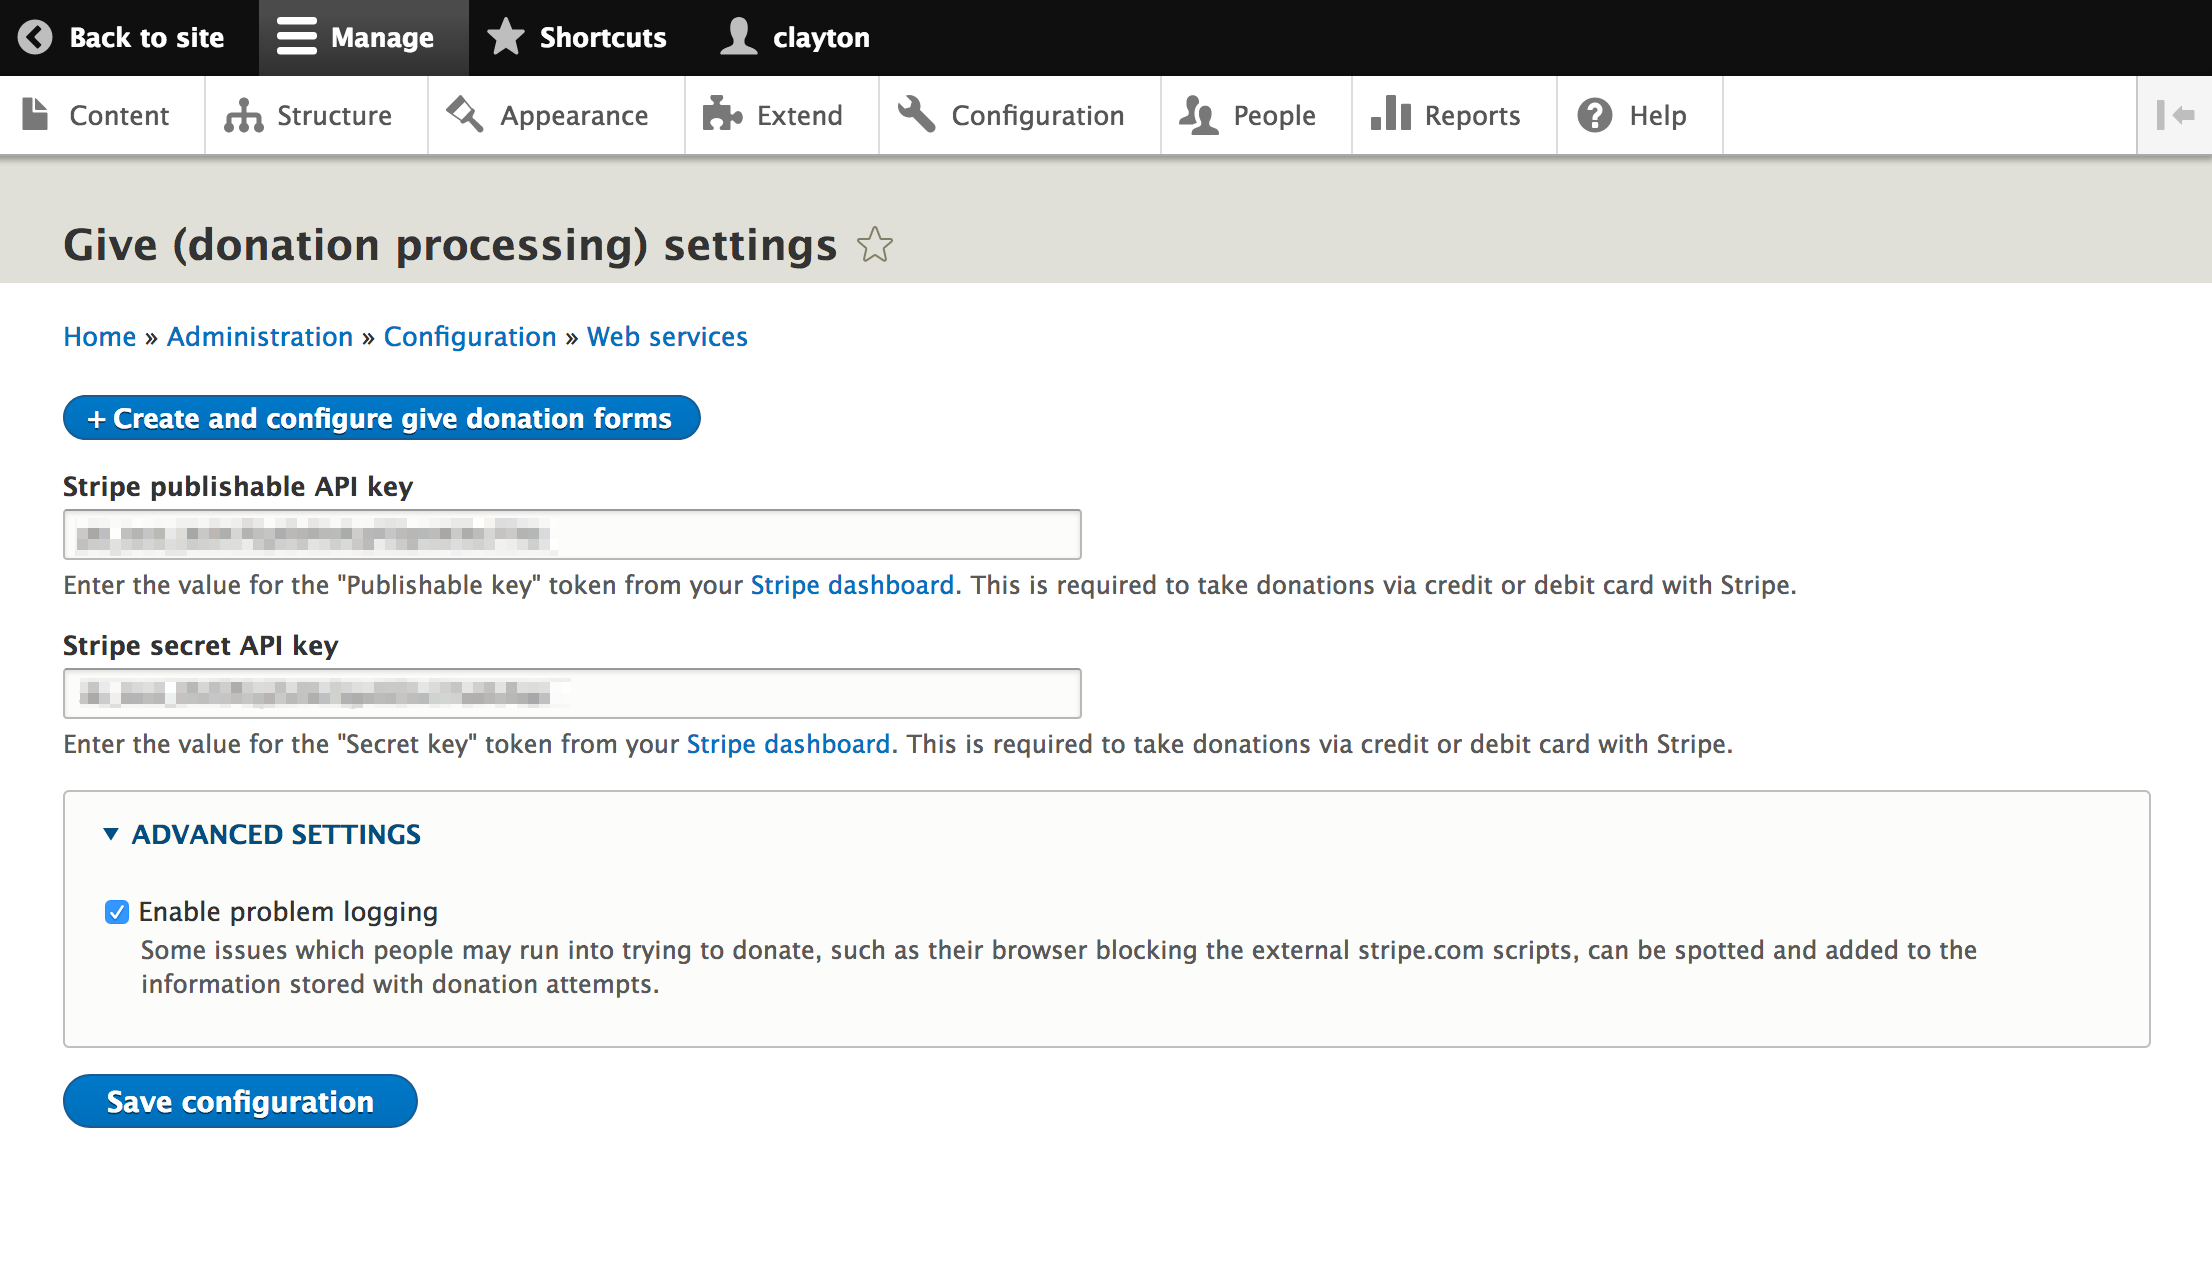
On your Drupal site, enable the Give module. Then, navigate to Configuration > Web services > Give donation settings (/admin/config/services/give). Enter your API keys and if you'd like, enable problem logging under the Advanced Settings tab.
You're now ready to start building donation forms in your site.
Simple, Flexible Donation Forms
Navigate to Structure > Donation Forms (/admin/structure/give) to see a list of forms. The module comes with a default donation form to get you started.
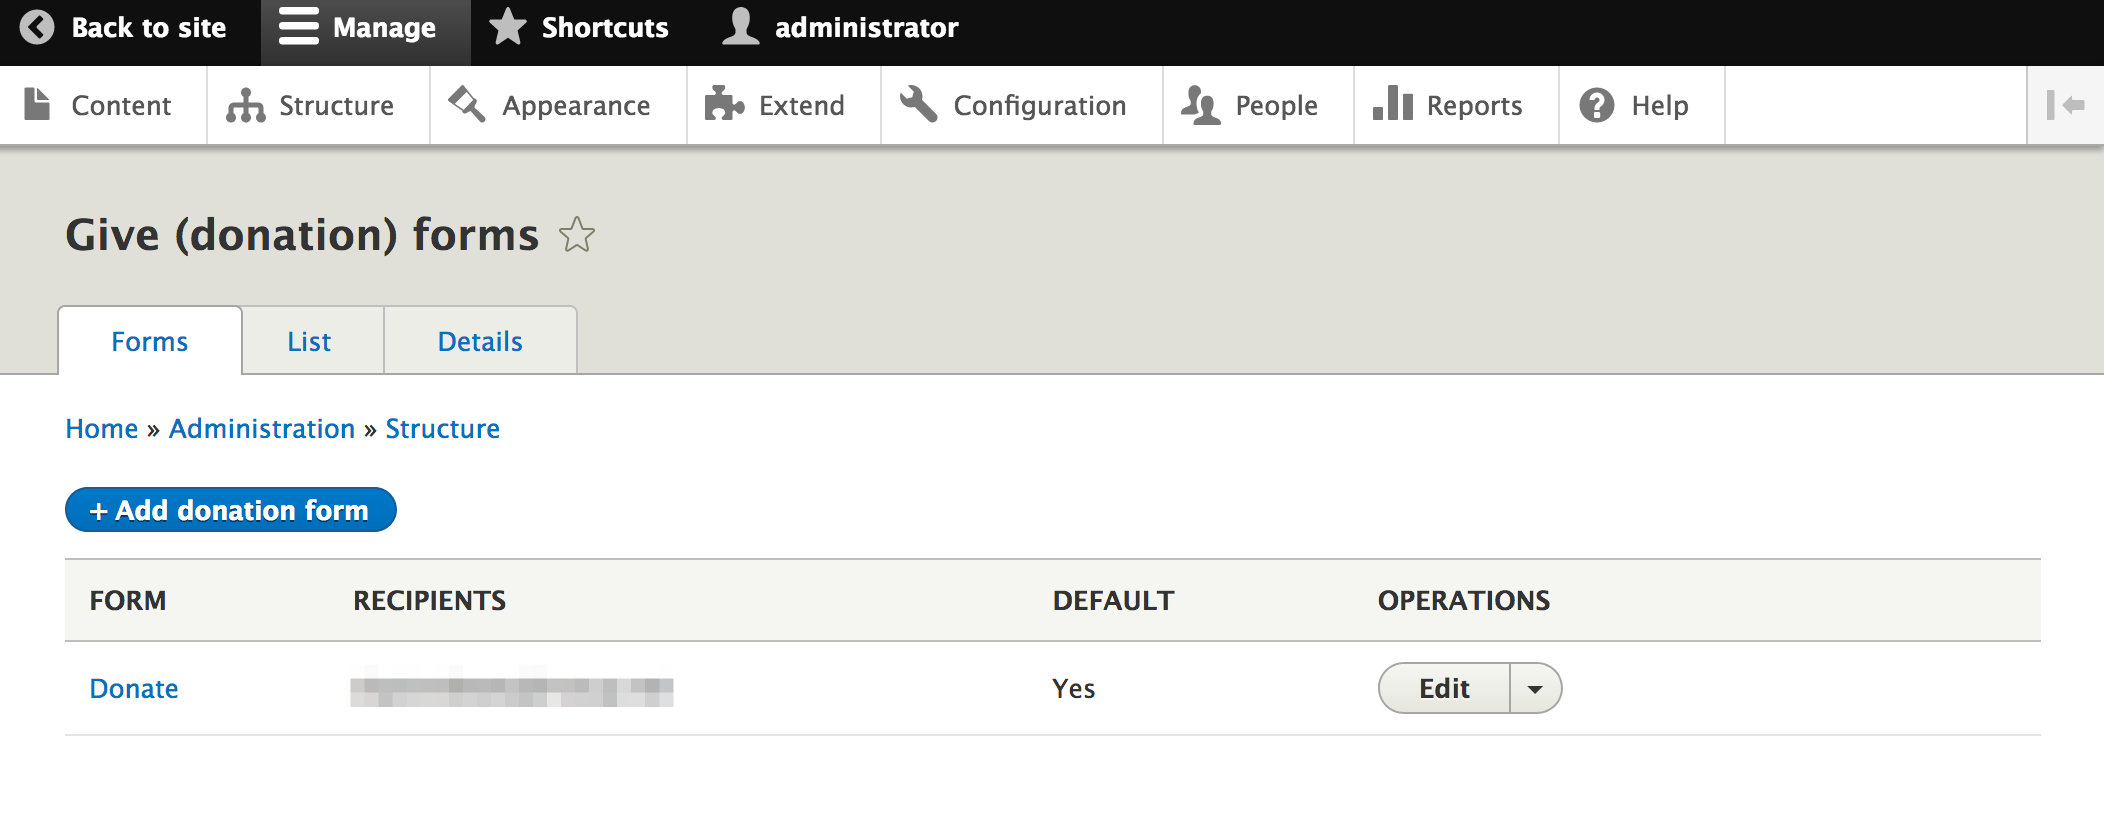
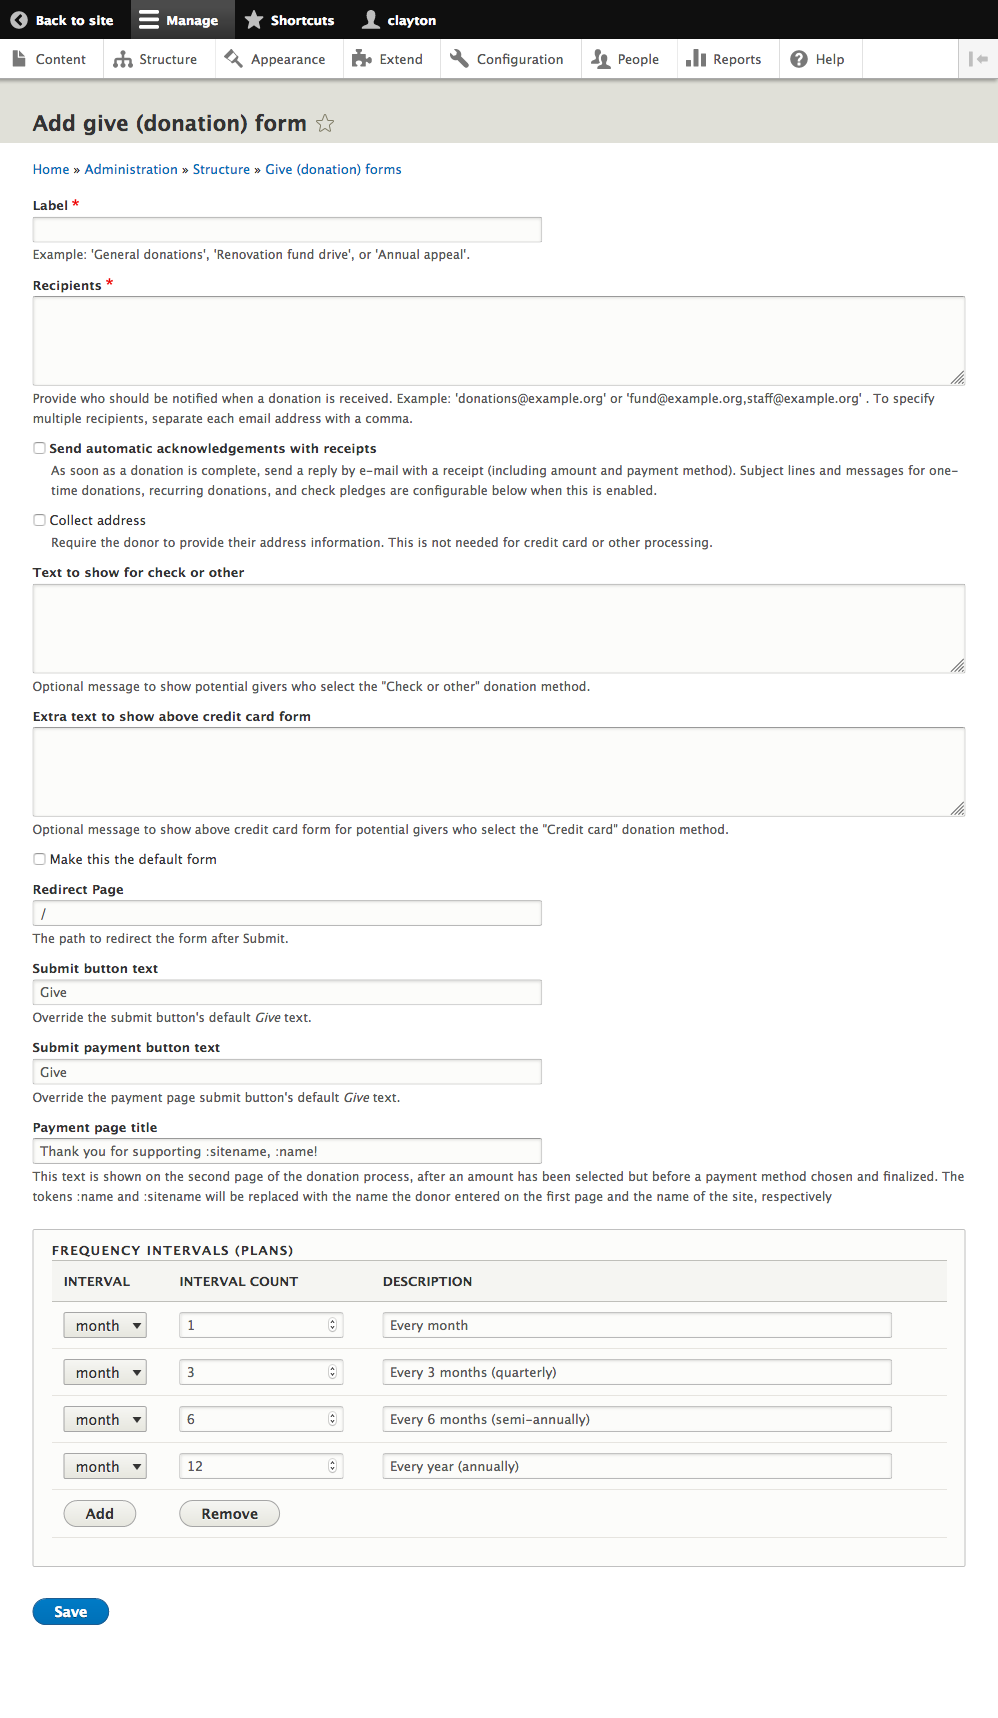
For each form you can:
- specify the recipients to be emailed when a donation is made
- configure the subject and message for an automatic thank you email (common tokens available)
- choose whether or not to ask for a mailing address
- show an "other" message to collect donations by check or other method
- set optional text above the credit card field
- specify the page to redirect a visitor to after they donate
- change the text of the "donate" button
- choose recurring options to offer (available intervals are any number of days, weeks, months, or years)
Integrate with Paragraphs
Paragraphs is a popular module allowing content editors to build pages with a variety of components such as a featured image, text block, video, etc. in any desired order. Give adds a new paragraph type for "Donation form", giving you full control over your donation pages and allowing you to strategically embedding donation forms throughout a site.
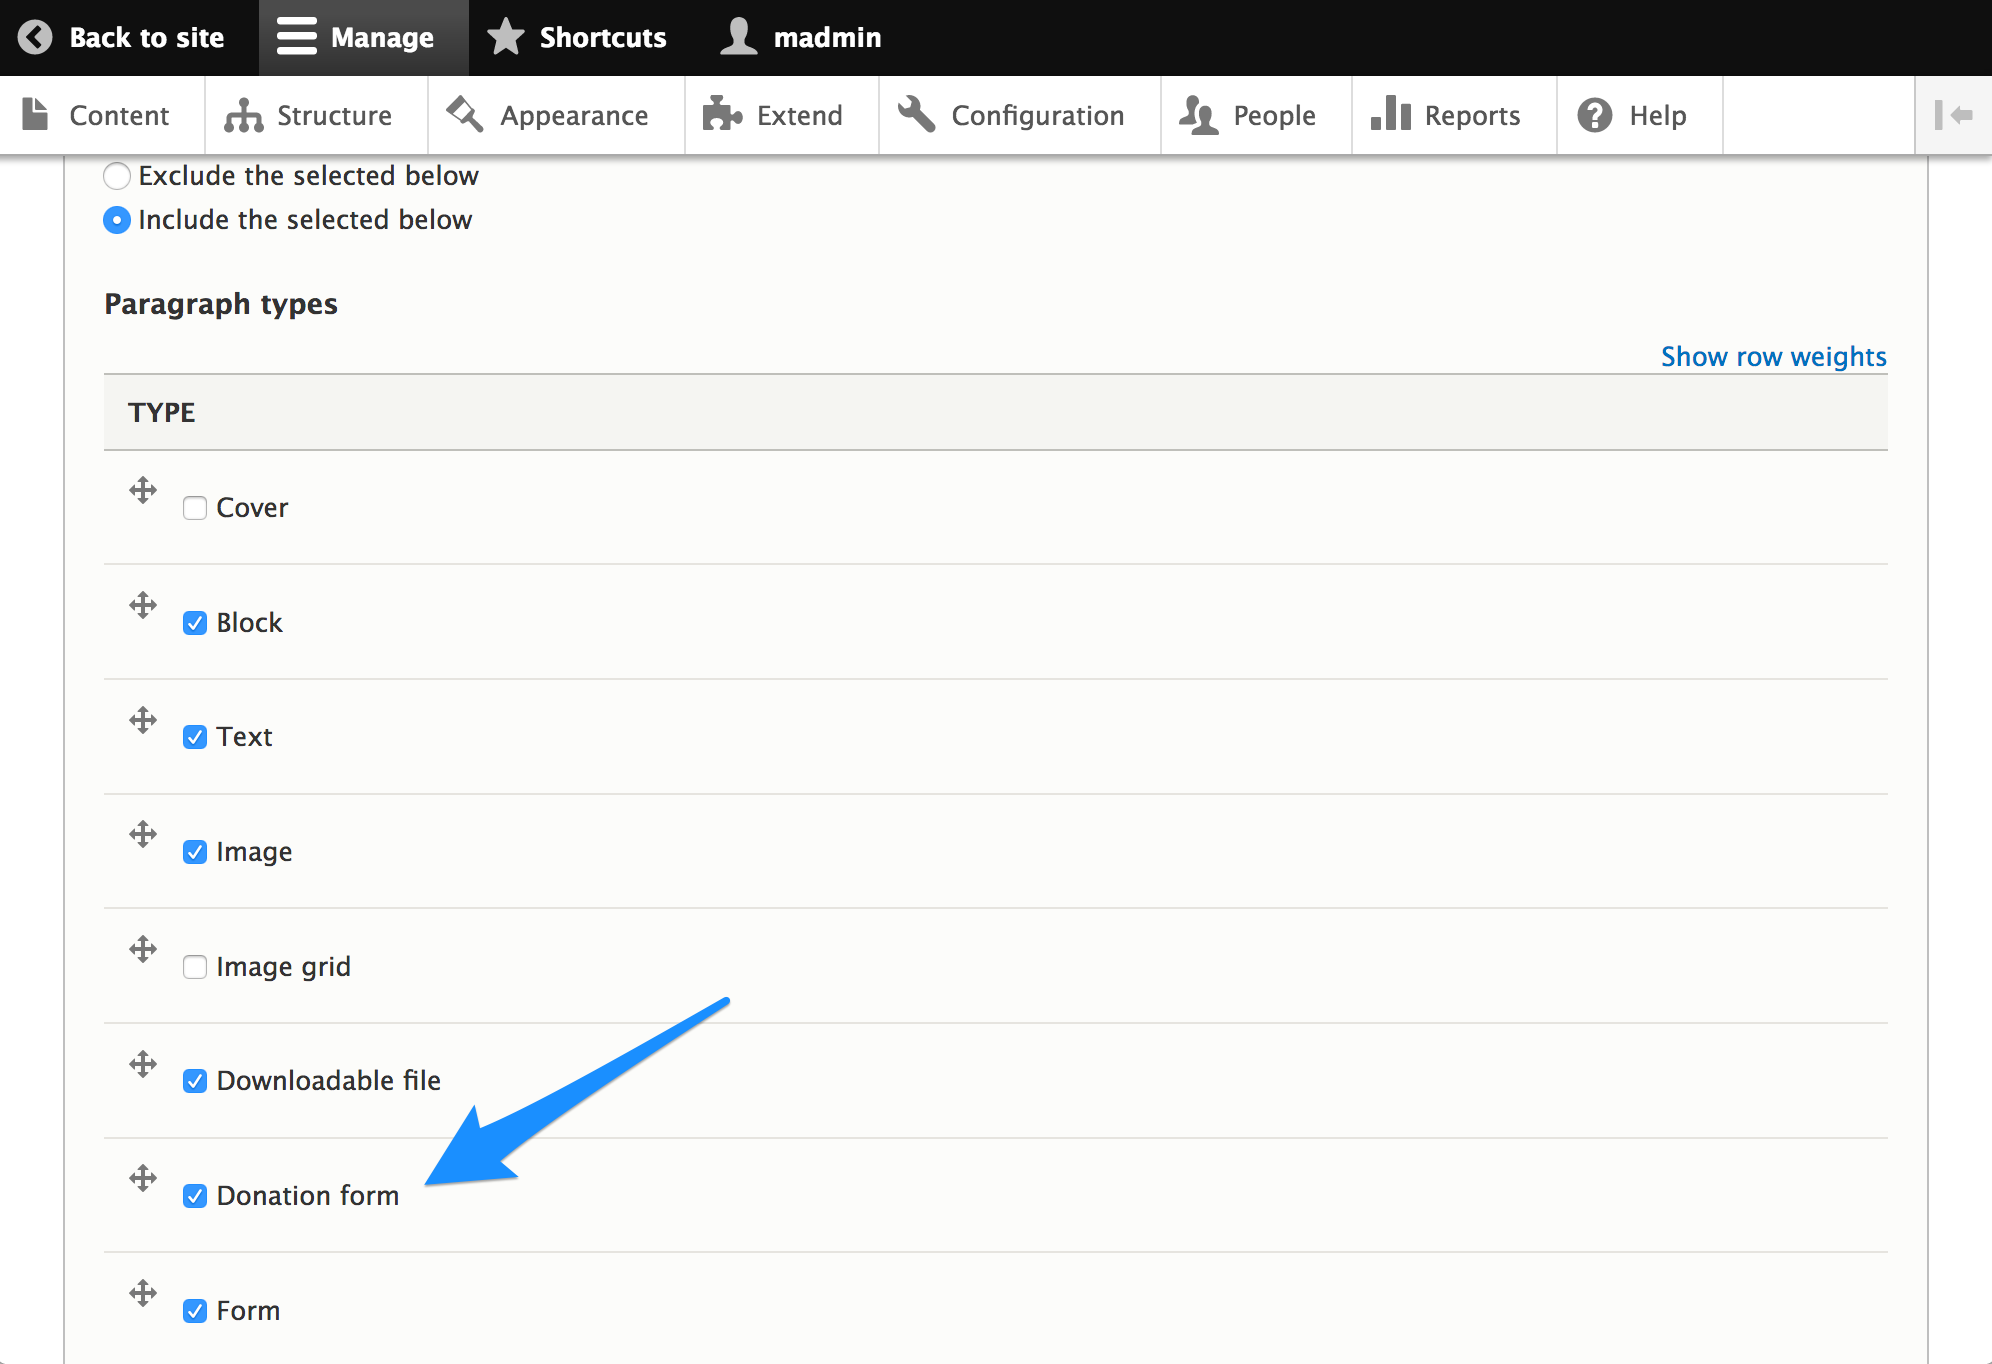
To use a Donation Form paragraph, edit the content type you'd like a donation form available on by navigating to Structure > Content Types > Manage fields.
If you already have a paragraph field then edit the field and check the box for Donation form.
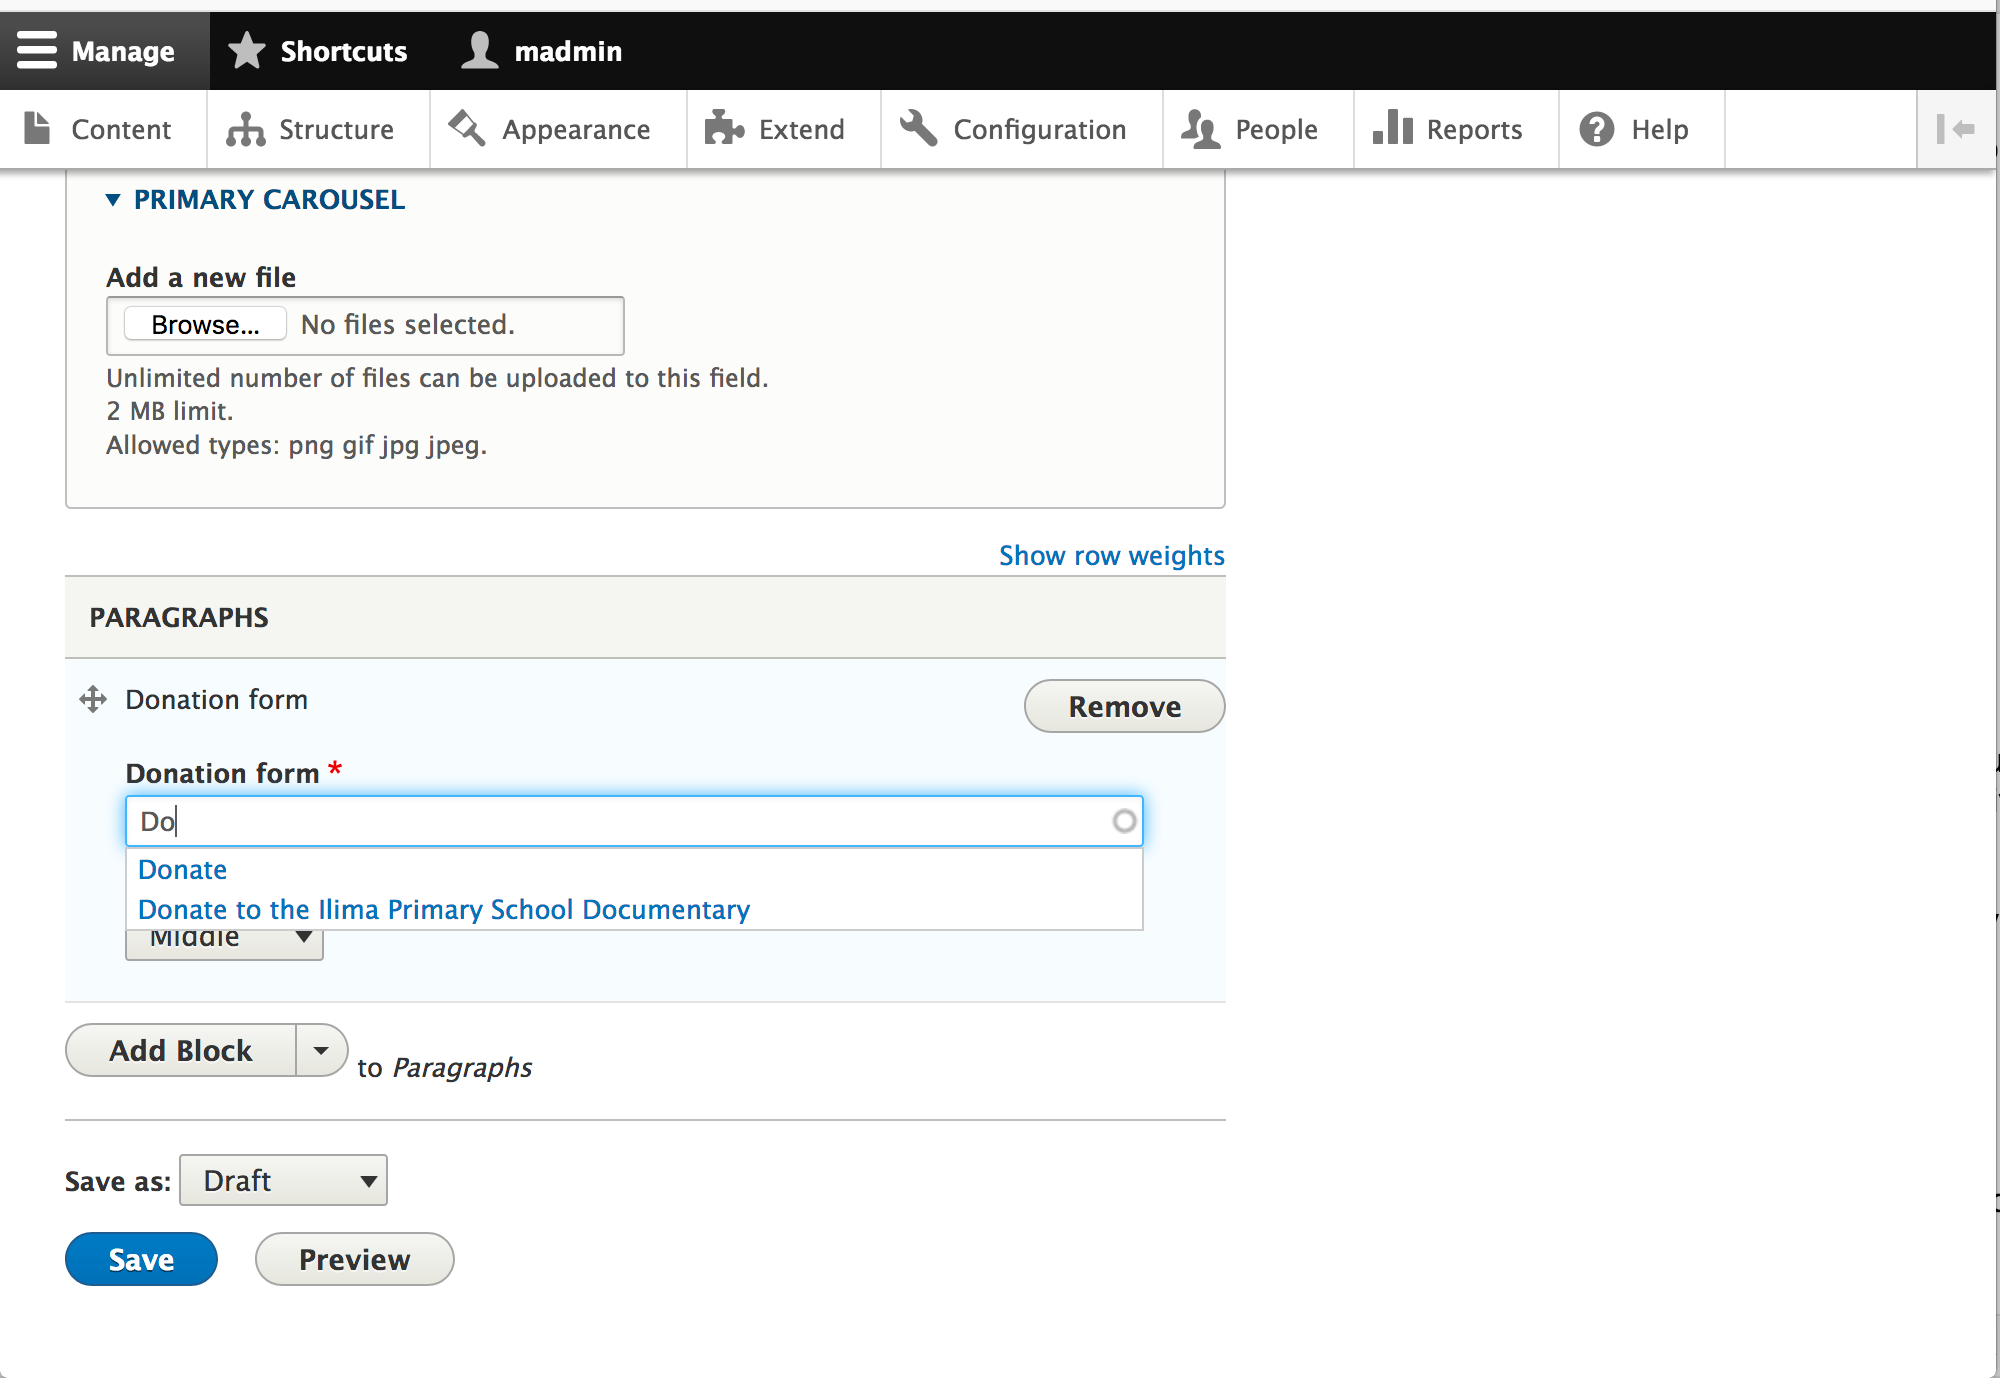
You will now see the Donation form paragraph as an option when creating a node of the content type you configured.
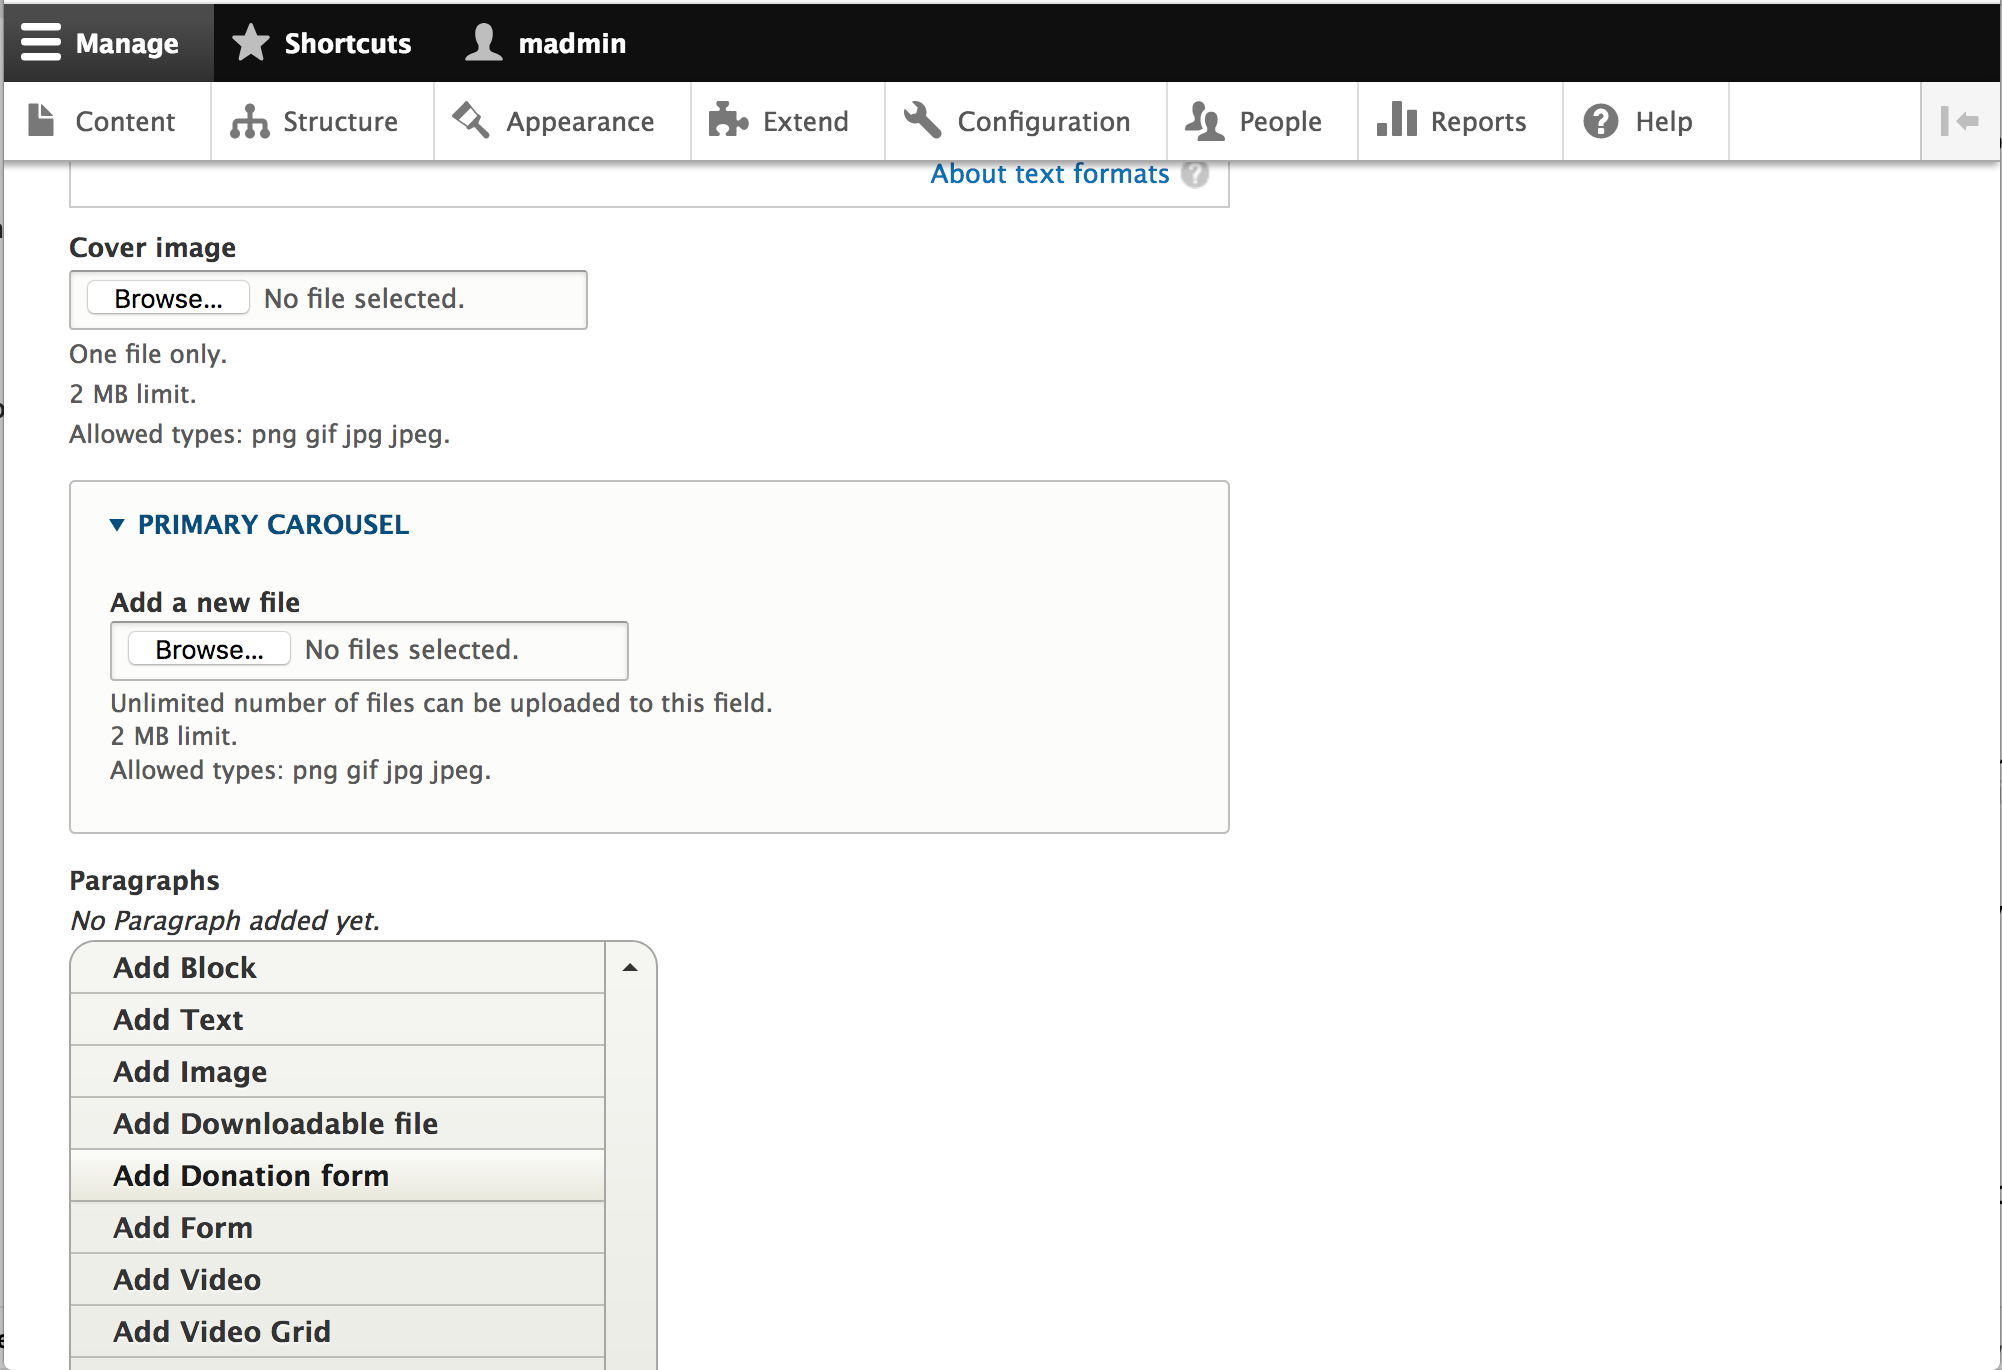
After adding the Donation form paragraph, you will see an autocomplete field. Start typing the name of the desired donation form and select the form.
People visiting your site can now see a form like this, in the context of the page you added it to, and entirely in control of your design and CSS if you choose:
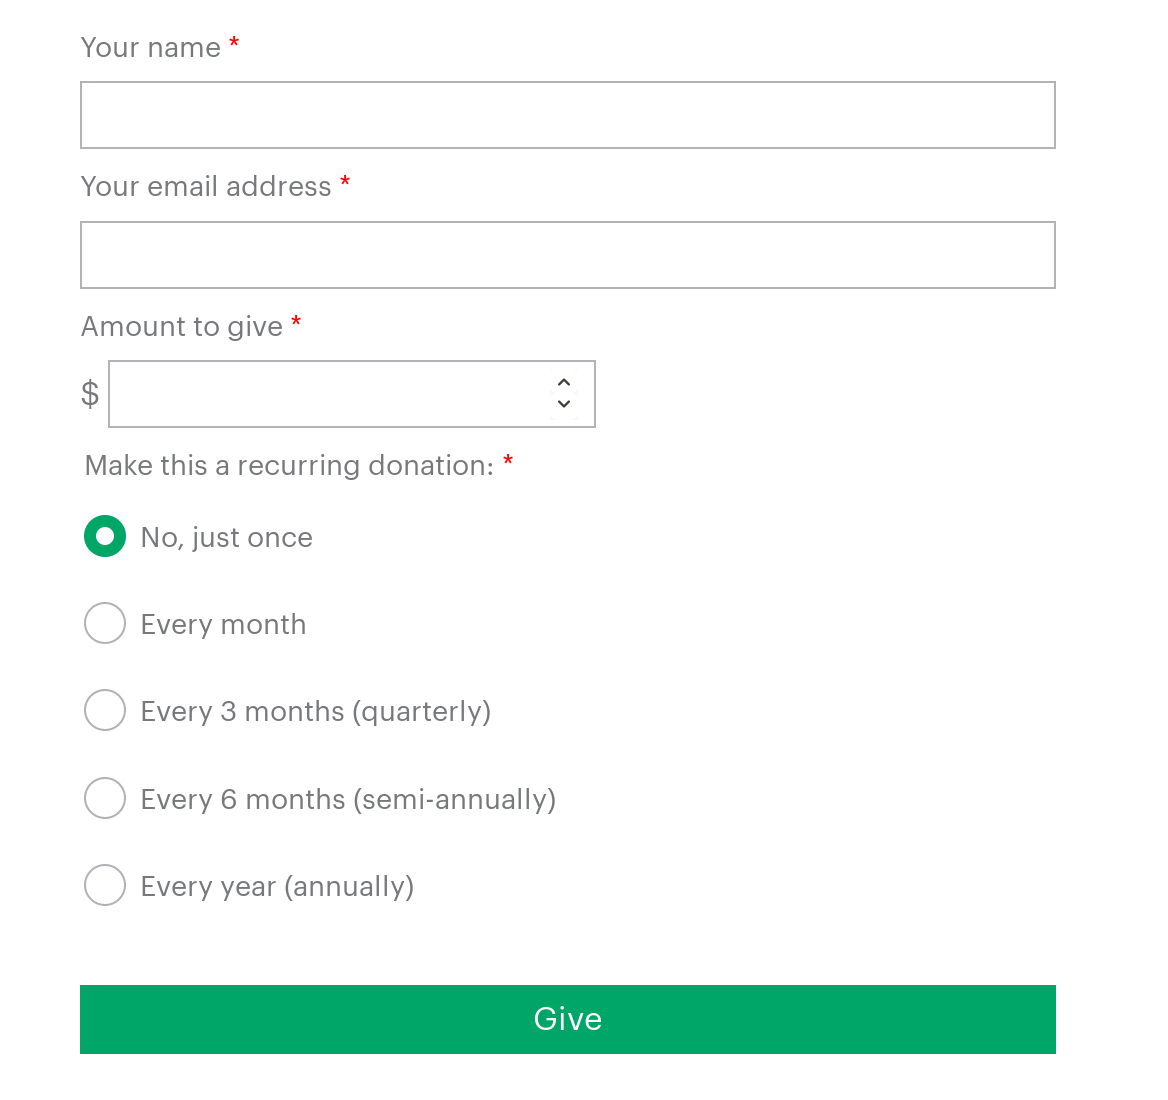
People's contact information and intention to give is collected first, and then they are brought to a page, still fully on your site, with the payment options with which to complete the donation.
Donation Reporting
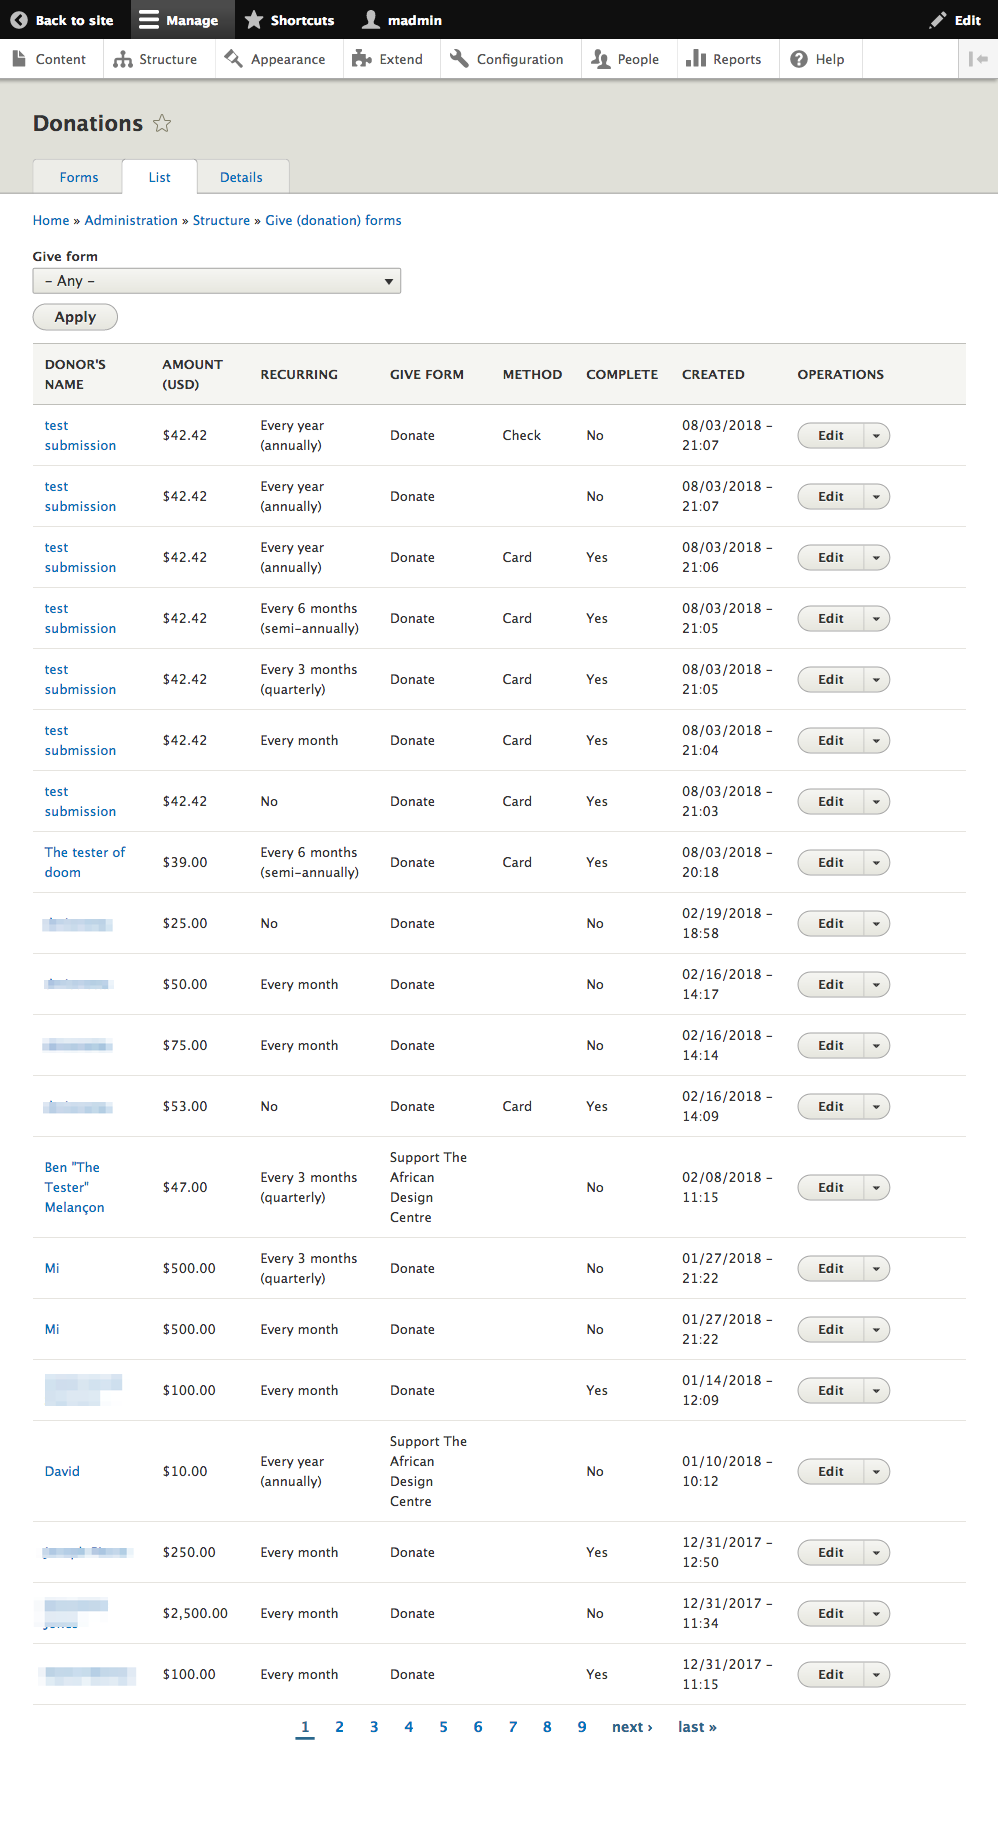
At Structure > Donation forms > List (/admin/structure/give/donations) you can see a list of donations. The list shows all donations, completed or otherwise. Donations are listed by date submitted and shows the donor's name, amount, the form used, donation method and recurring information.
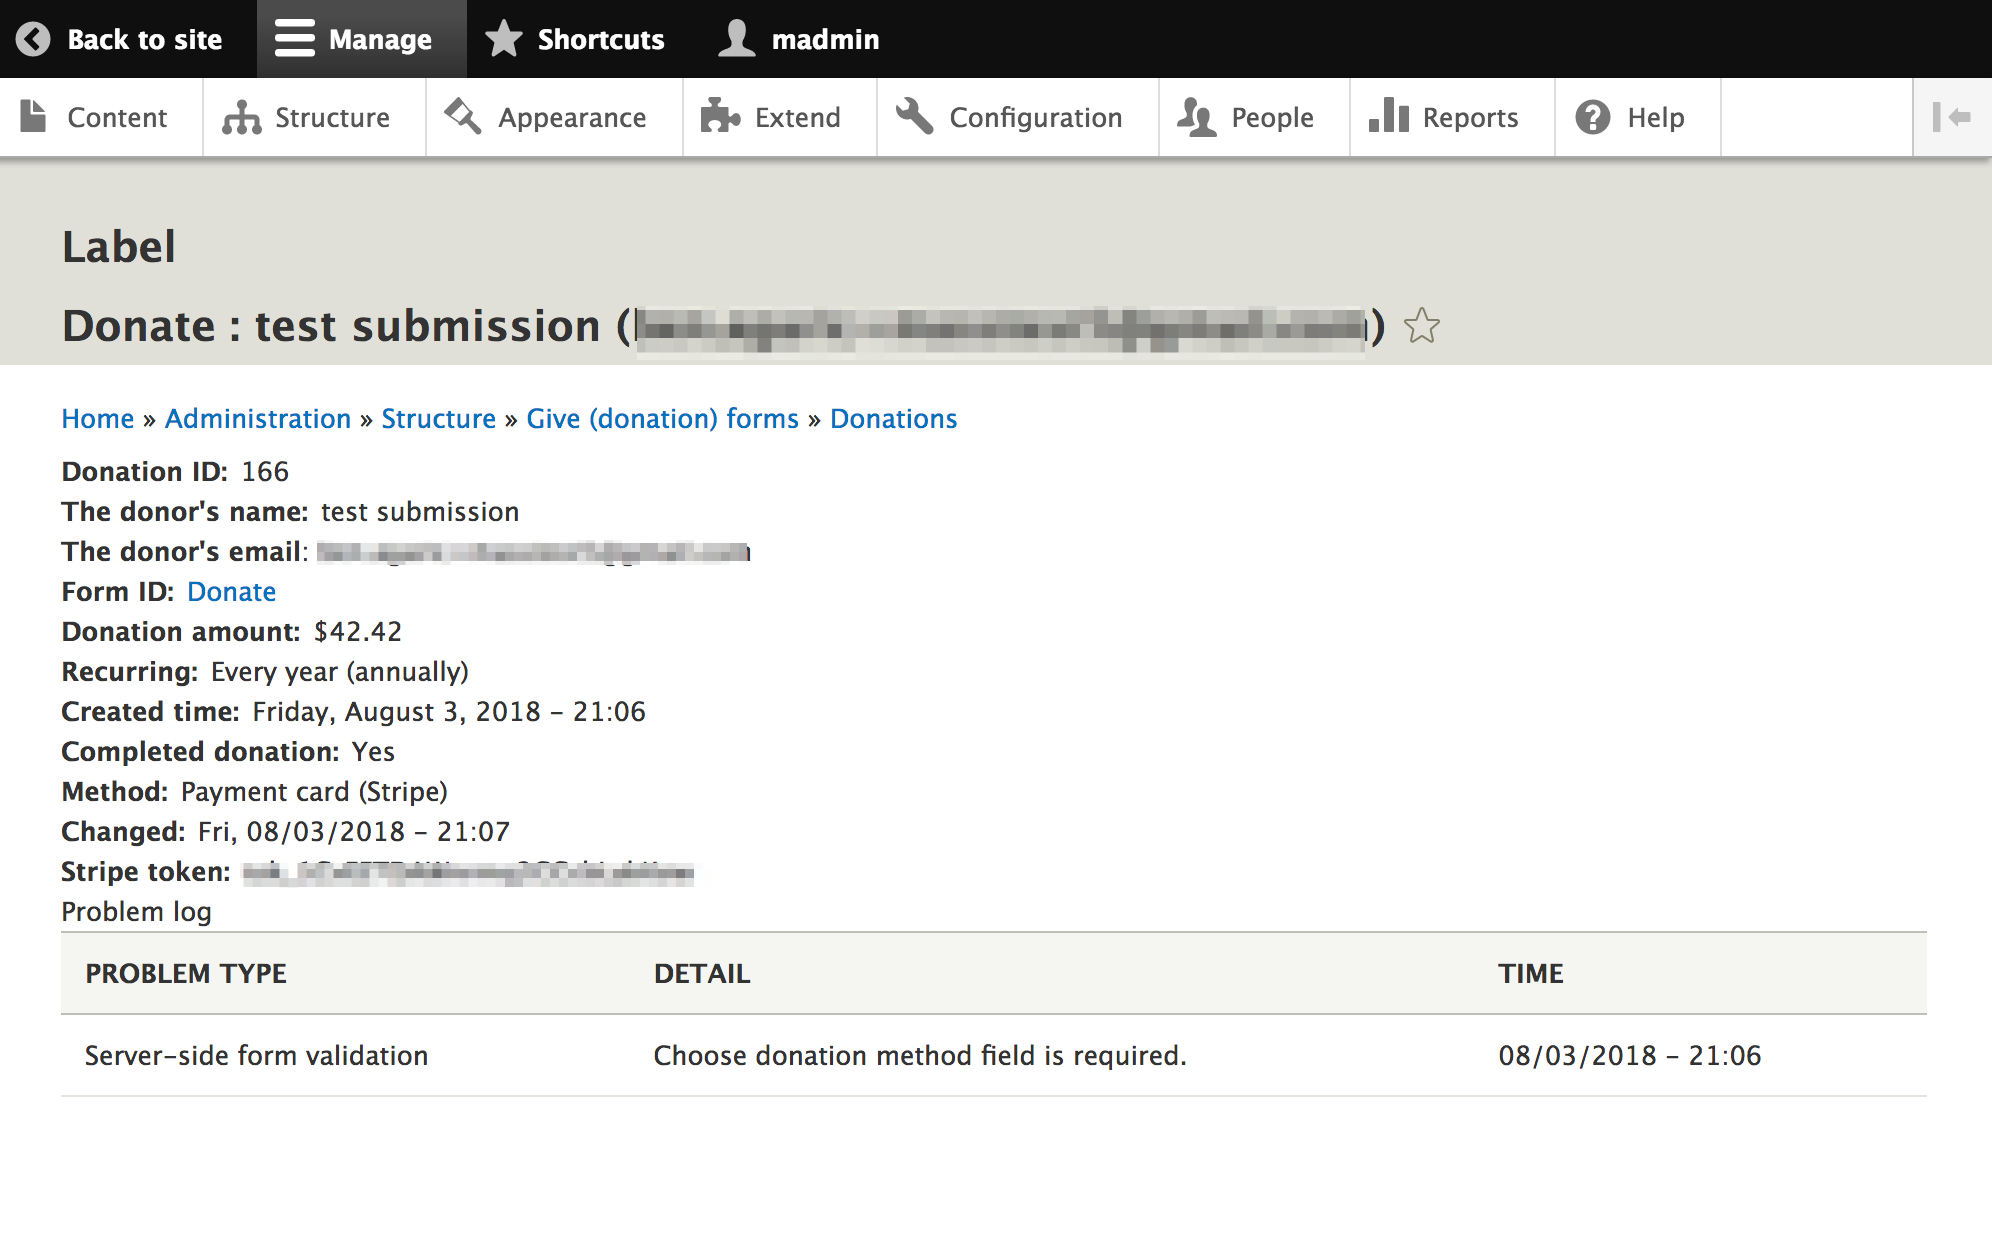
To see more details, click into the donation record. Here you will see additional contact information you collected such as their email address. For failed donations, Give displays the error recorded by Stripe to help with troubleshooting.
Conclusion
Giving to a cause we care about should be simple and hassle-free. By creating your donation forms from within your site you keep your branding and ensure a seamless experience for your supporters. The security of Stripe combined with the flexibility of Drupal means you can now build donation opportunities at exactly the moments in your site that visitors are looking for.
Give is free and open source software, available for anyone to use. If you find it useful, we encourage you to give (ha!) to the project to make it even better. If there's more that you'd like Give to do for your site, suggest a feature in the issue queue. We're always looking for ways to improve it.
Help improve this page
You can:
- Log in, click Edit, and edit this page
- Log in, click Discuss, update the Page status value, and suggest an improvement
- Log in and create a Documentation issue with your suggestion


